An OnStep Journey
7th April, 2020
DIYMountTelescopeA Starting Point
My first steps into the world of astronomy came with a Skywatcher 200P 8" Dobsonian from the summer 2018. It opened my eyes to the world of Astronomy that I had been missing out on before. The first image I ever took was with a Nikon DSLR and T-ring adapter of the moon. It was over exposed, slightly blurry and colour balanced heavily red but it was the start of something much greater.
Imaging with a Dobsonian is not easy however, especially as it is entirely manual and suffers from field rotation. So I took a simpler approach with a simple setup of DSLR and tripod and exposure of just a few seconds. You can do a surprising amount but to get some real details you really need to be tracking. This led to me building a 'Barn Door Tracker' in early 2019 and I recorded some of my first images with a Canon 400D and a combination of prime and zoom lenses from 50mm to 200mm focal length.
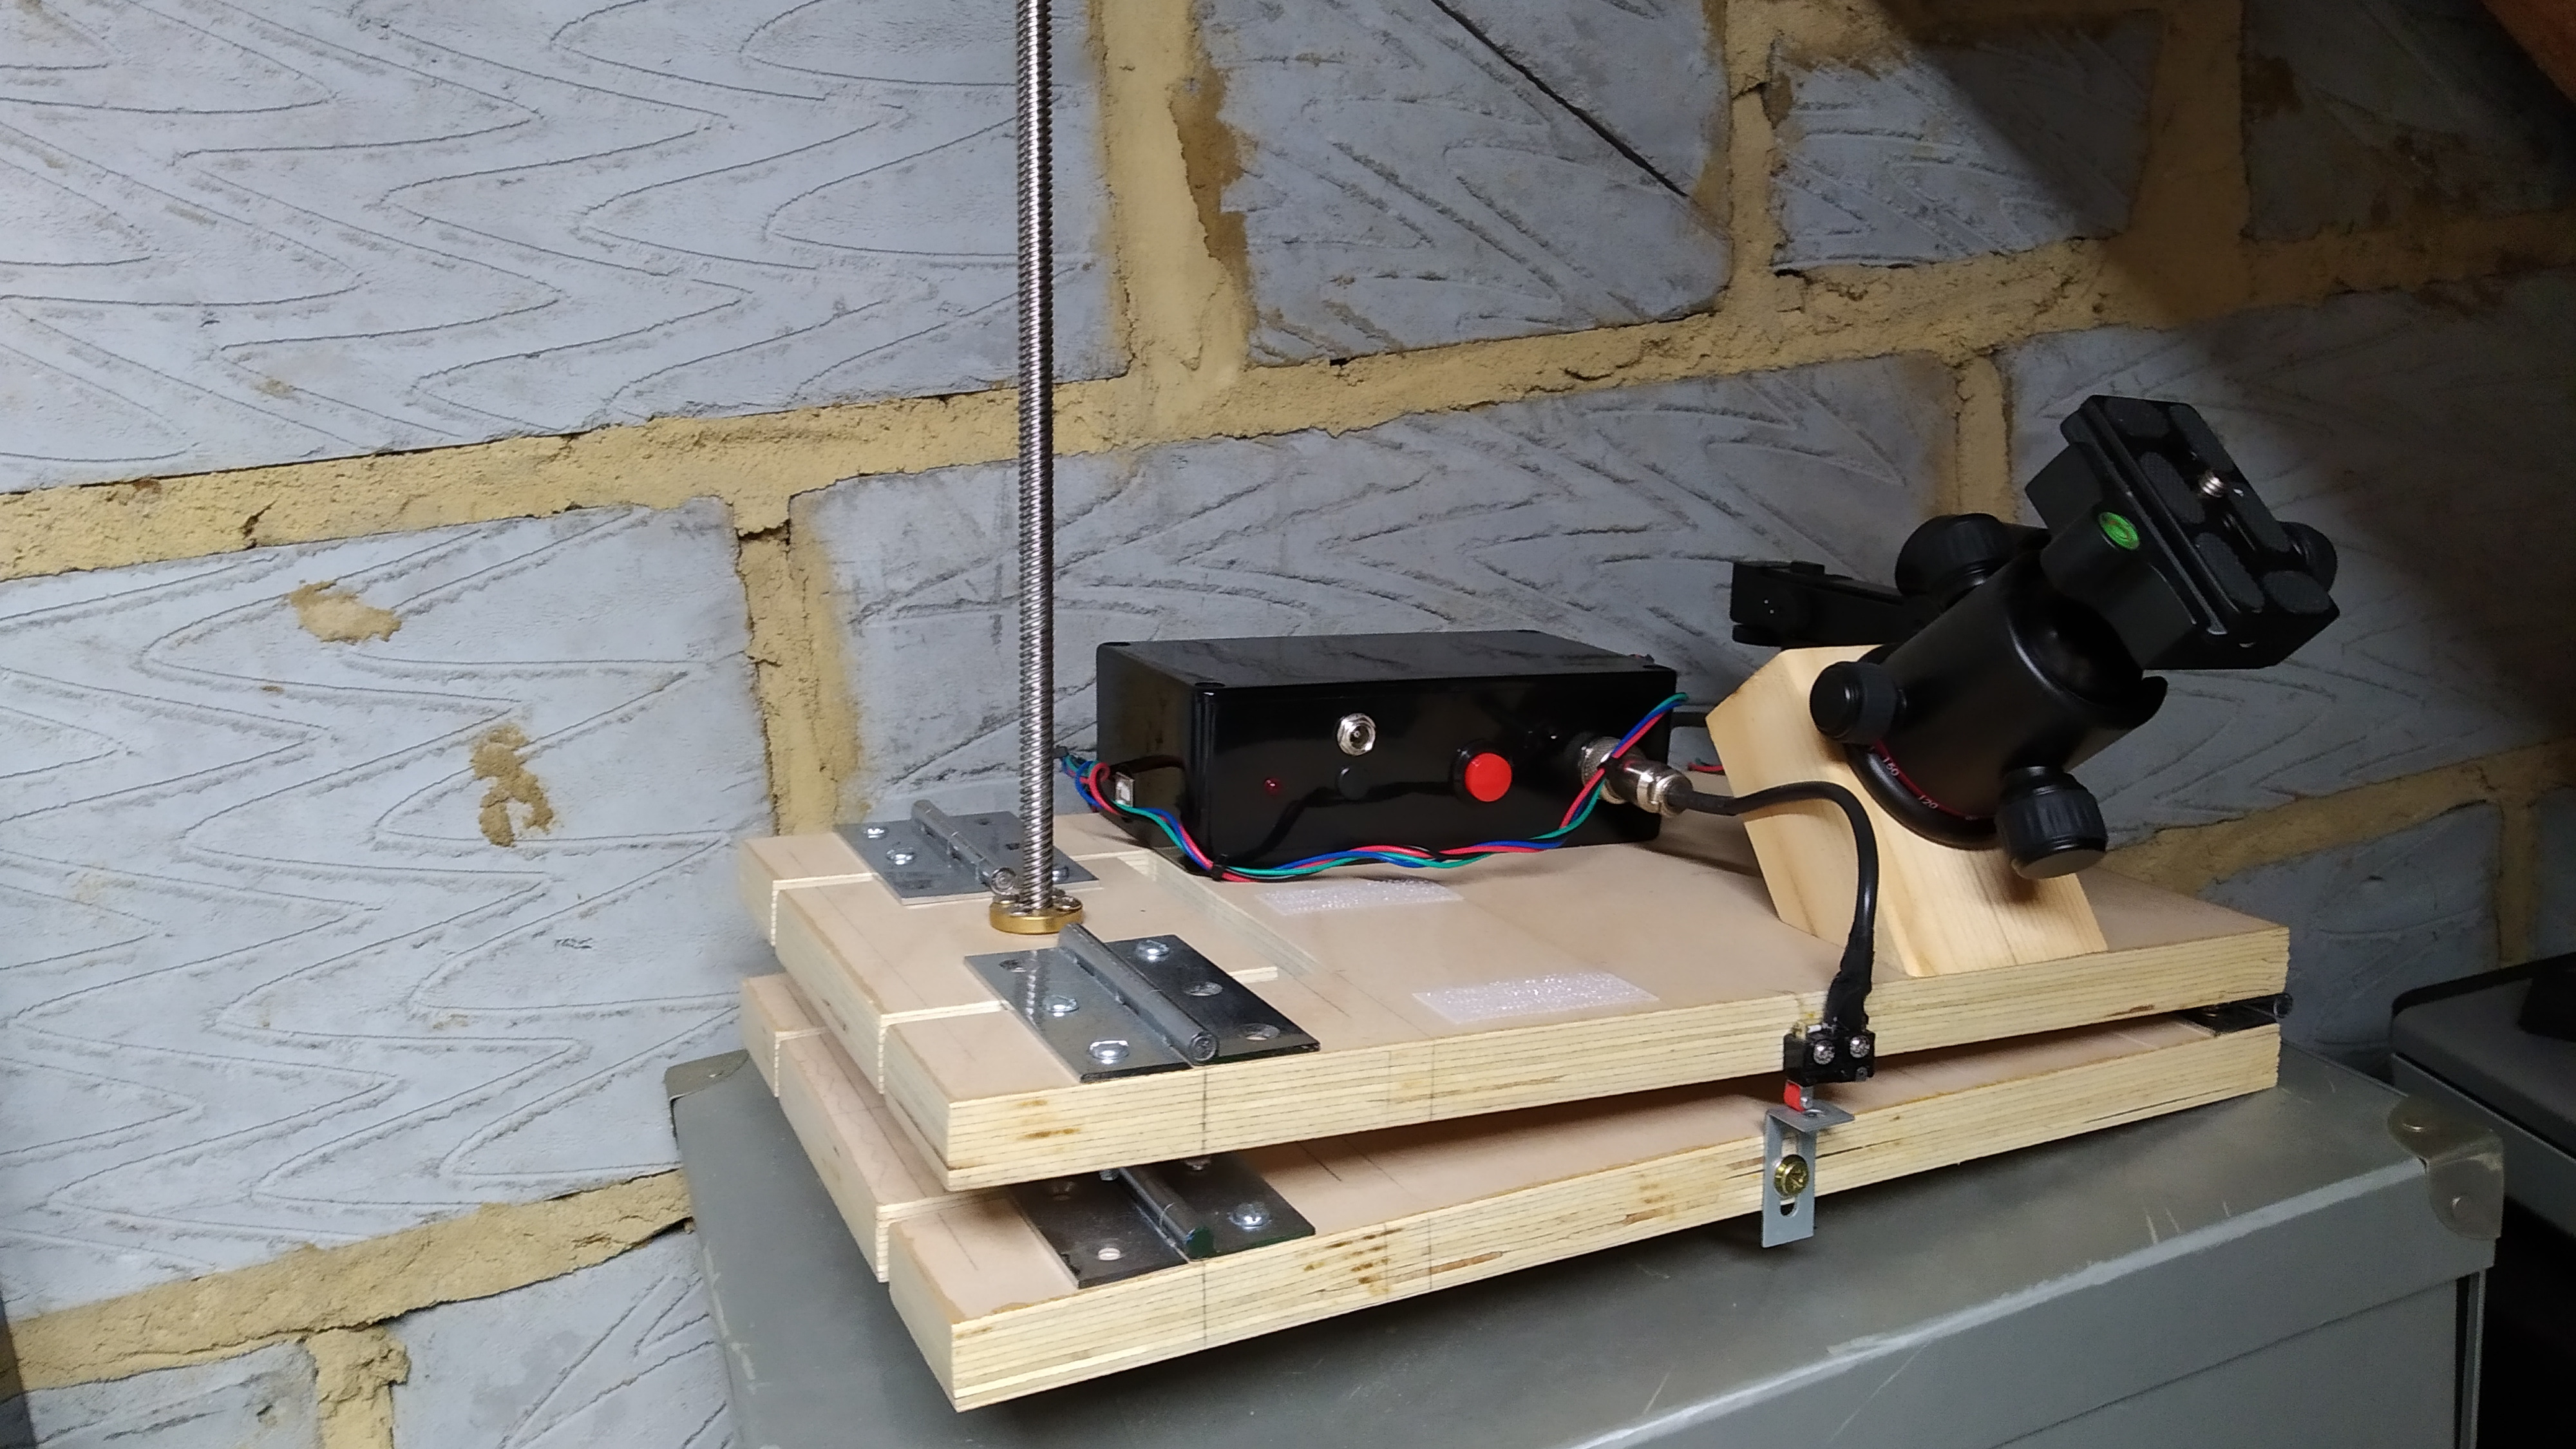
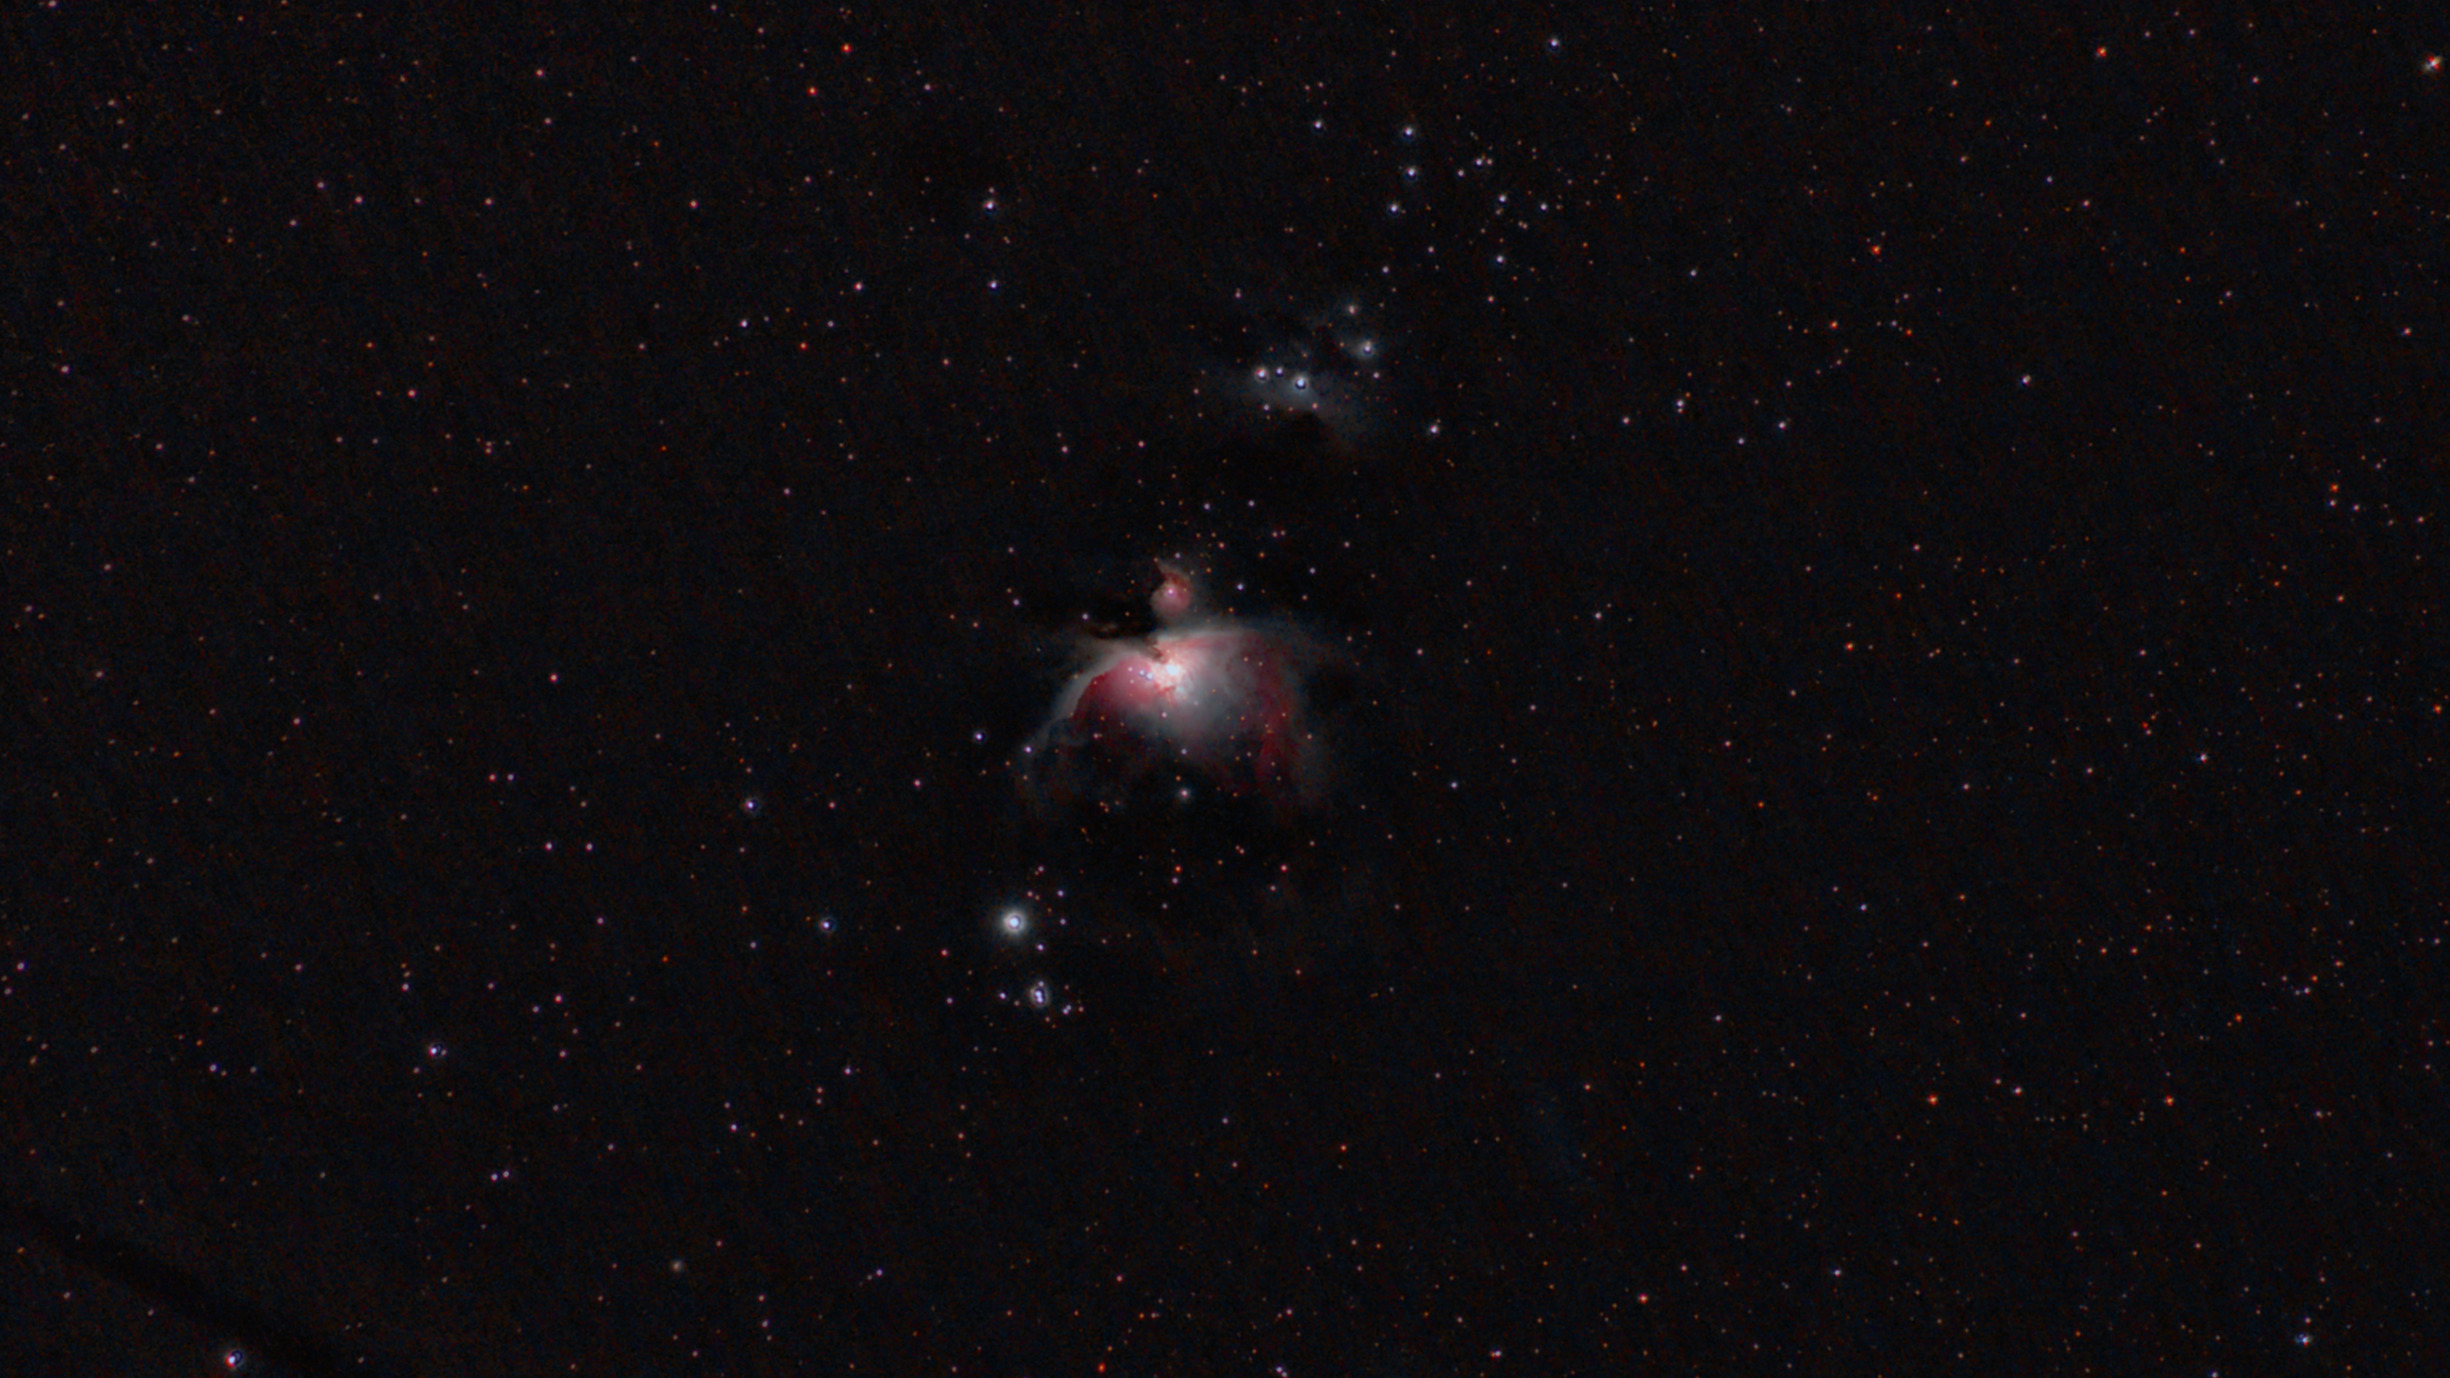
Below you can see the first 'proper' image created with the Barn Door Tracker, a stack of 60s shots of M42 Orion Nebula at 200mm with a Tamron adjustable zoom f5.6 lens on my stock Canon 400D.
Finding A Way Forwards
I'd had my eye on OnStep for a while as I was considering upgrading my Dob to a GoTo system, but after tallying up the huge number of components and modifications that would be needed it turned out to be such a huge task that would have ended up removing the essence of the Dobsonian and costing near enough the same as converting an EQ5 anyway.
A few months after building the barn door tracker I was starting to look at second hand and other sources. I ended up with a telescope better suited to astrophotgraphy before I found a mount. It was as new with slight damage to the outer packaging only and a steal at about £100 total. A Skywatcher 130PDS is a 130mm Newtonian with dual-speed focuser and shortened tube length designed with Astrophotography in mind, and has no shortage of fans nor lack of evidence of its prowess.
A little later I had found an EQ5, again as new but for a significant saving over retail price. Now the plan started to take shape.
Planning an OnStep EQ5
It was actually quite easy to get right; an entire community exists of helpful posts over on the OnStep discussion board, an encompassing wiki and showcase section of previous designs and implementations. What followed was a lot of reading and sourcing of components and working on plans to convert the EQ5 to a fully capable astrophotography system.
A List of Parts
My plan was quite "standard" when it comes to EQ5 conversions, based upon the work of a number of others with EQ5-style mounts:
- One of the excellent STM32 OnStep kits that were previously sold by Dave Schwartz, now taken over by George at stmbluepillkits.com
- 2x TMC2209 Watterott Stepper drivers
- 2x 400 Step (0.9°) 0.9A Stepper Motors from Stepperonline
- 2x 16 Tooth GT2 Pulleys with 5mm bore for the motors
- 2x 48 Tooth GT2 Pulleys with 6mm bore for the RA/DEC shafts. (Note - You can find 6.35mm bore everywhere but have some wobble as they are impossible to centre properly, but 6mm bore fits perfectly but are only available from China...)
- 2x 140mm 70 Teeth GT2-6mm width belts
- 2x Steel Alloy NEMA17 brackets
- 2x 1.5-2m Flat CAT6 cable for motor connections
- Various electrical connectors including 2.1mm barrel jacks and sockets
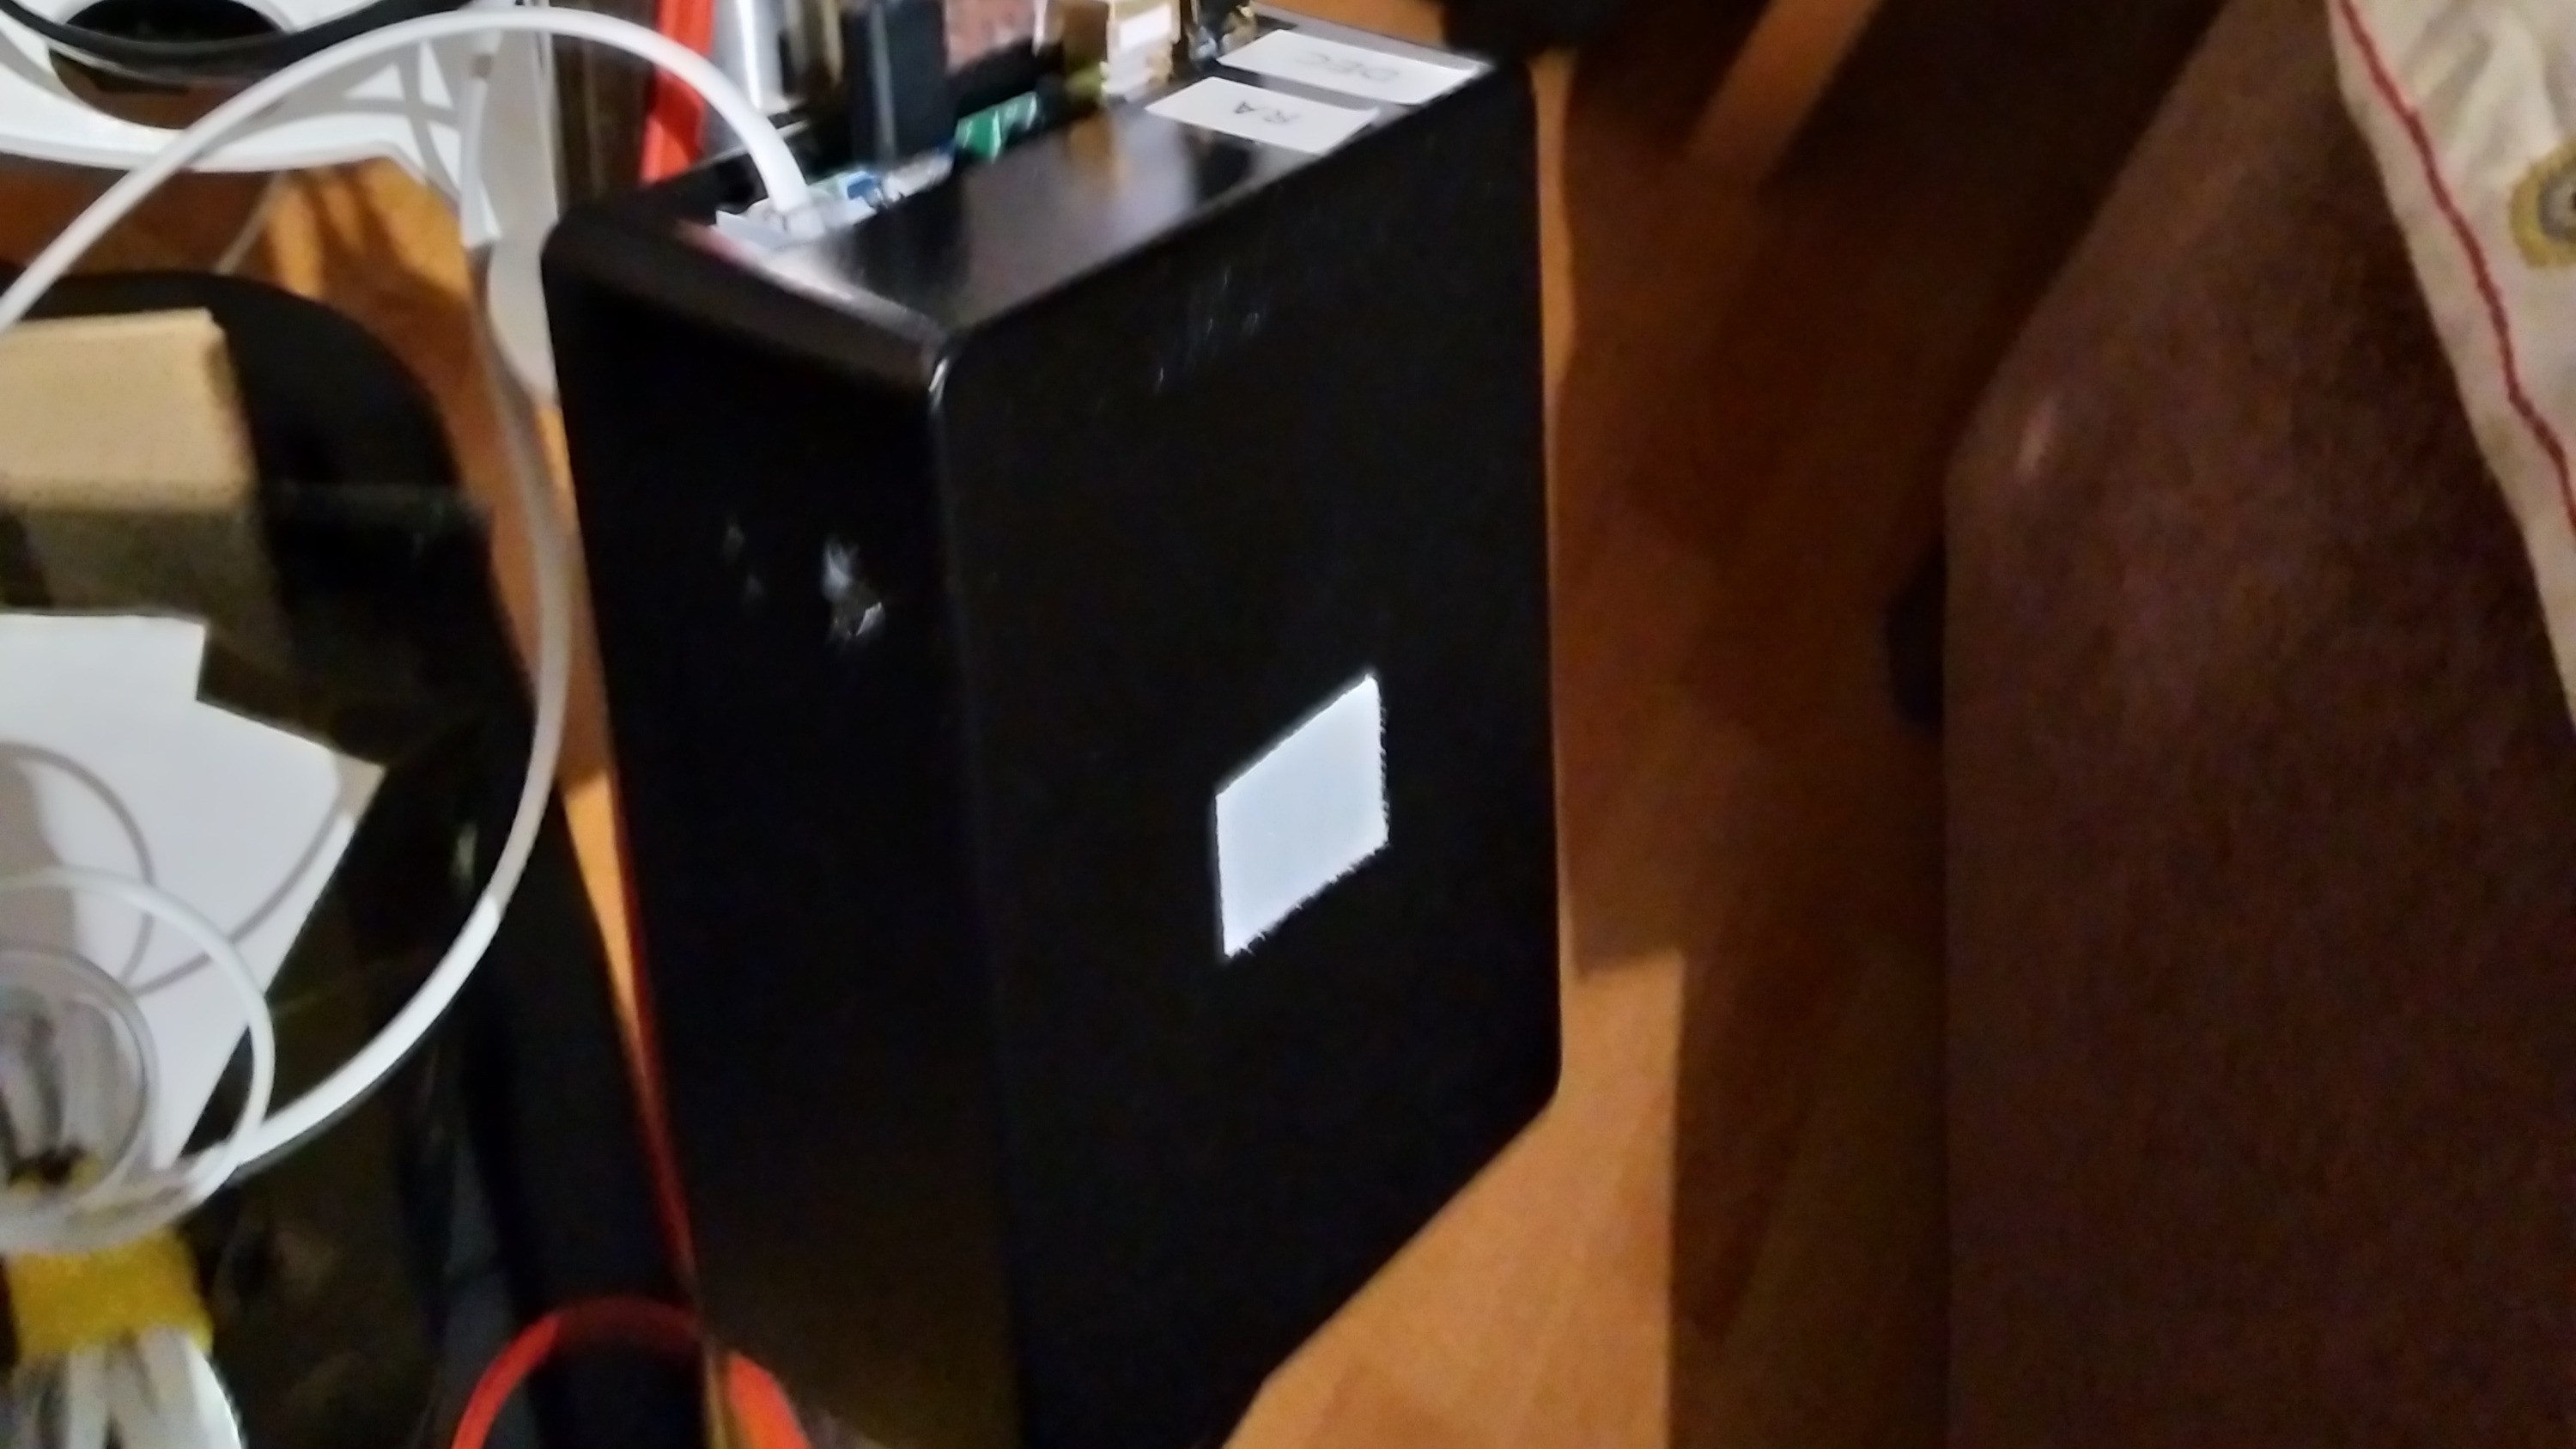
- An ABS project box to put everything in
- Cordless drill, files, dremel tool, hole cutting bits, jigsaw
- Soldering iron, solder and a set of helping hands
- Hot glue
- Wire and a 24V 5A power supply
- Various bolts, nuts, washers of multiple lengths and sizes for securing eveything. I can't remember every one of them unfortunately.
A Plan
Again I followed in the footsteps of a number of others, with a few tweaks here and there. Most of the legwork is already done for you over on the OnStep wiki
Putting it Together
Electronics
Putting the STM32 kit together went without incident per the excellent information on the wiki, from Khalid Baheyeldin and the manual
DEC Motor
The DEC motor bracket is straightforward and requires a bolt straight into the bracket, a slightly larger hole needed to be made to accept the bolt

RA Motor
The RA bracket requires the mount to be oriented so the access through the RA axis is available under the polar scope. A longer bolt is required here as well as a long screwdriver/allen wrench and some flexibility. The steel bracket fit neatly inside existing protrusions that run inside the RA bracket housing which is nice and helped secure the bracket further.
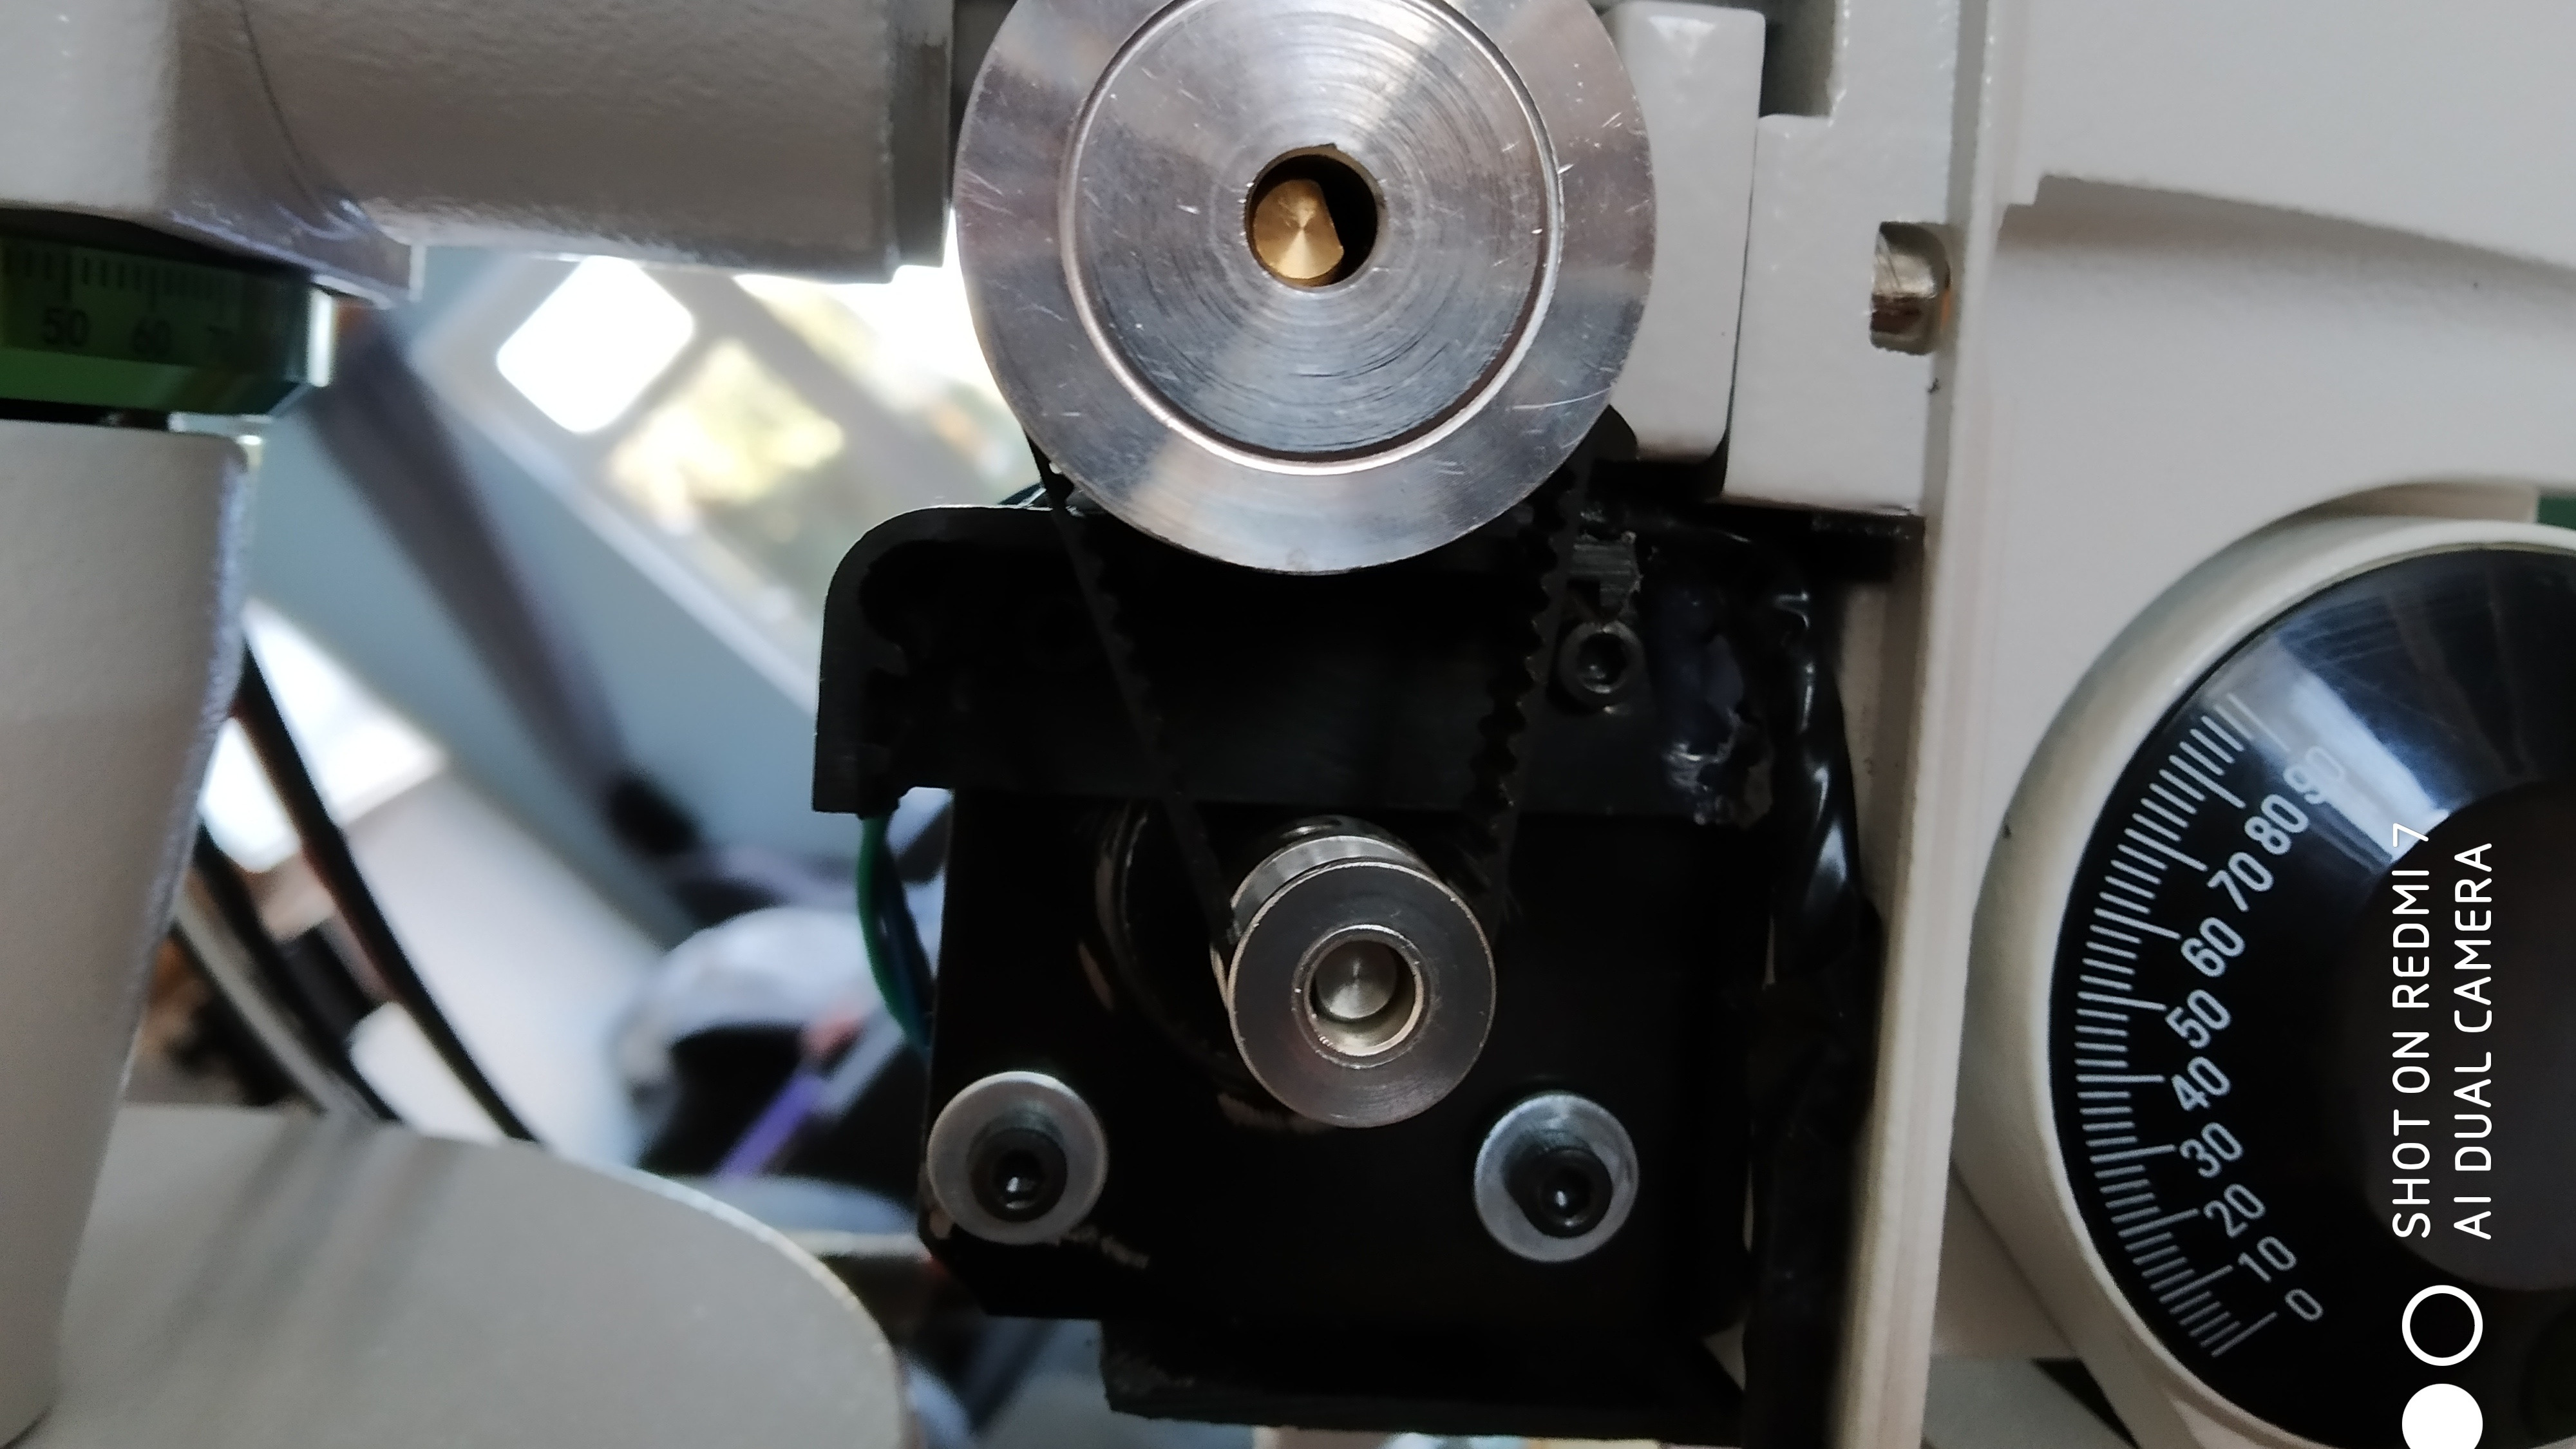
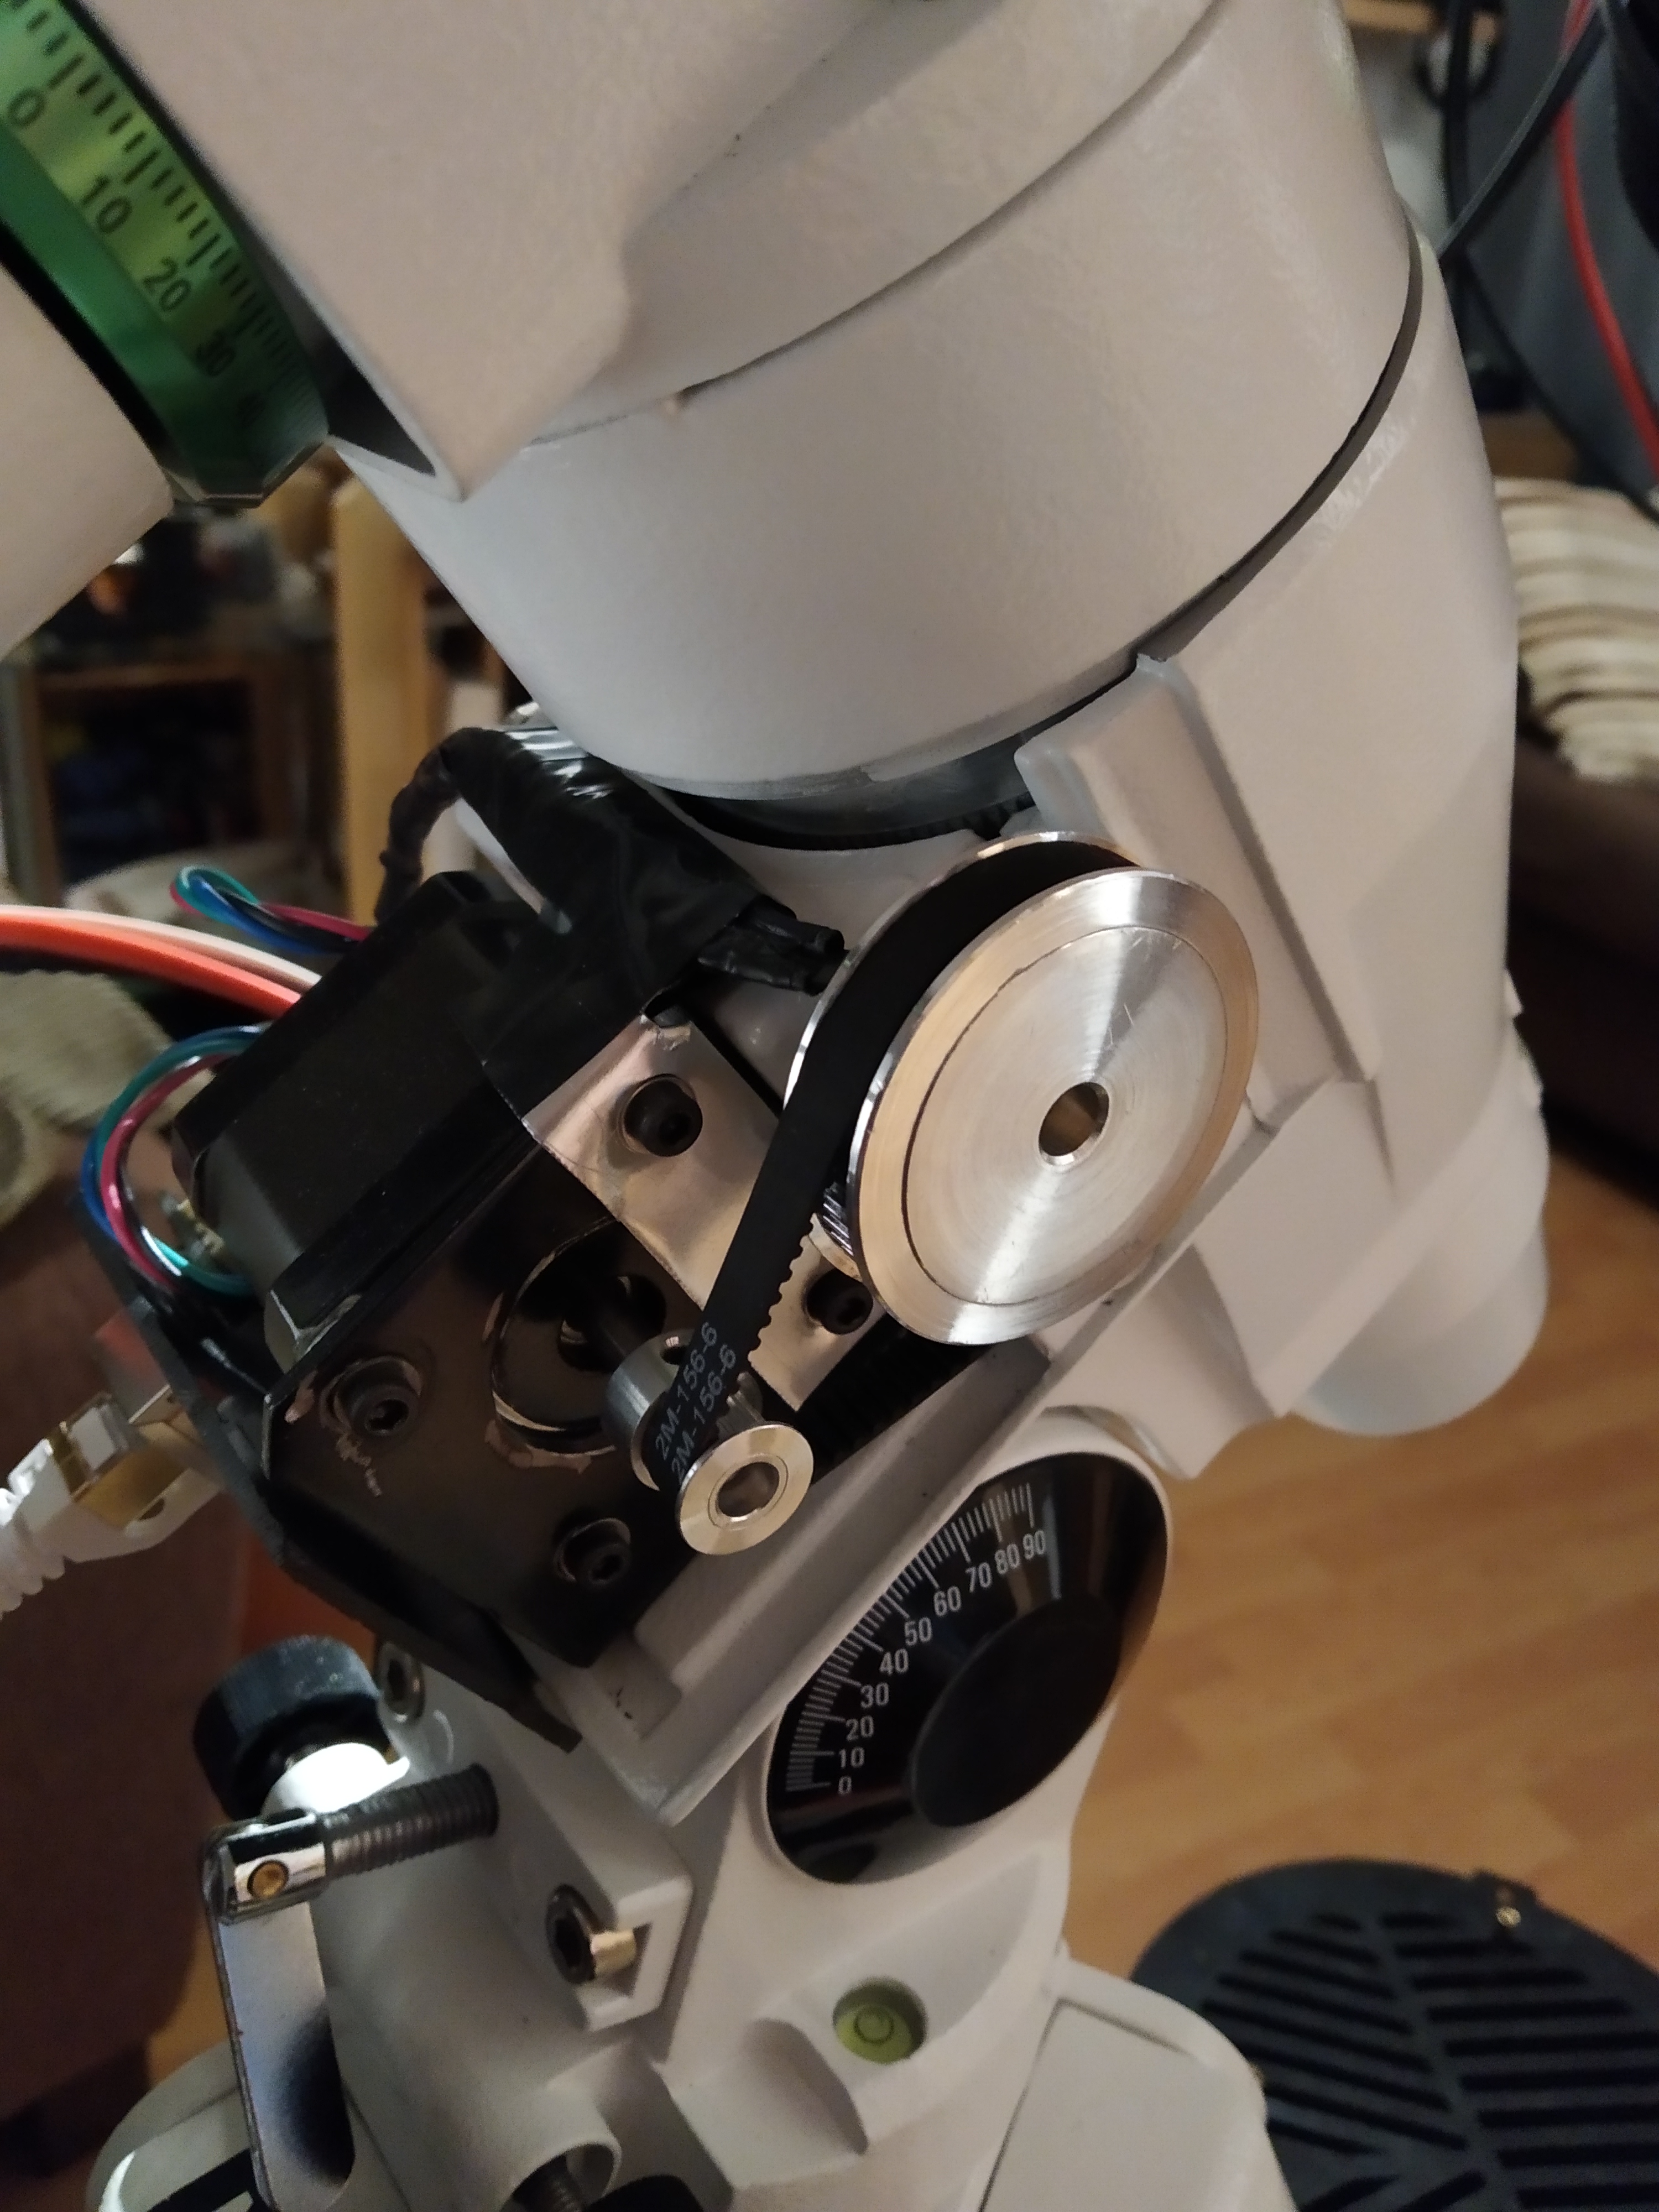
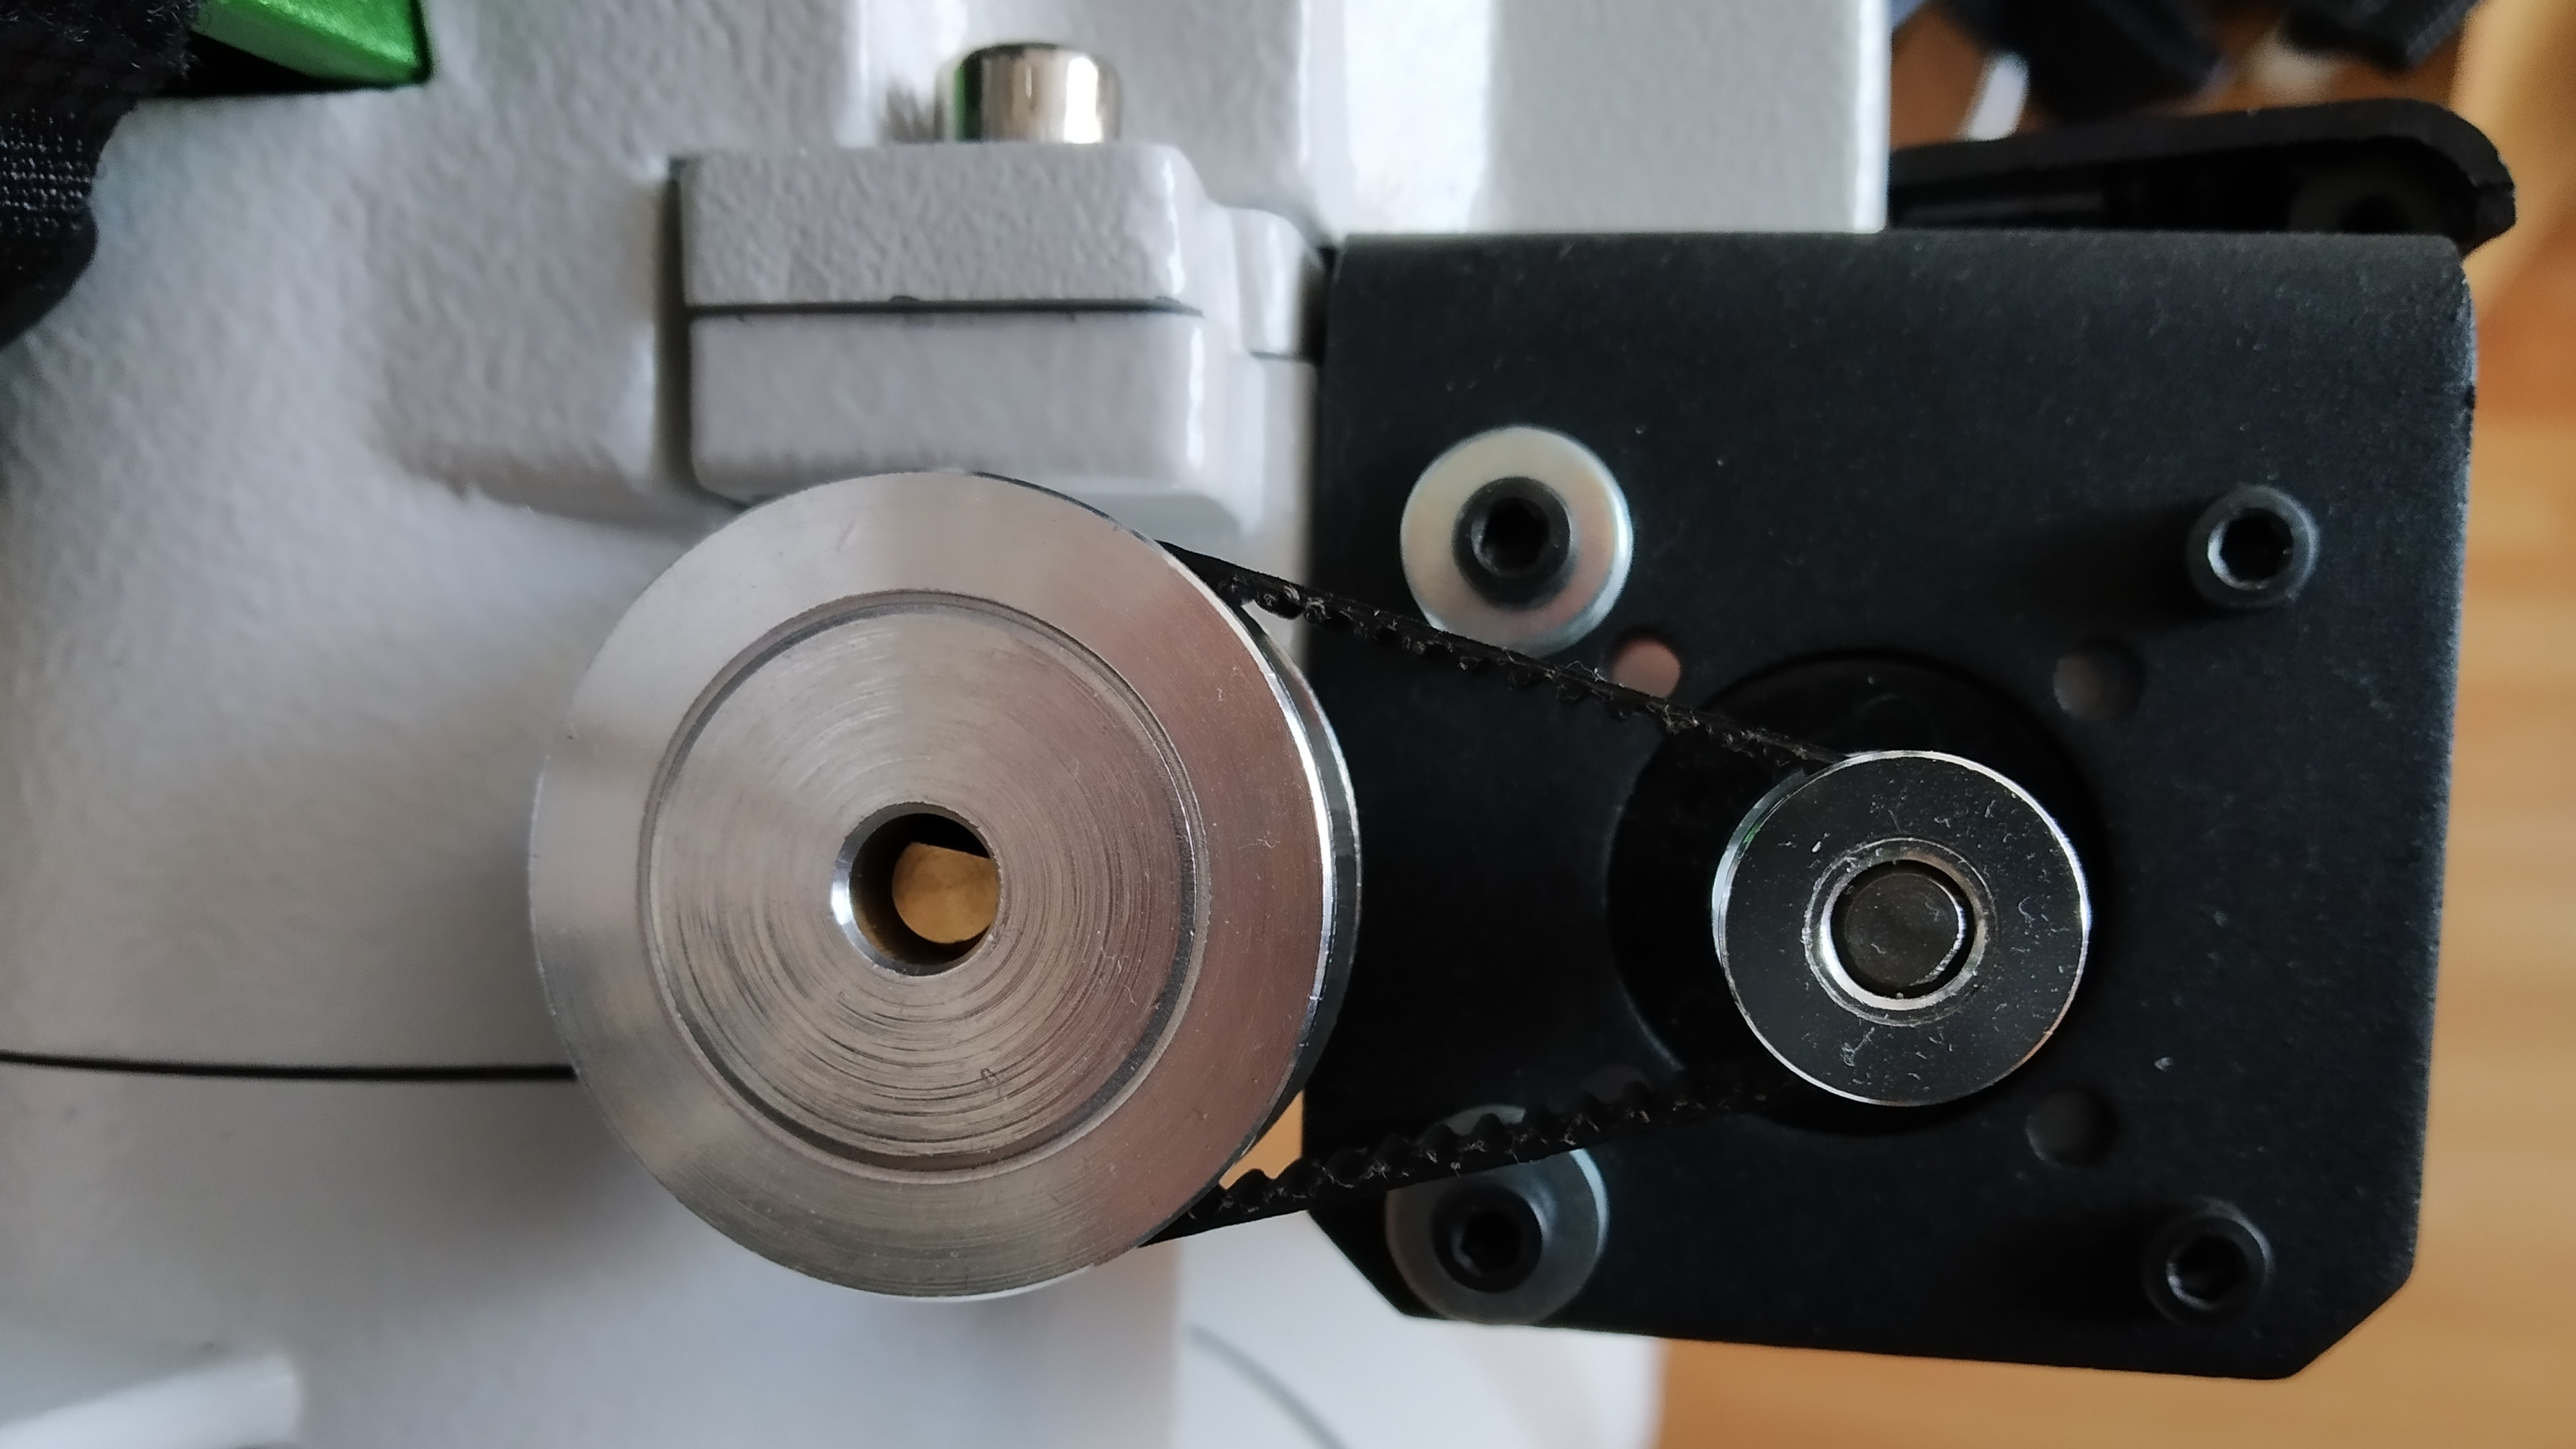
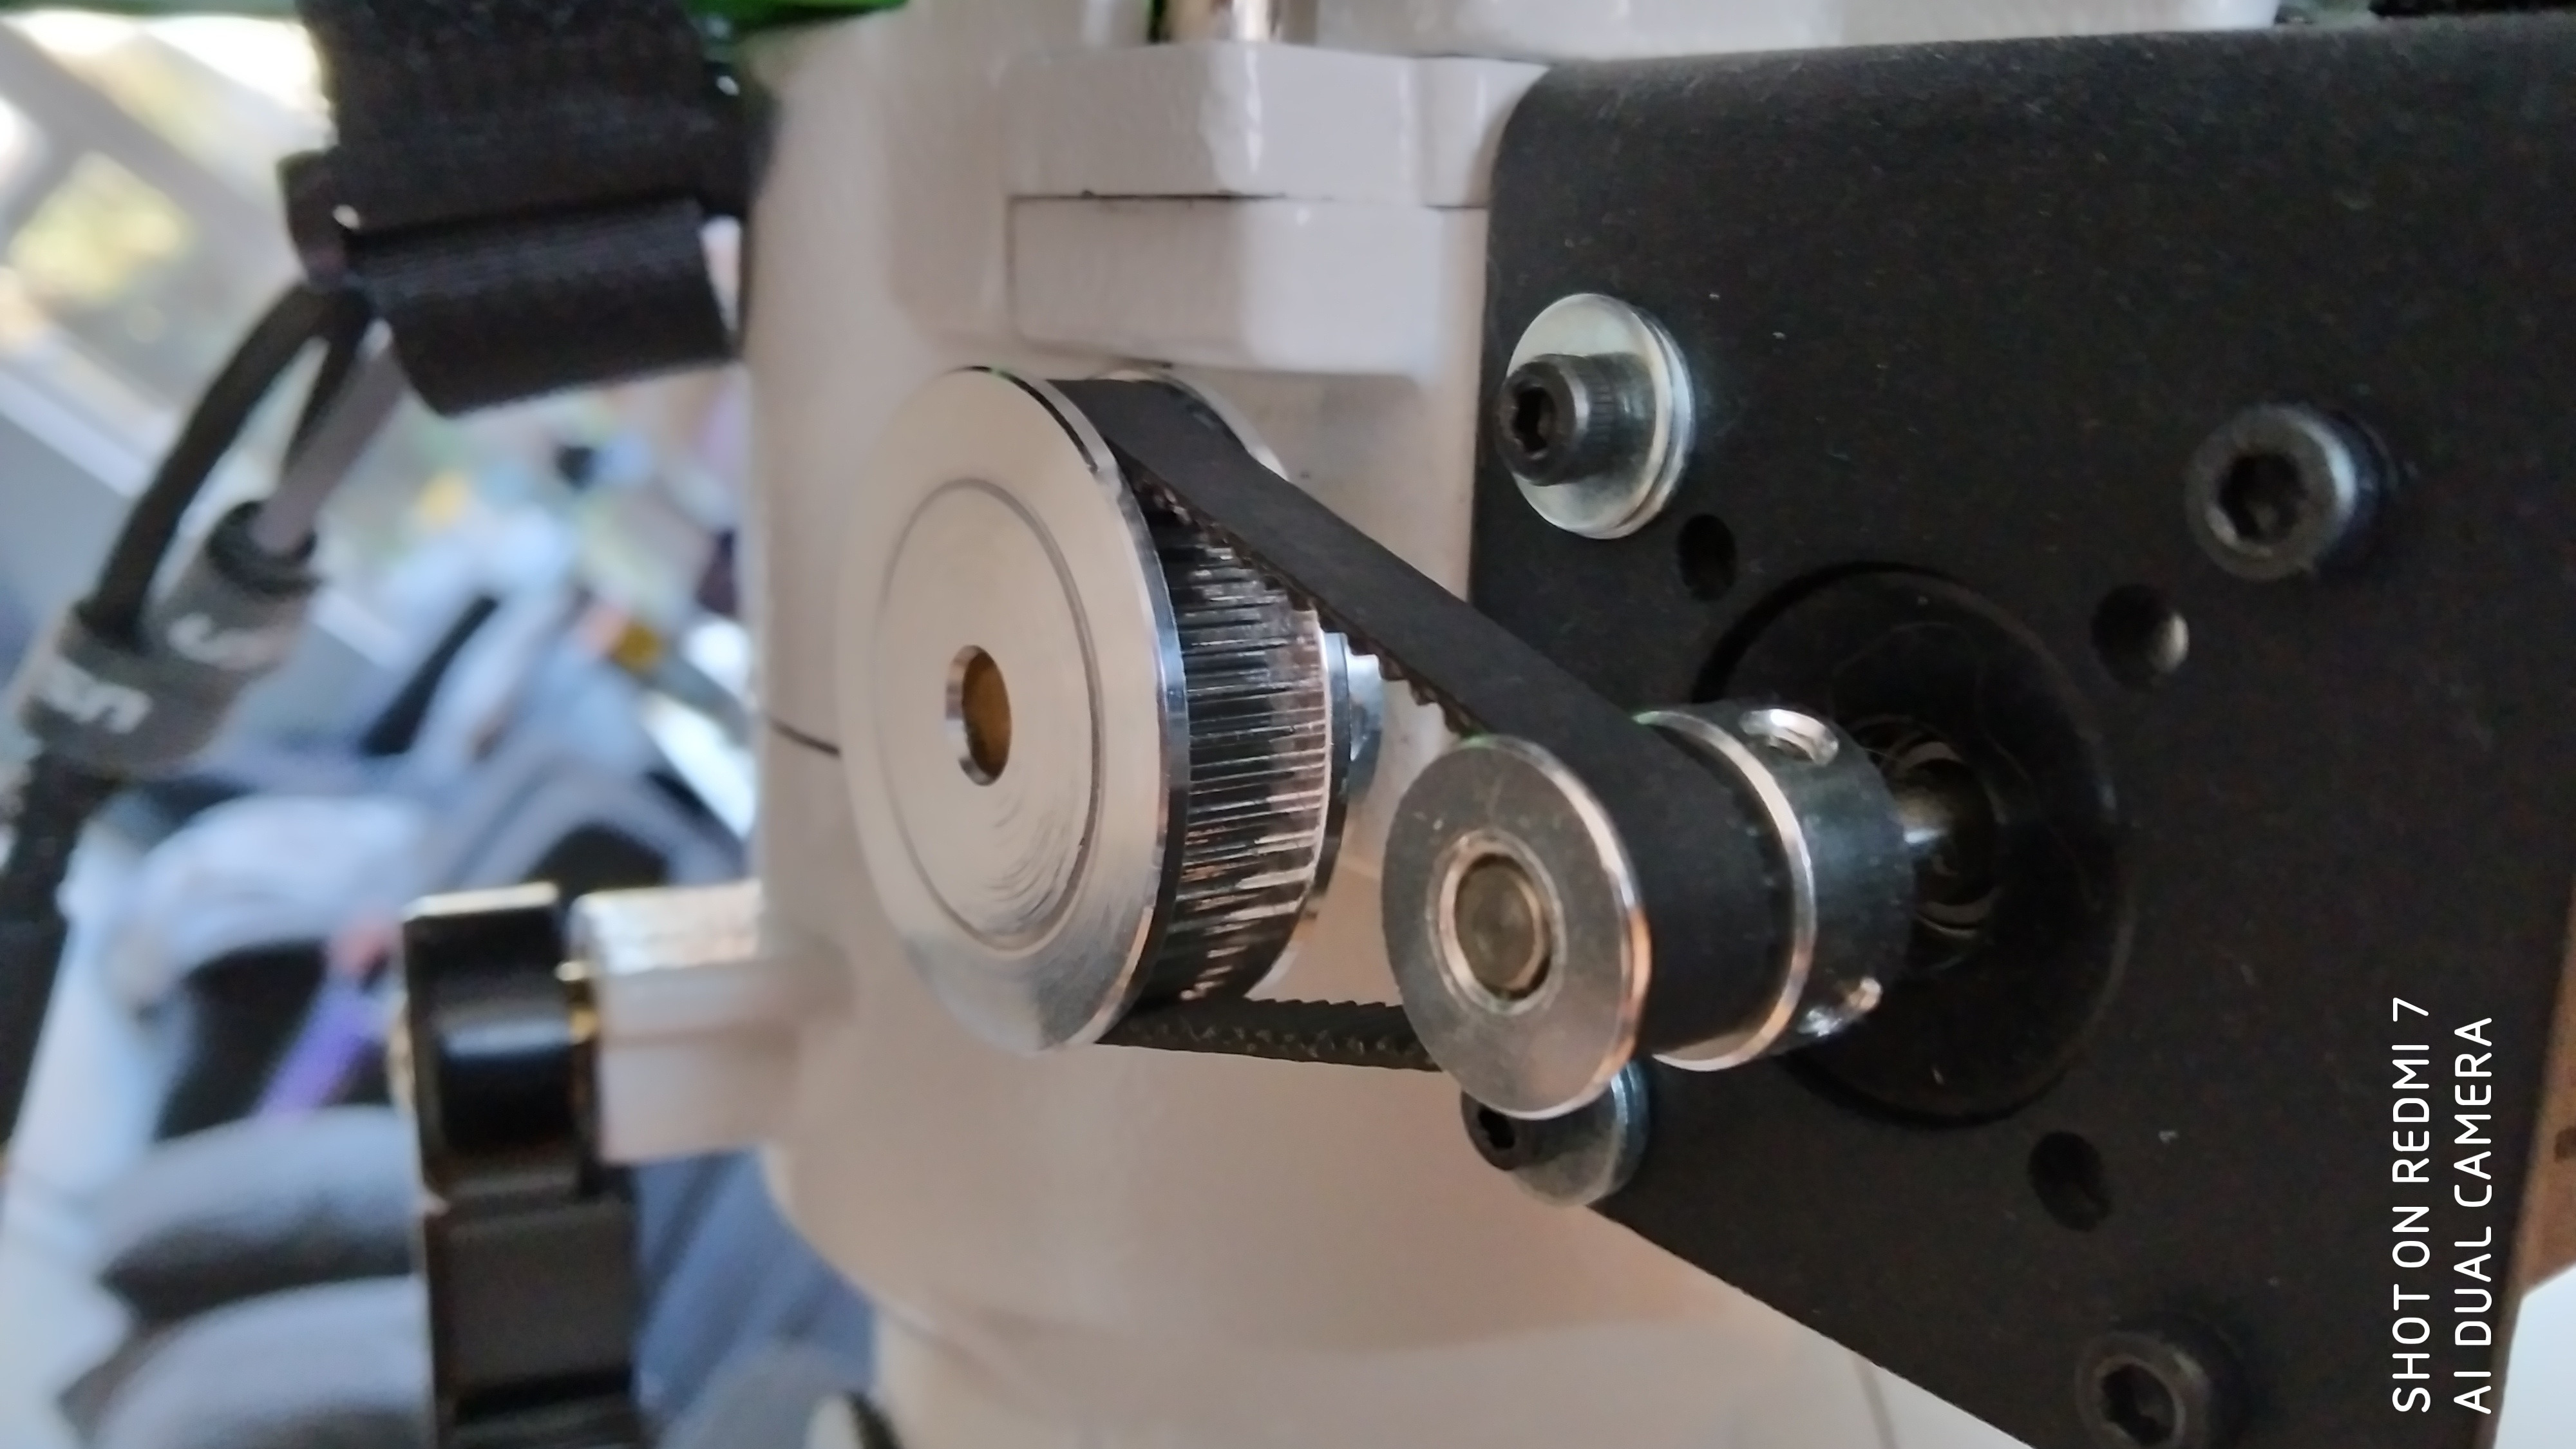
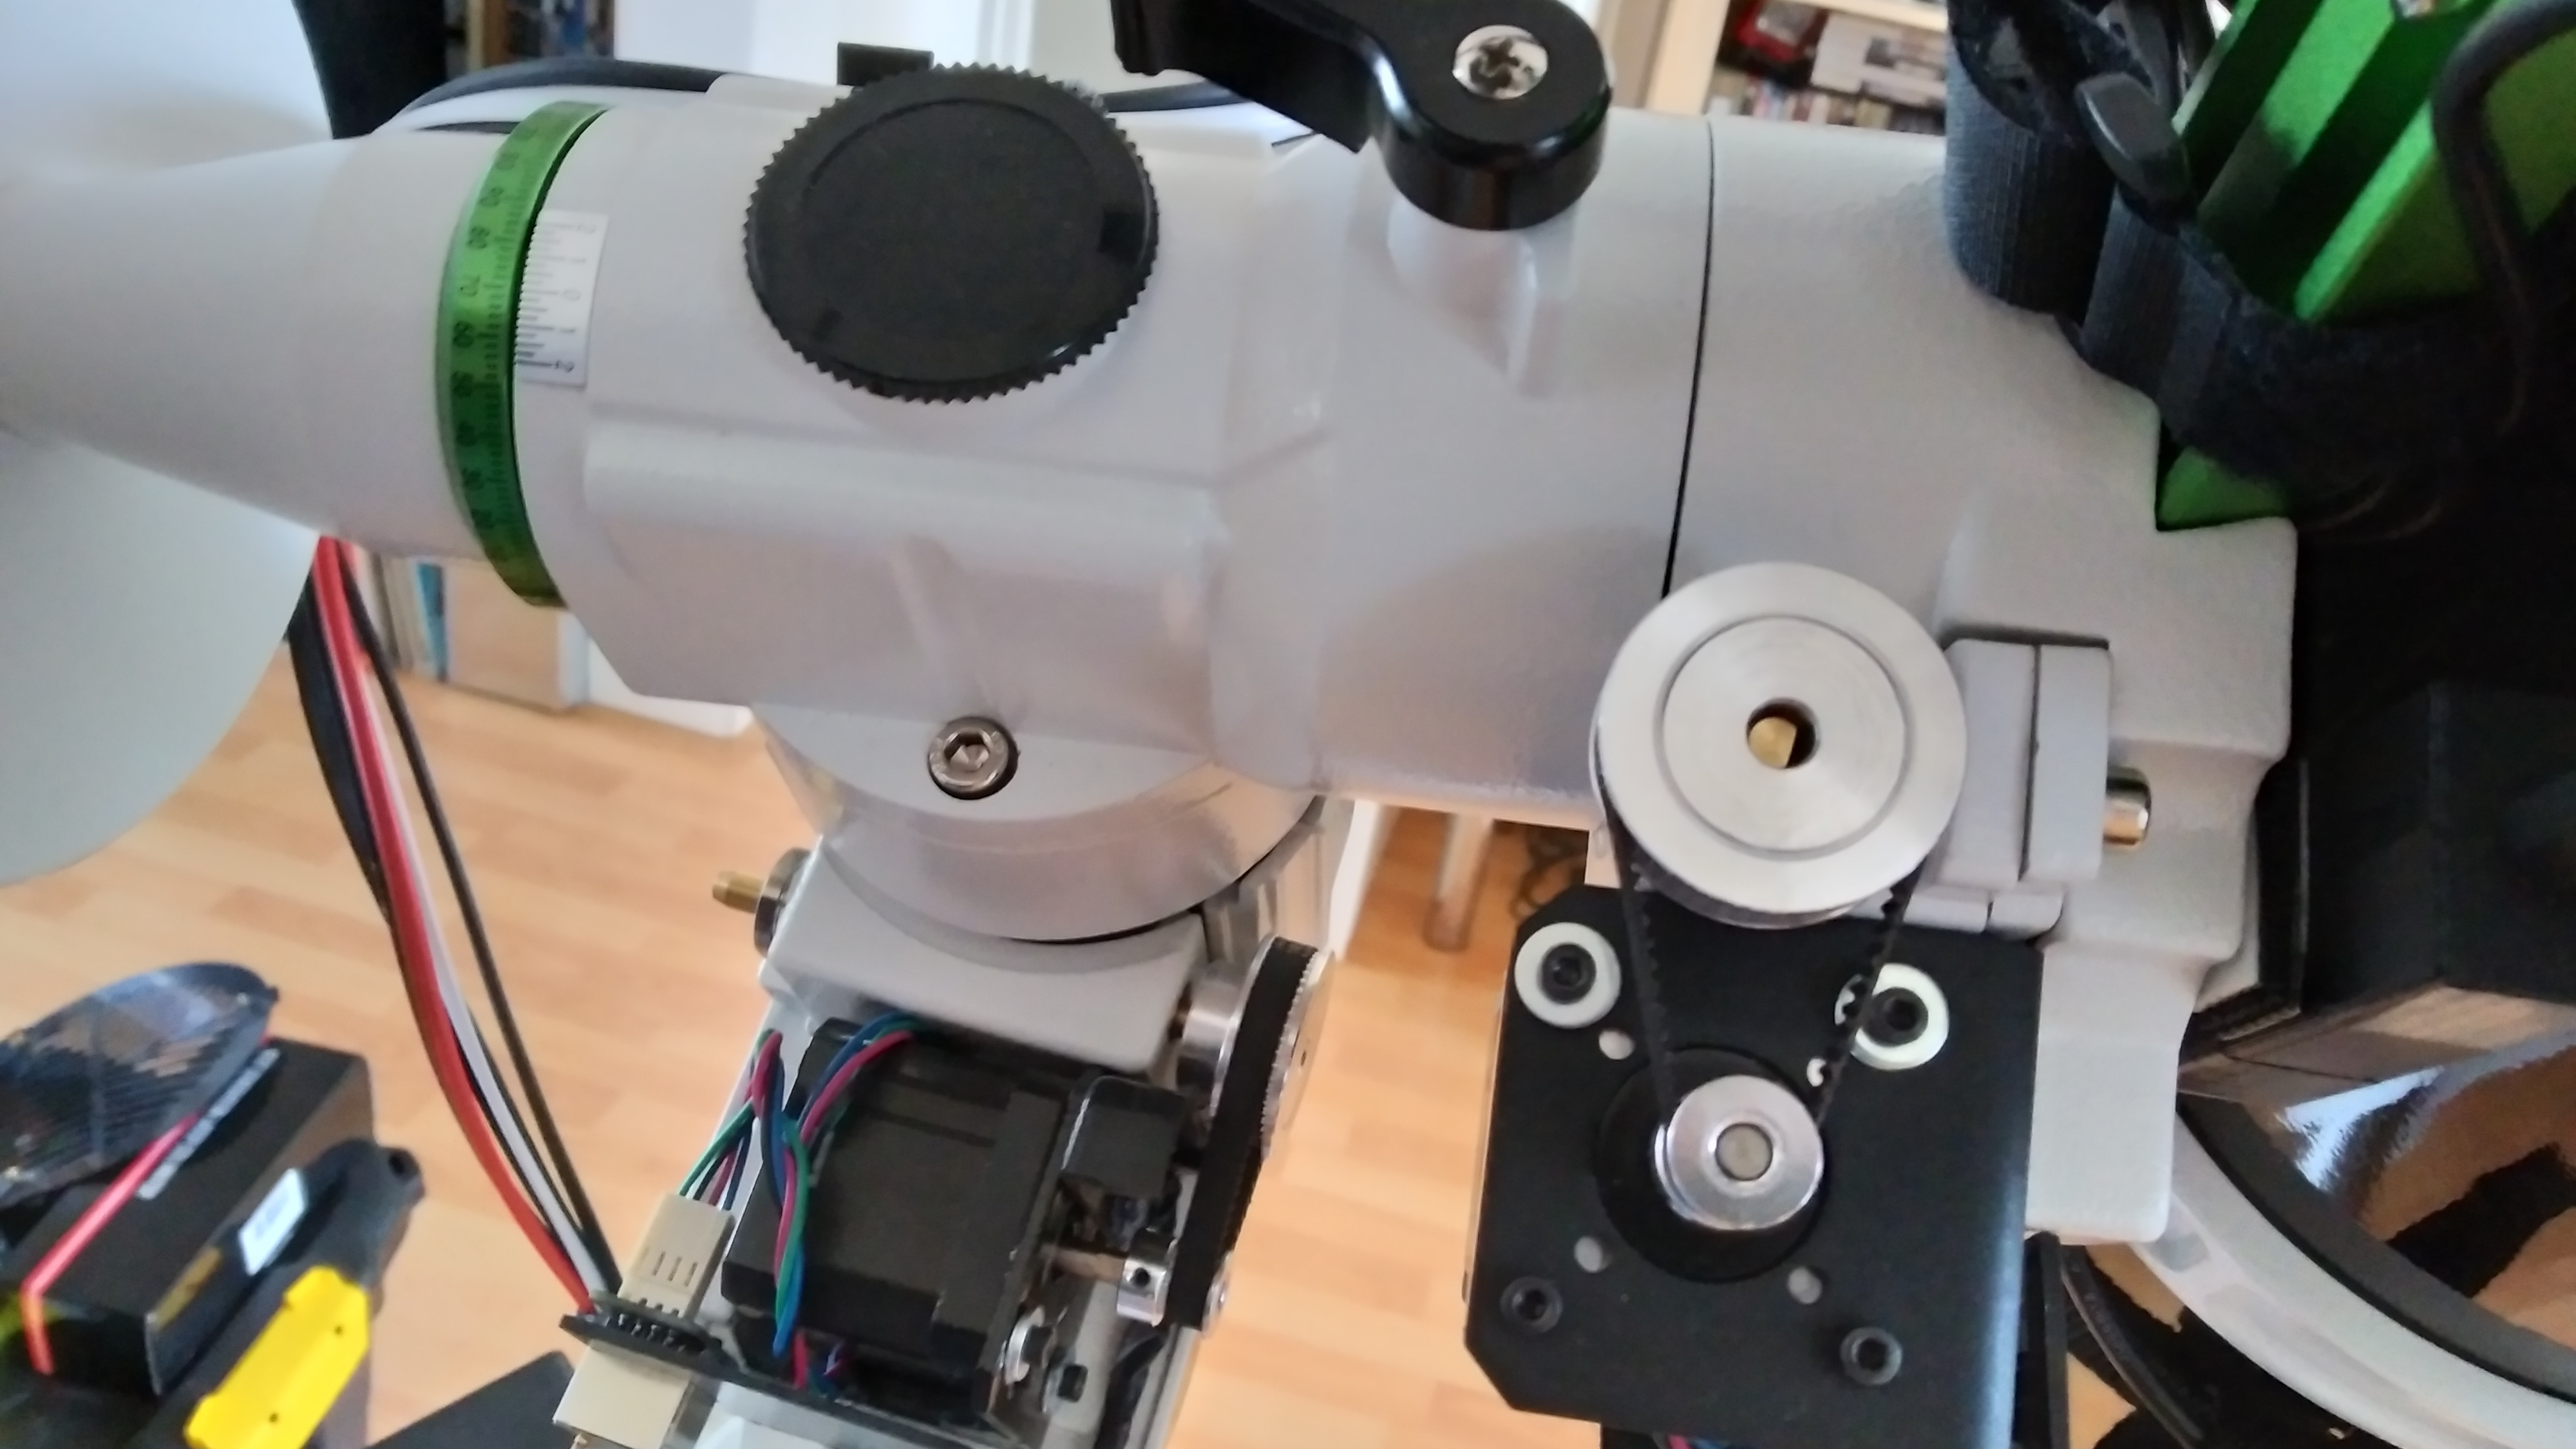
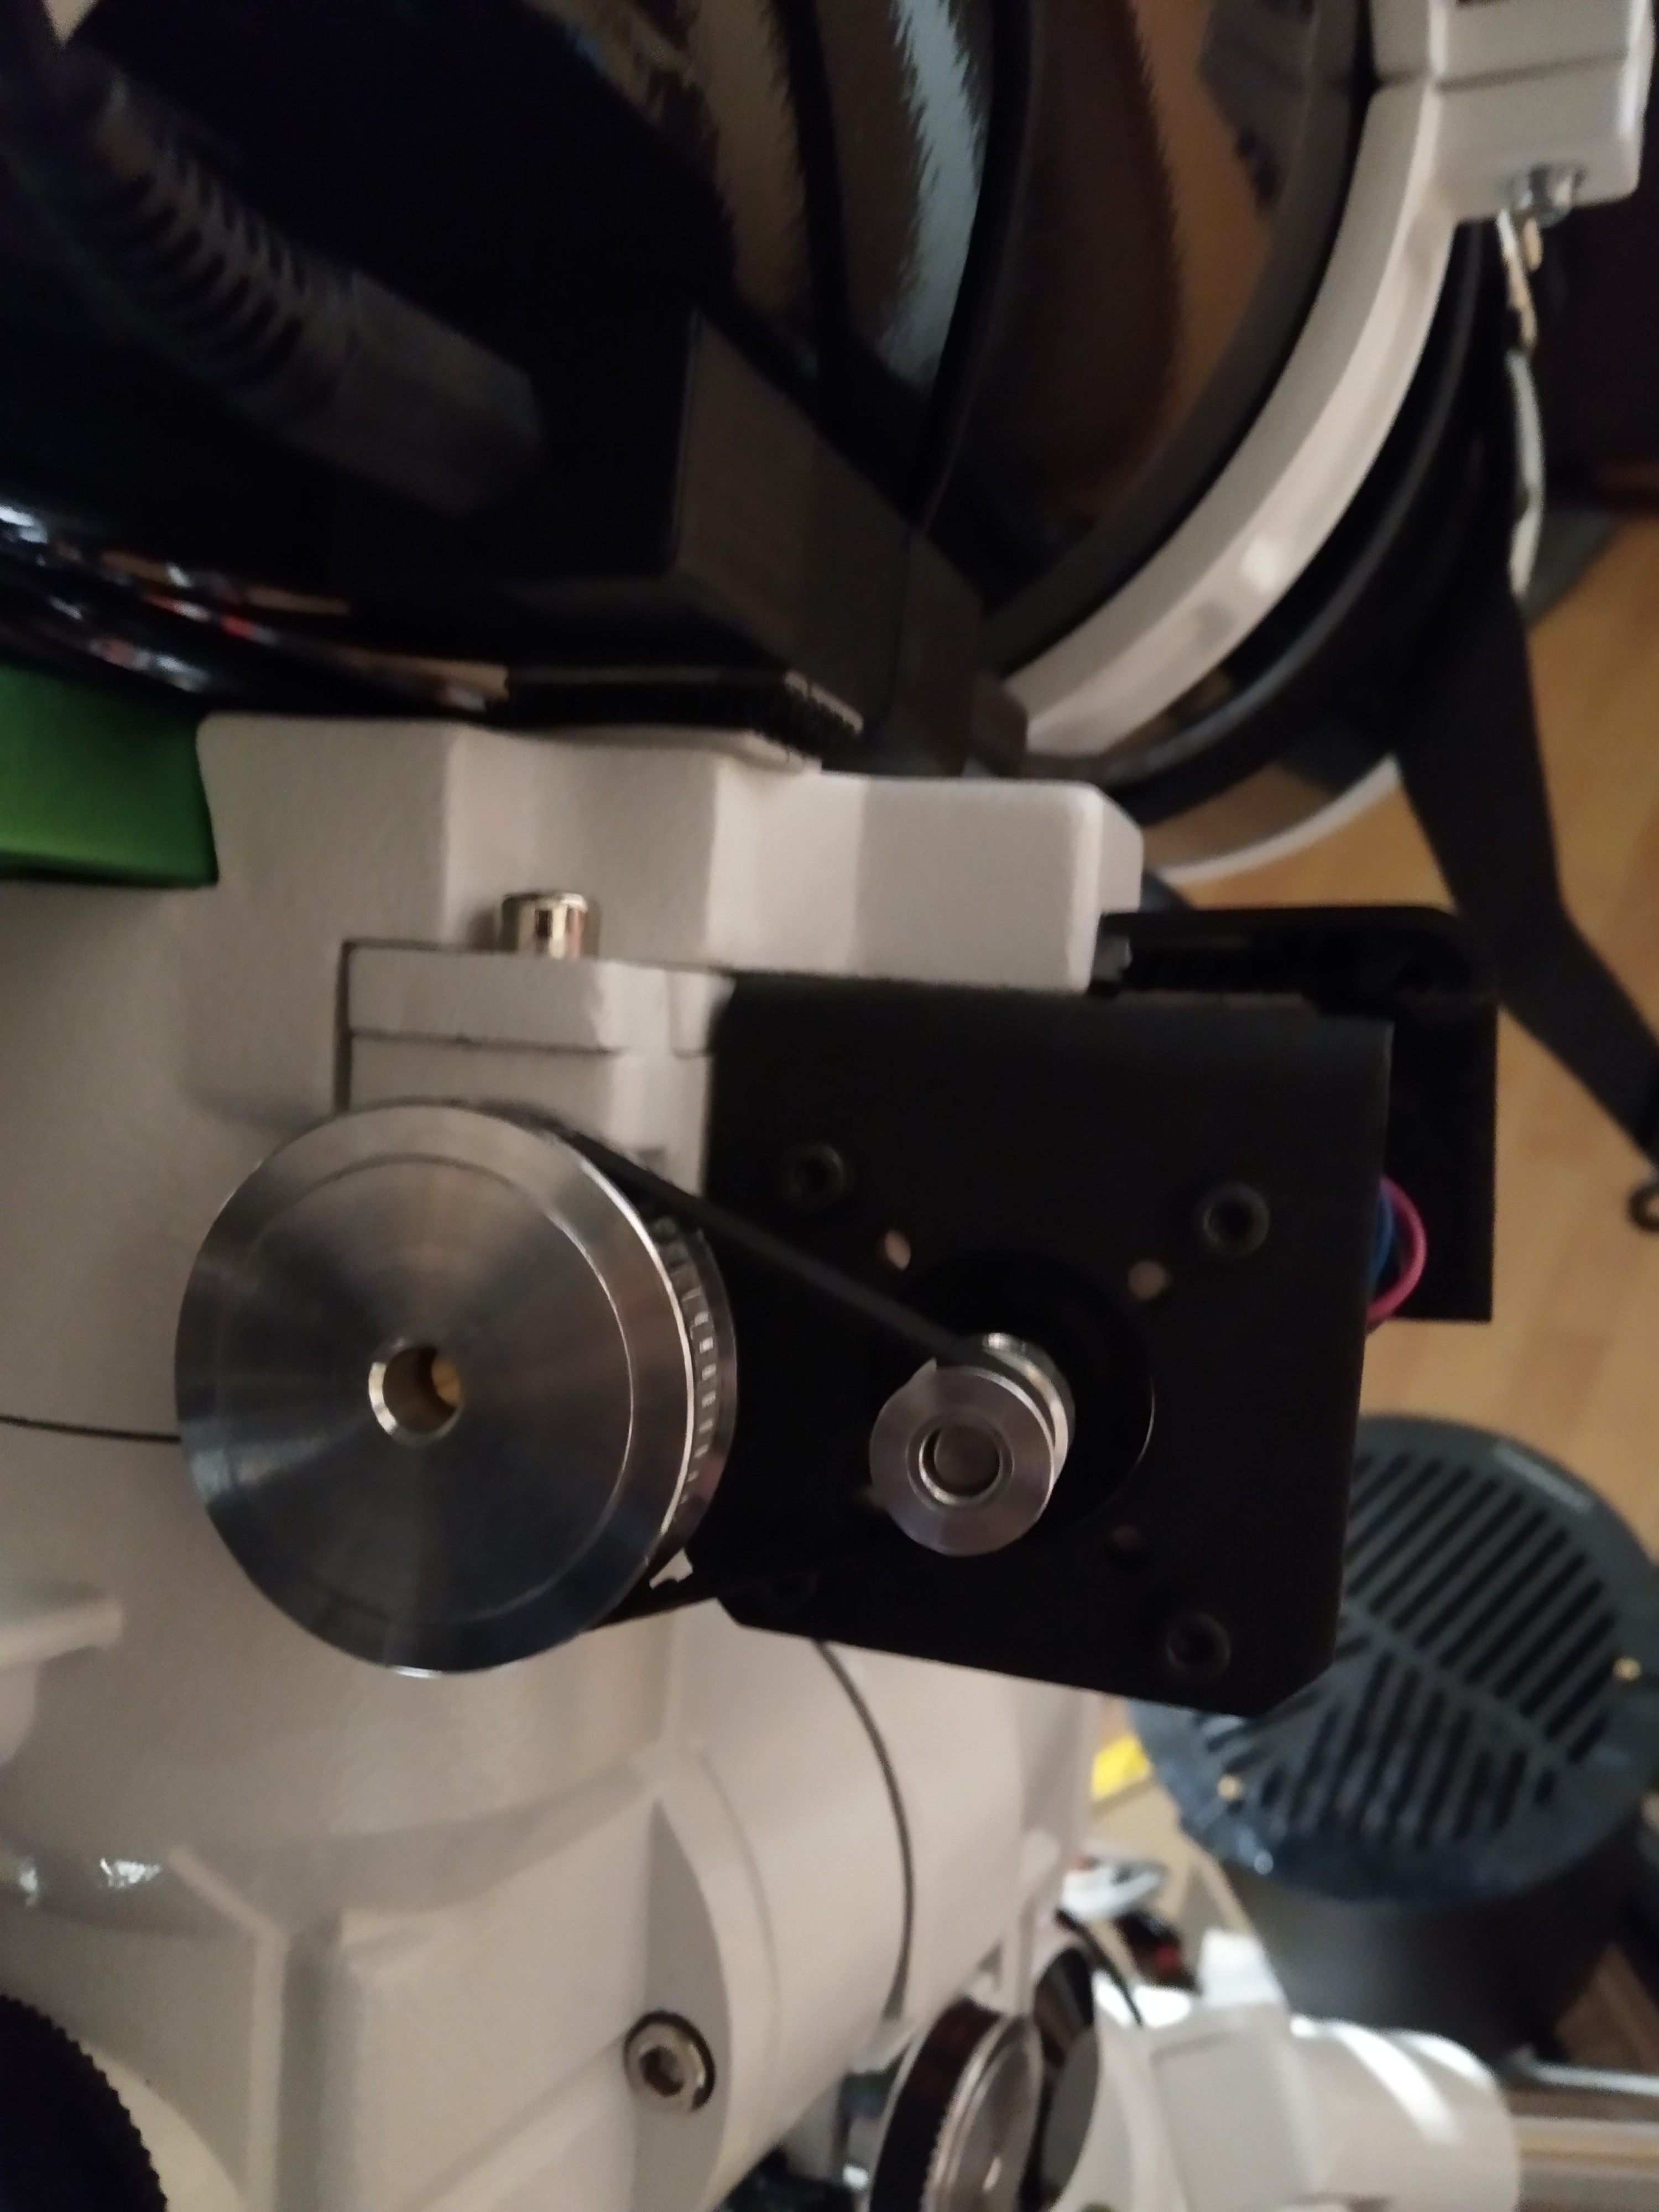
Belts & Pulleys
Next came the fitting and tensioning of the belts and pulleys, this required looping the belt around the larger mount pulley and hooking the motor into it an angle before screwing it into the bracket.
I used washers with socket head screws to put tension into the belts by pivoting the motor shaft slightly which causes the belt to pull tight from the stationary mount shafts.
Everything Else
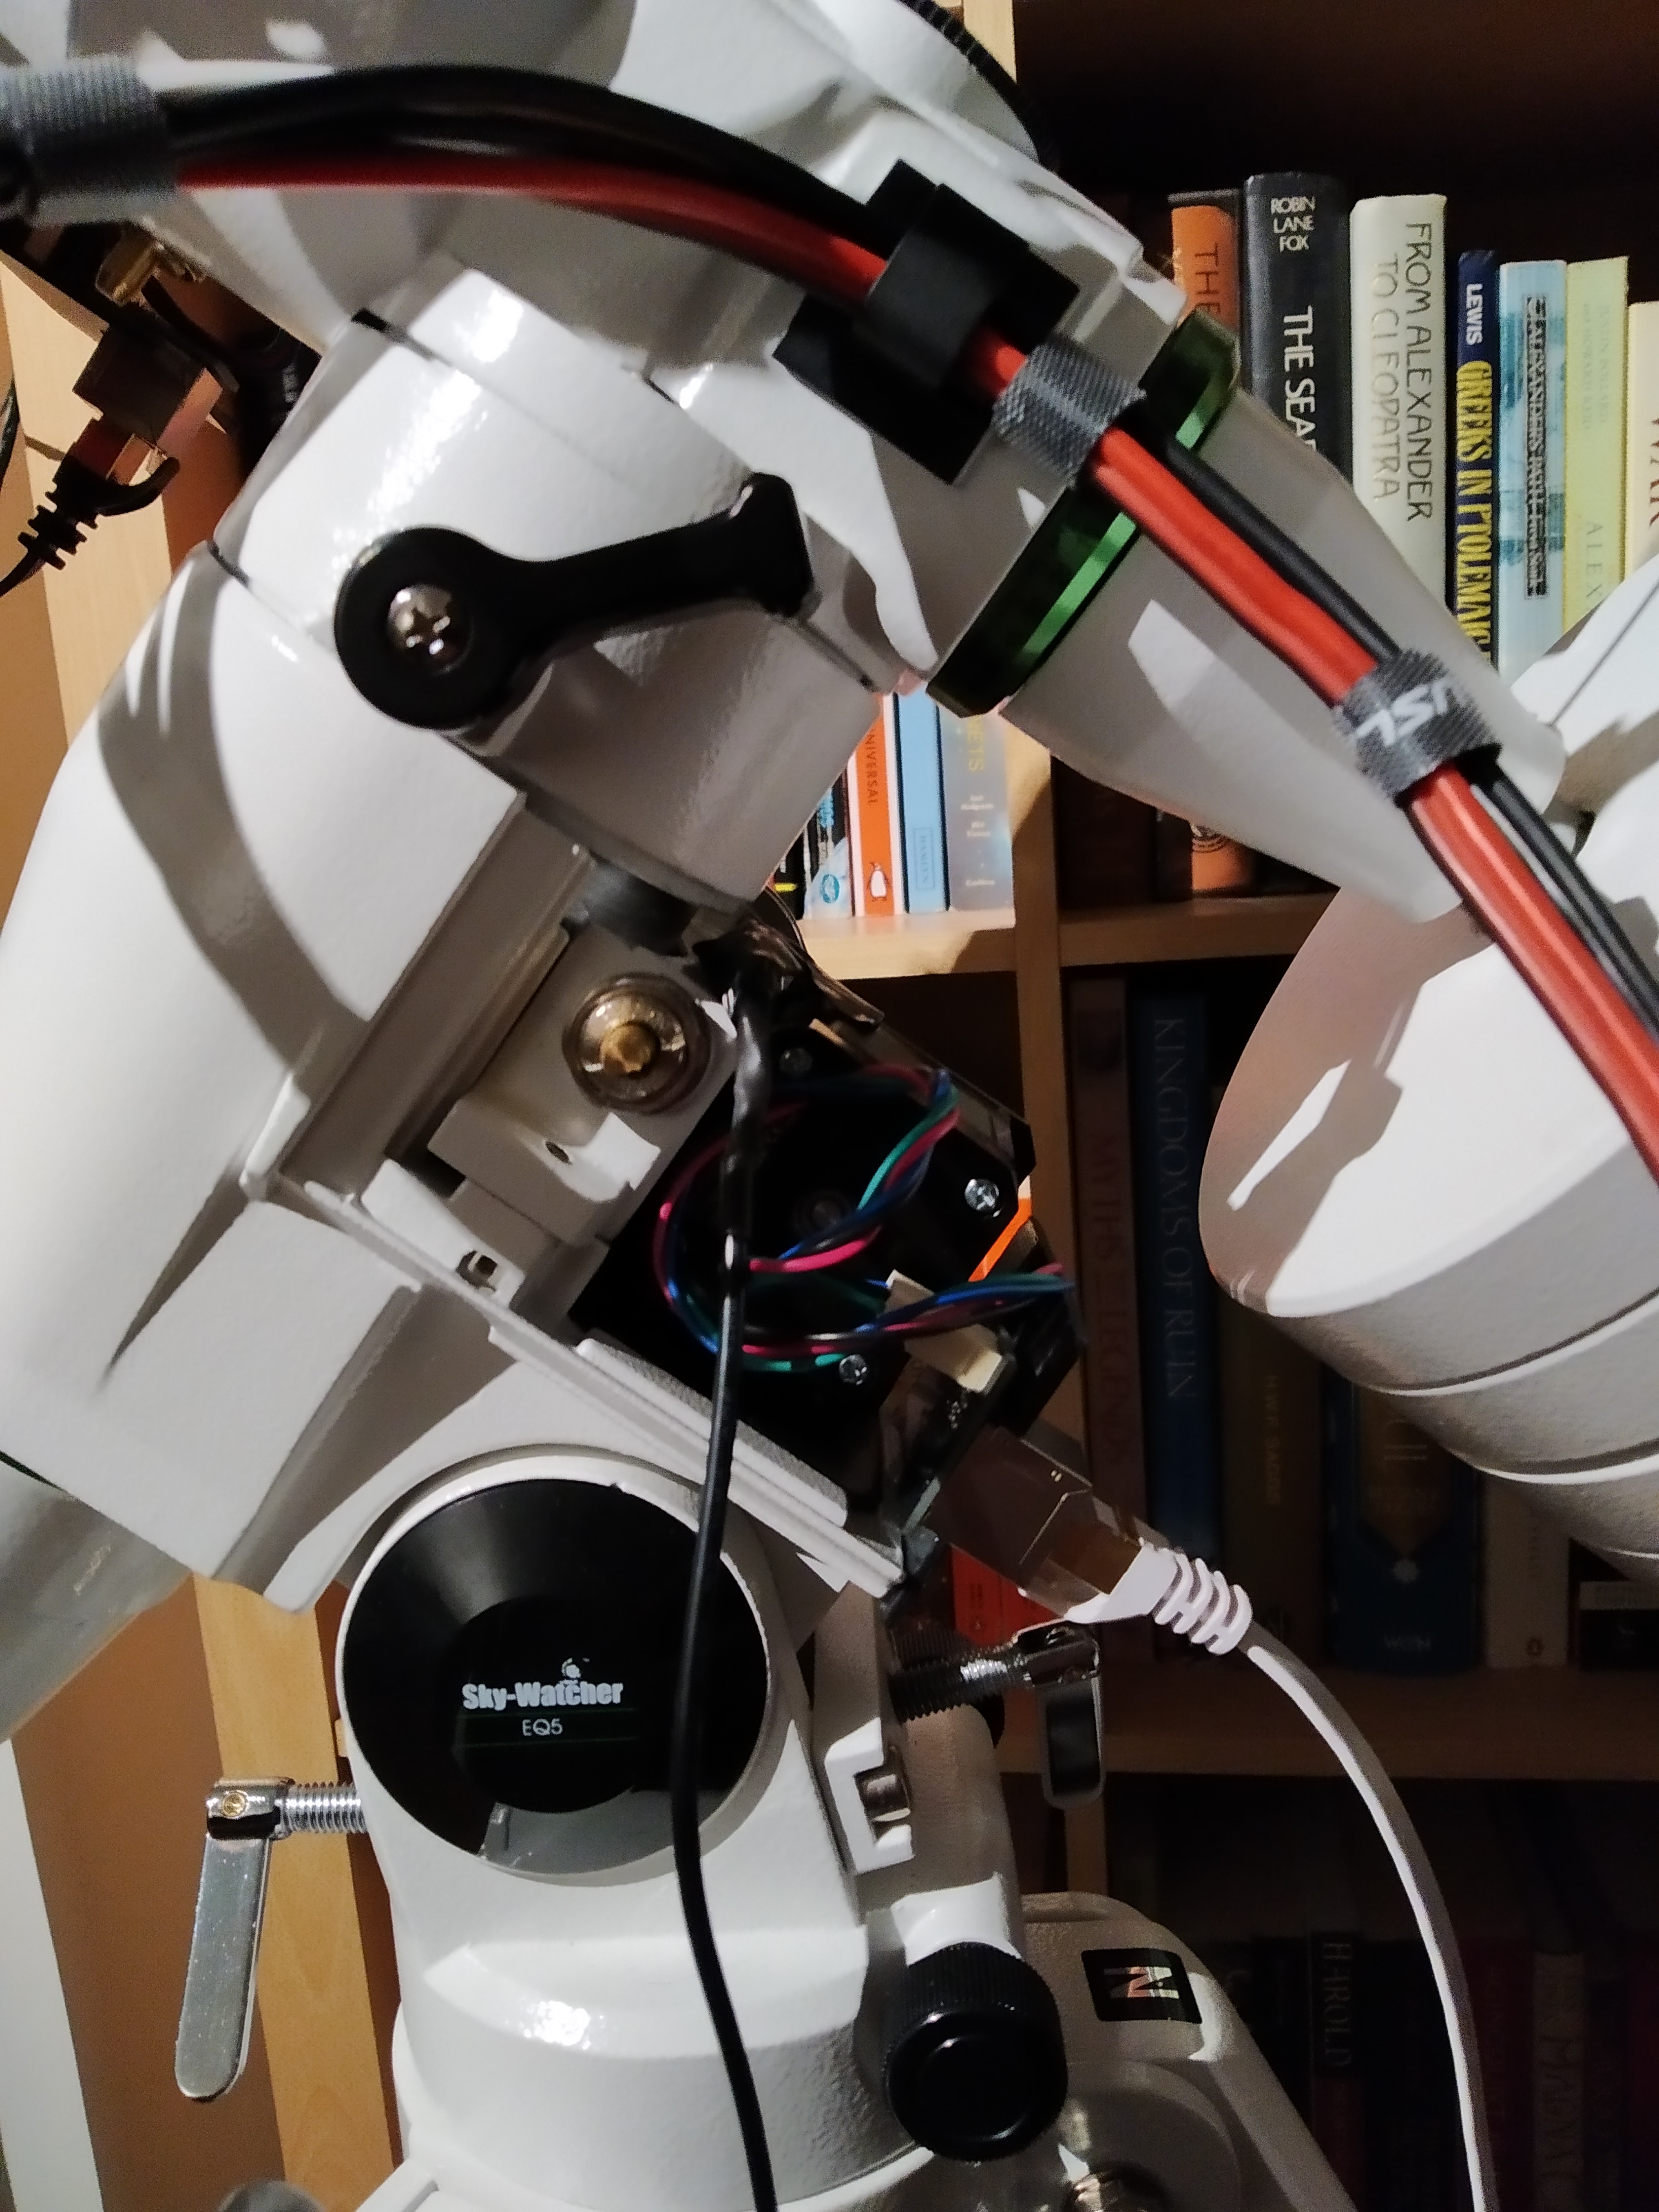
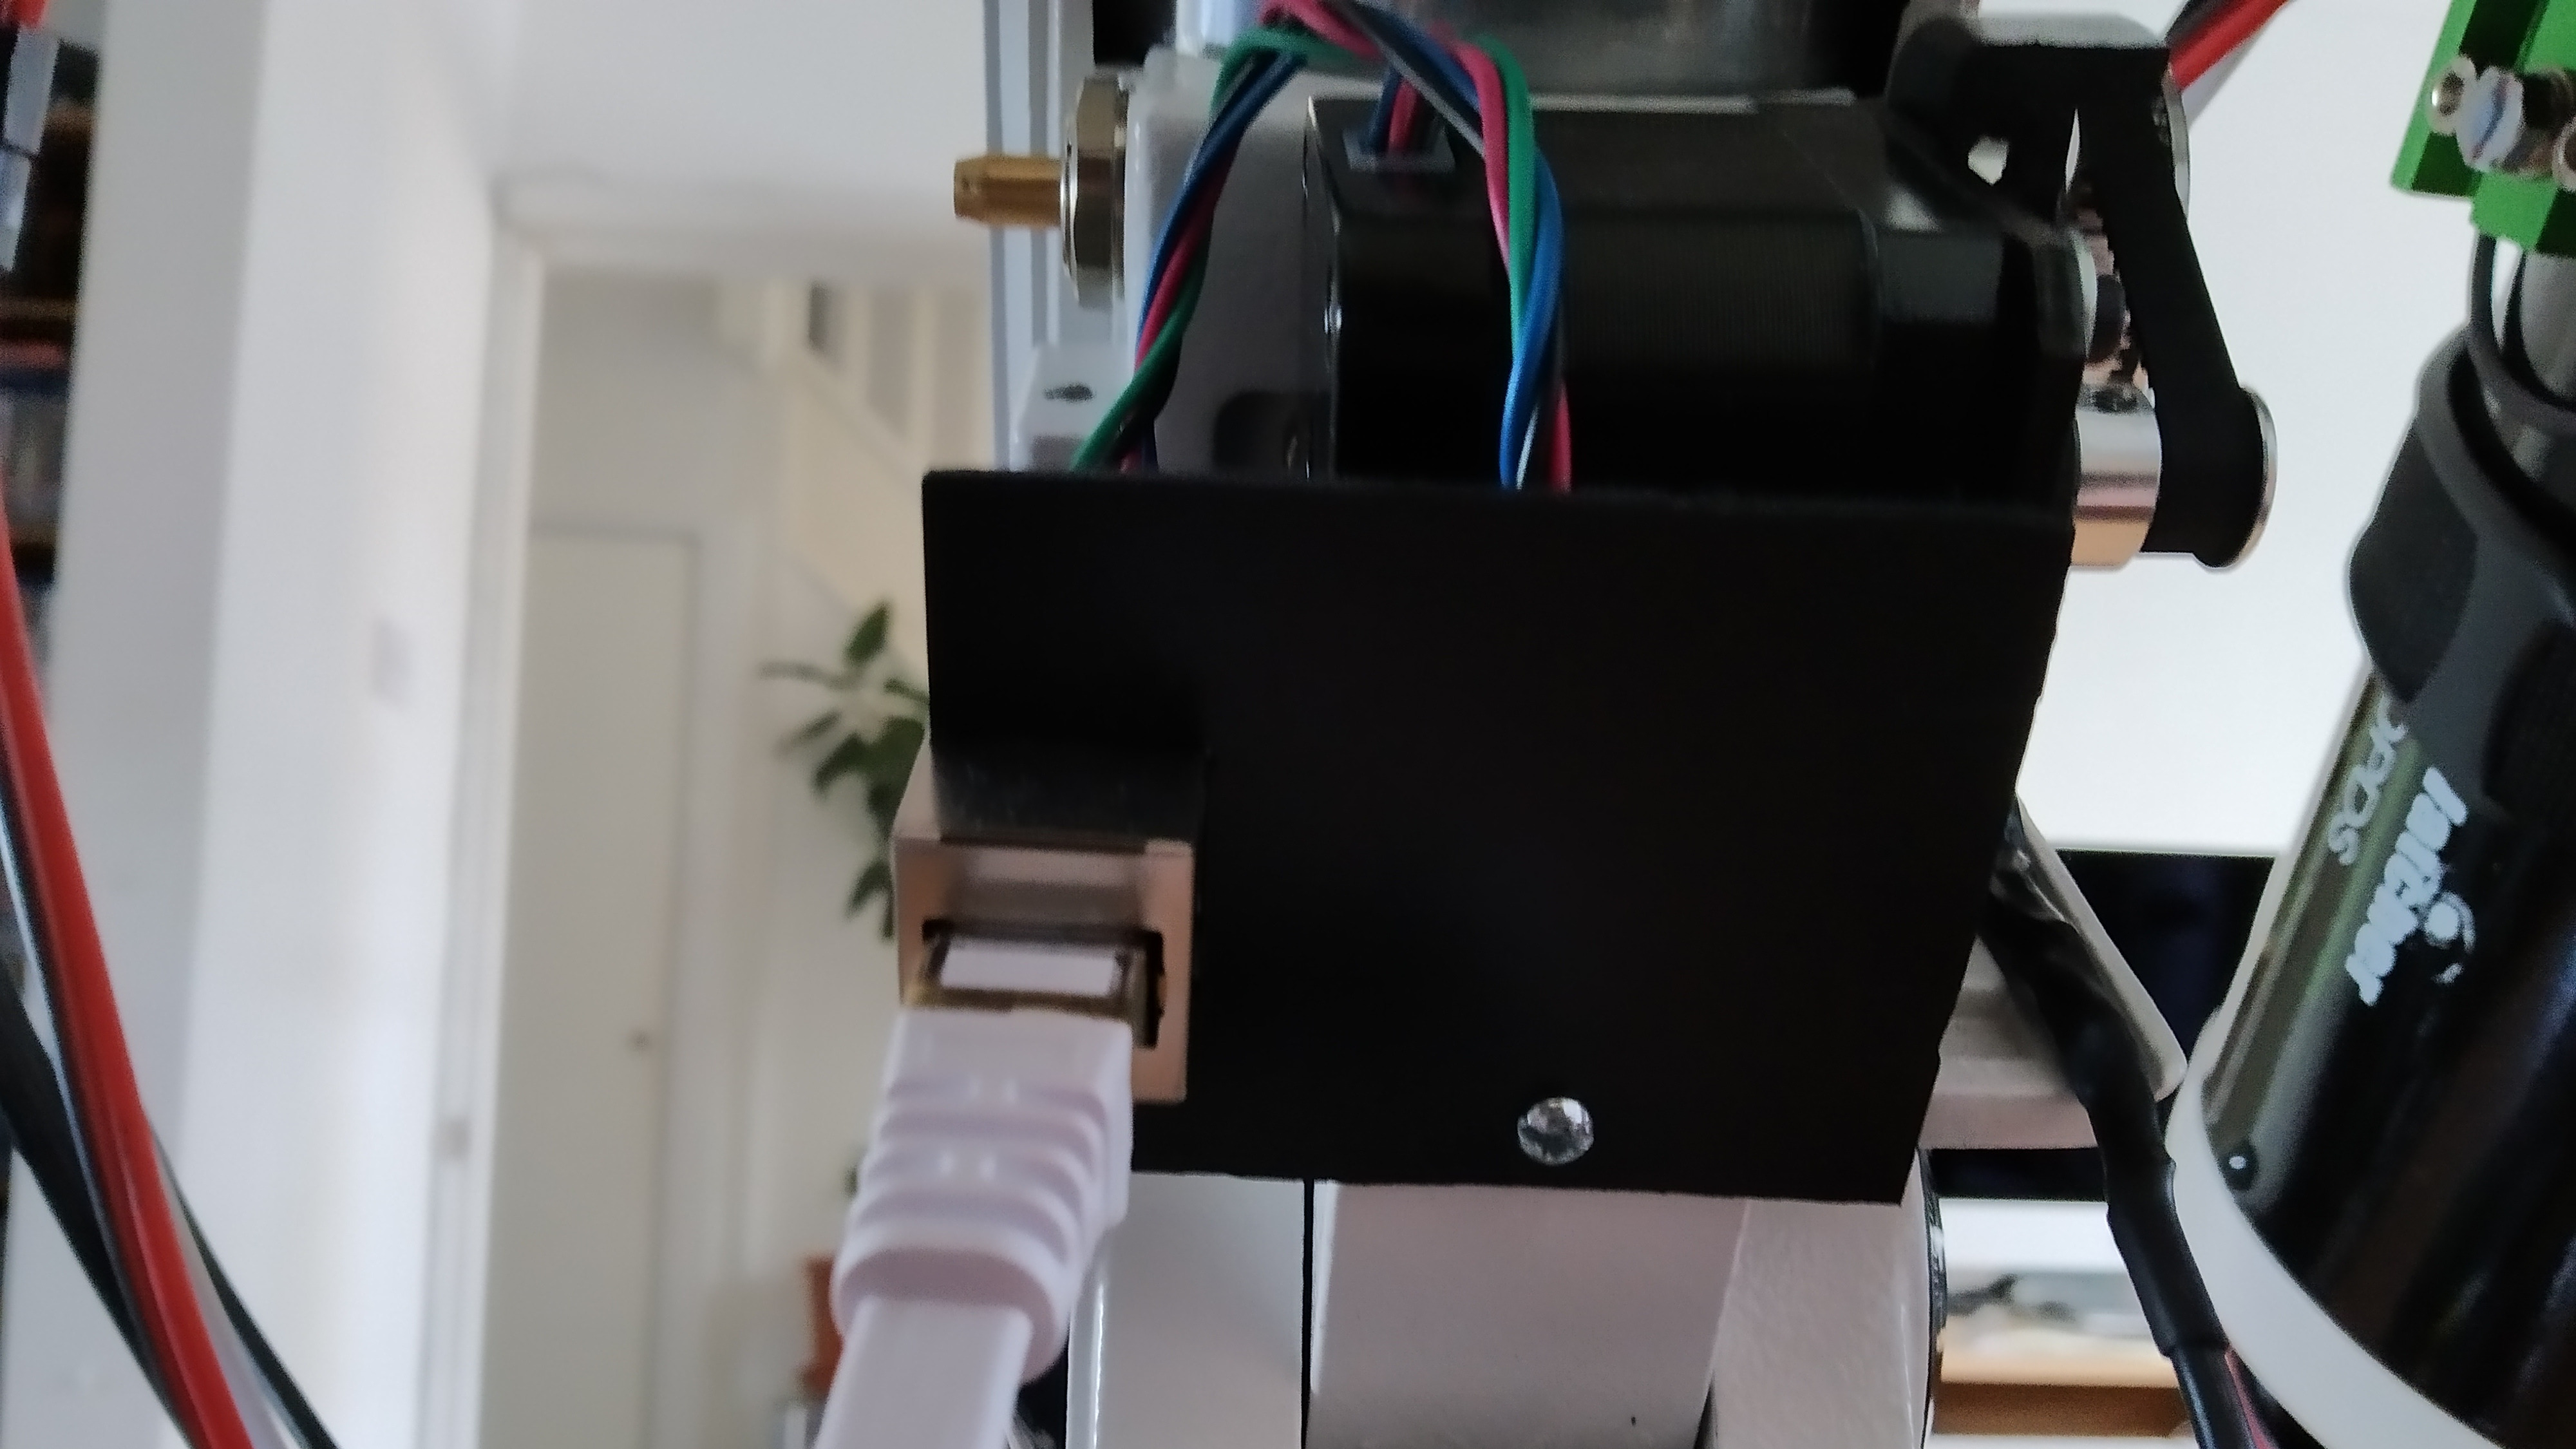
I used off cut pieces of acryclic and ABS plastic to mount RJ45 (ethernet) sockets which were soldered to small PCBs I designed with EasyEDA and had made at JLCPCB.
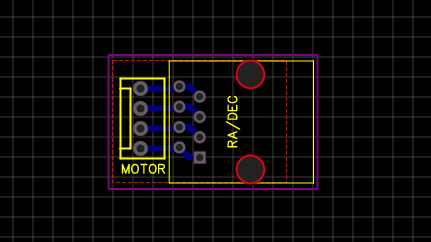
You can download the PCB file and import it into EasyEDA using this JSON file: RJ45 to Molex PCB
You can see on the image below that the PCB allows for through-hole mounting of an RJ45 socket and a four pin molex which interfaces with a four pin molex connector with molex KK pins that connect to the four wires of the stepper motor and split them into two of the RJ45 wires which then connect directly the STM32 design without you having to splice or mess around with wires much at all.
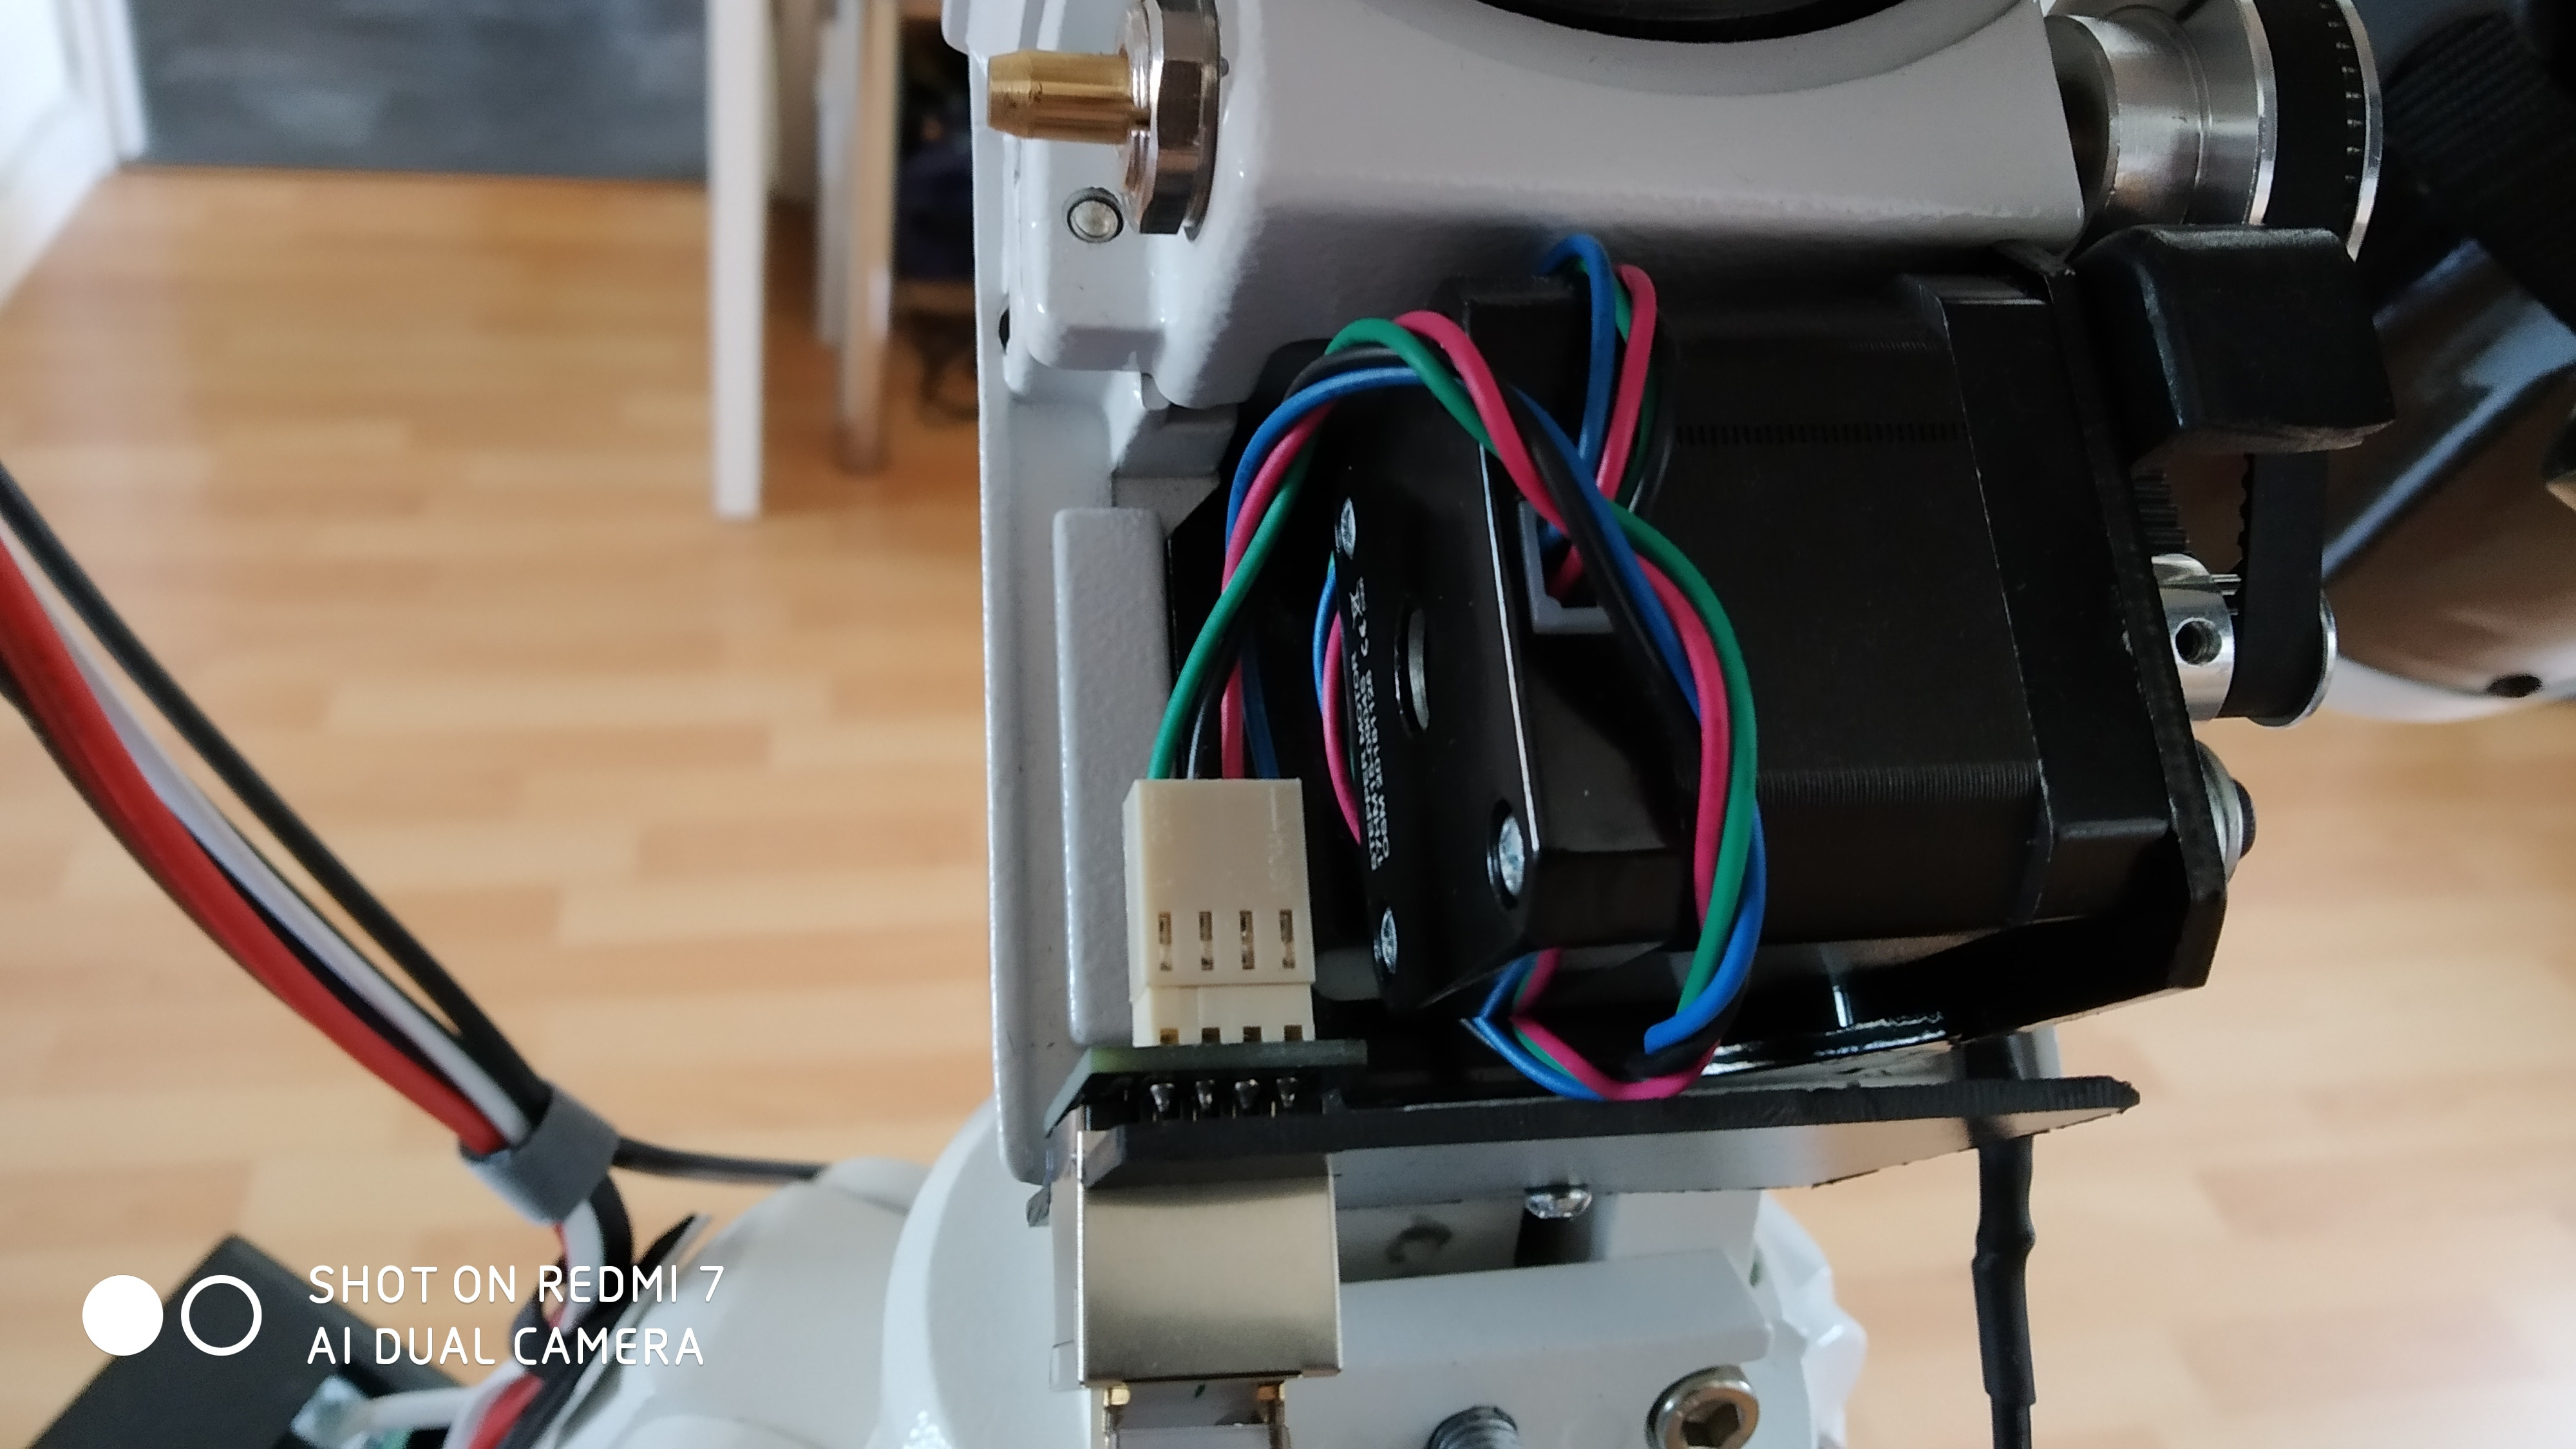
This allows removal of the ethernet wires easily and they can be replaced if they get worn or damaged. This also allows removal of the motor from the mount by pulling apart the Molex KK connectors. Incredibly easy and great for maintainability.
Flat Cat6 is highly recommended over round cable as it stays flexible when temperatures drop towards and below freezing, reducing stiffness and in turn minimising wear and on the cables.
As for looks yes you can create some nicer looking enclosures, but right now as long as it works I'm not messing around with it too much!
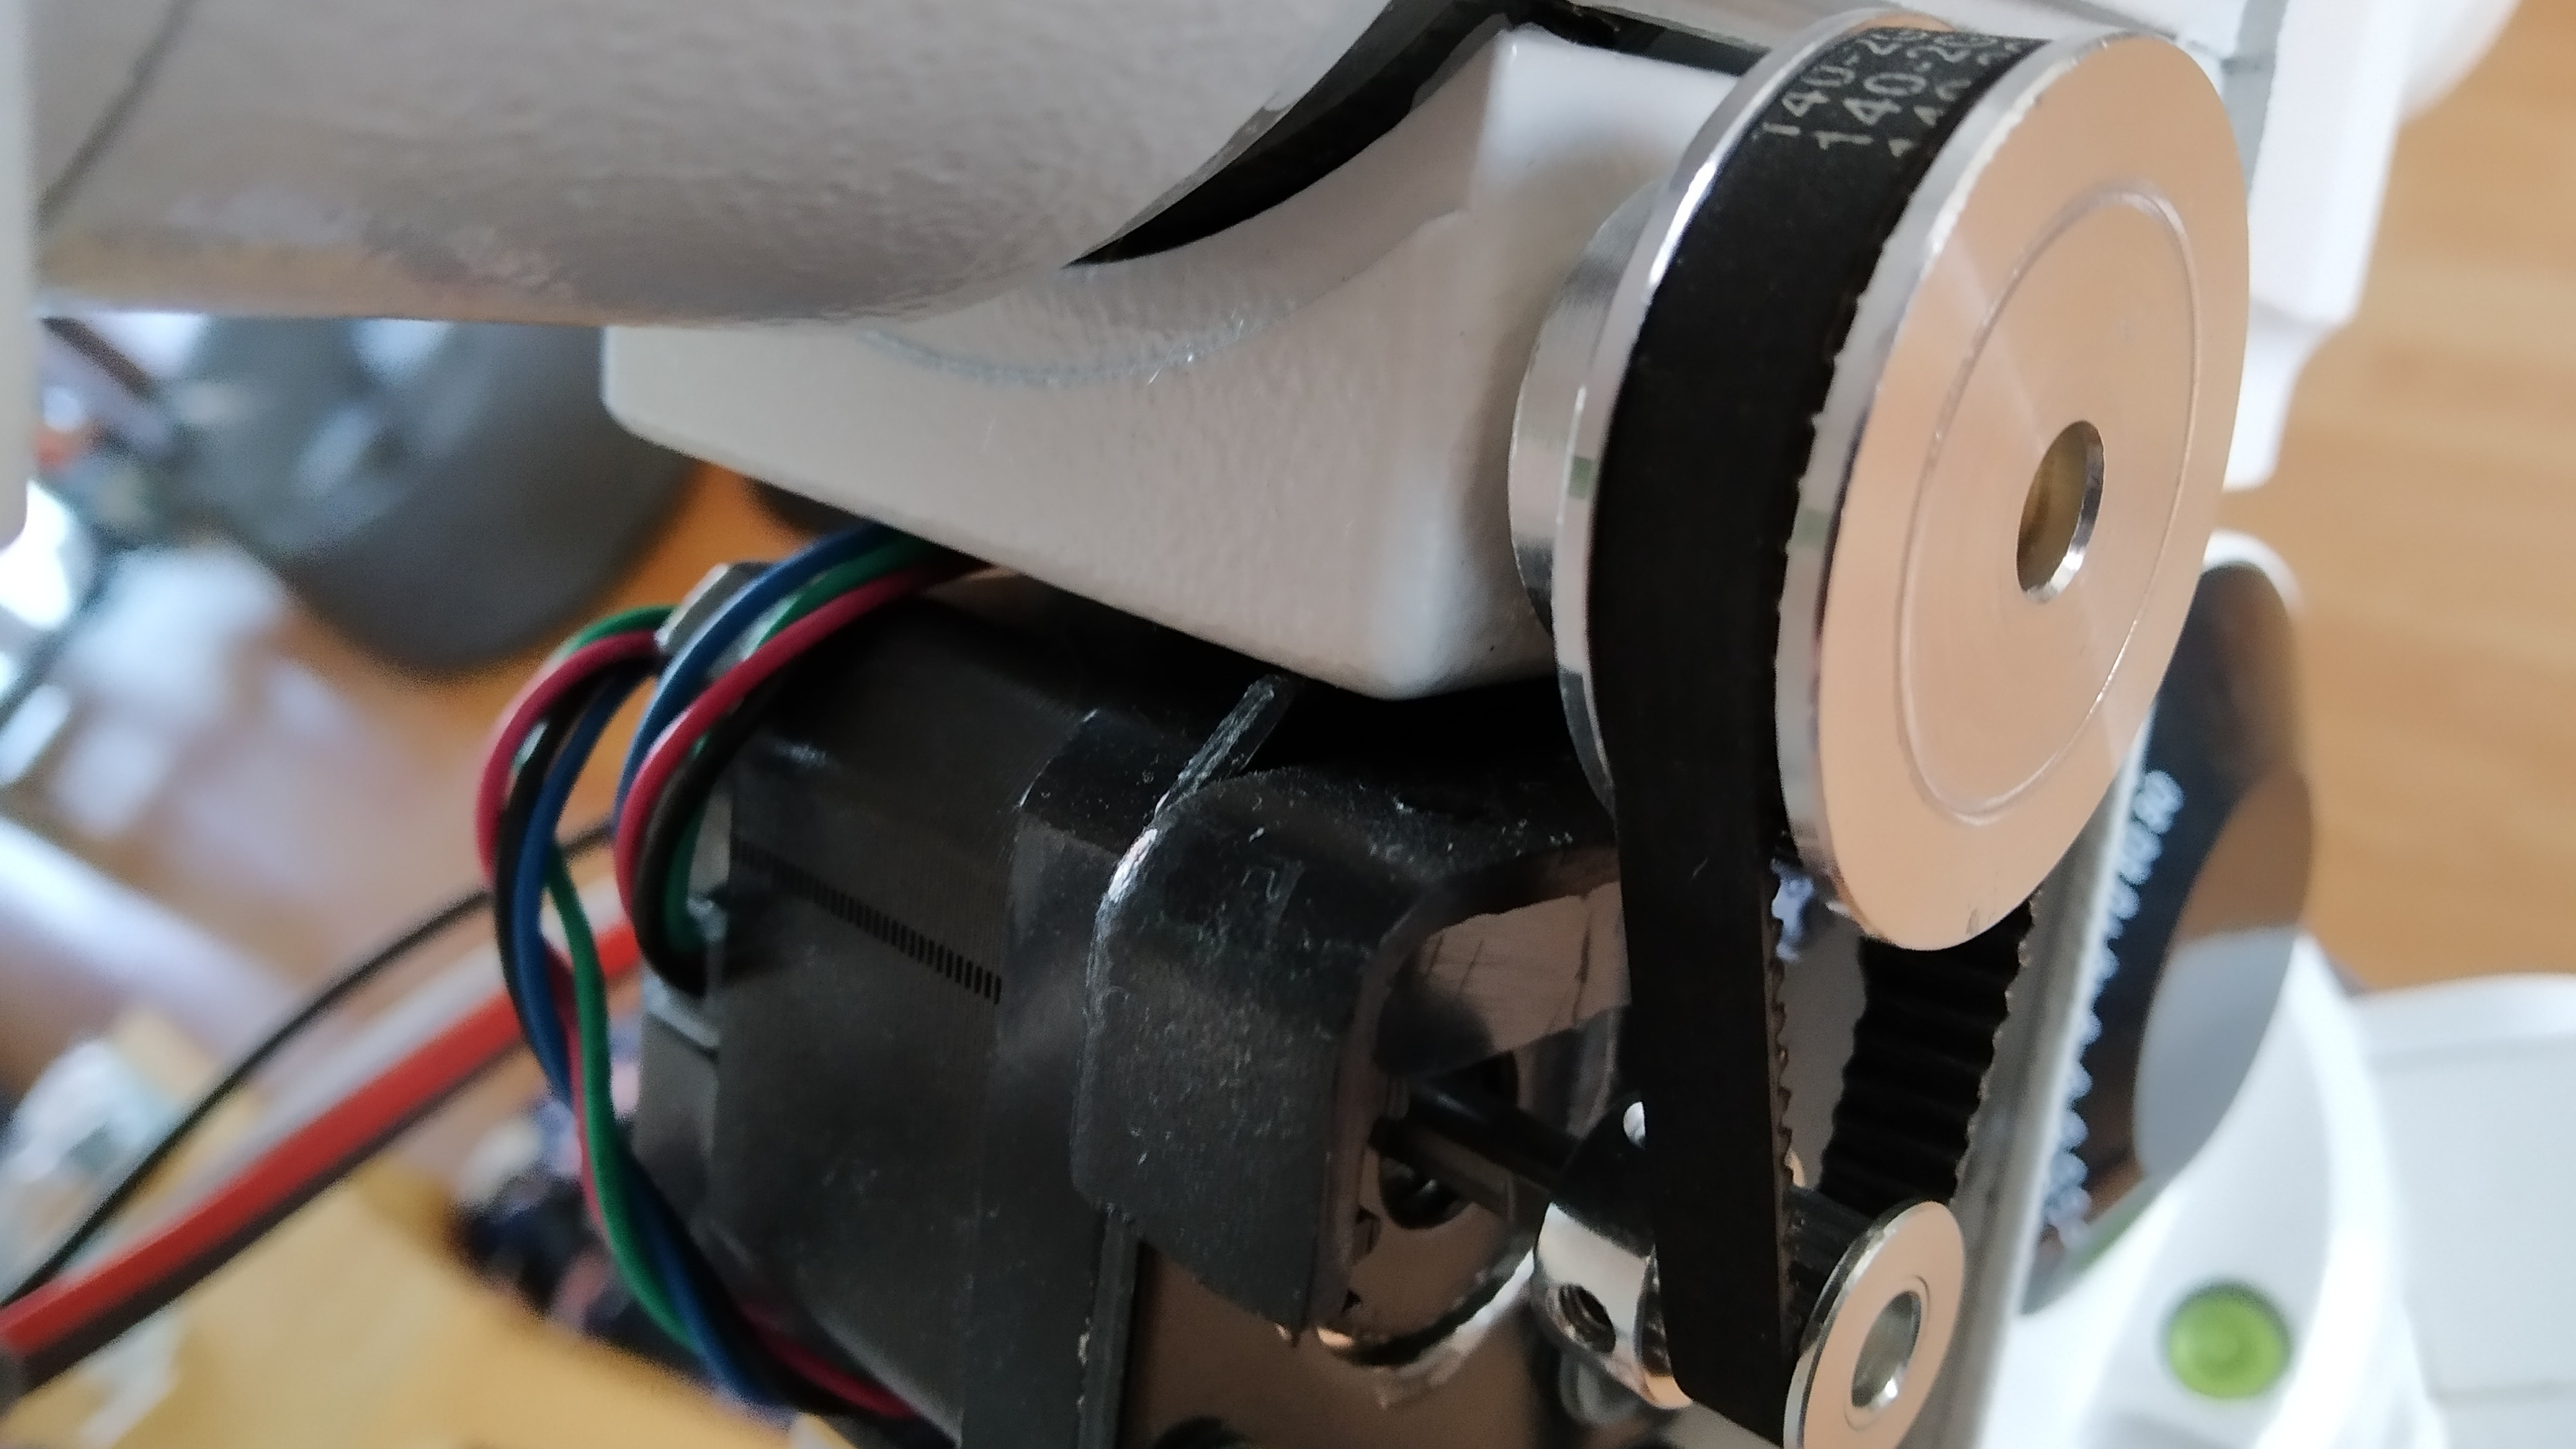
The last component on the RA axis was the PEC sensor, consisting of a hall effect sensor mounted to a small piece of aluminium sheet which is held directly on the motor bracket using the same screws that secure the motor to it. The sensor detects a small neodymium magnet attached to the RA pulley once every full rotation of the RA worm and hence can be used to reduce periodic error.
The sensor is wired directly onto a standard 3-pole 3.5mm audio cable that plugs into OnStep with a 3.5mm socket. This follows the design laid out by Khalid Baheyeldin. Again this is a bit 'raw' but it works well enough for me for now.
Setting Up OnStep
Hardware done only the firmware setup remained and this was really just a matter of setting up the Config.h file with values according to my exact configuration. Only the values I changed are listed, assume the rest of the file remained as it is. This is accurate as of OnStep V4.0g
All figures were calculated using the OnStep Configuration Calculator Spreadsheet
Figures for my EQ5 as of April 2020 are as follows:
Note that I changed my belts and pulleys to a 4:1 ratio by using a 15 Tooth and 60 Tooth pulley after my initial construction to increase available torque, so the numbers in the code snippet below are for a 4:1 GR1
400 Stepper Steps
32 Microsteps
4 Gear Ratio 1
144 Gear Ratio 2
= 20480 Steps per Degree for both RA & DEC
= 51200 Steps per Worm Rotation in RA and 600s PEC Buffer Size

0.18 Arc Seconds Calculated Tracking Resolution
0.36 Arc Seconds Estimated Real Resolution
Putting these into the OnStep Config.h file, note I had to reverse my RA axis, you won't know if you have to reverse either axis until you first try everything out:
#define PINMAP                          STM32Blue
#define MOUNT_TYPE                      GEM
#define TIME_LOCATION_SOURCE            DS3231
...
#define WEATHER                         BME280_0x76
#define PEC_SENSE_STATE                 LOW
#define PEC_SENSE                       ON_PULLUP
#define PPS_SENSE                       ON_PULLUP
...
#define ST4_INTERFACE                   ON_PULLUP
#define ST4_HAND_CONTROL                ON
#define ST4_HAND_CONTROL_FOCUSER        ON
...
#define SLEW_RATE_BASE_DESIRED          2.0

#define AXIS1_STEPS_PER_DEGREE          20480.0
#define AXIS1_STEPS_PER_WORMROT         51200
#define AXIS1_DRIVER_MODEL              TMC2209_QUIET
#define AXIS1_DRIVER_MICROSTEPS         32
#define AXIS1_DRIVER_MICROSTEPS_GOTO    8
#define AXIS1_DRIVER_REVERSE            ON

#define AXIS2_STEPS_PER_DEGREE          20480.0
#define AXIS2_DRIVER_MODEL              TMC2209_QUIET
#define AXIS2_DRIVER_MICROSTEPS         32
#define AXIS2_DRIVER_MICROSTEPS_GOTO     8 ...
...
Testing
Luckily for me my testing went off without any hitches and everything worked near perfectly first time, a testament to the design of OnStep and the capabilities of the tried and test hardware that other users have contributed to over the years.
My first night under the sky was actually my first attempt at planetary photography and I recorded this little GIF of Jupiter.

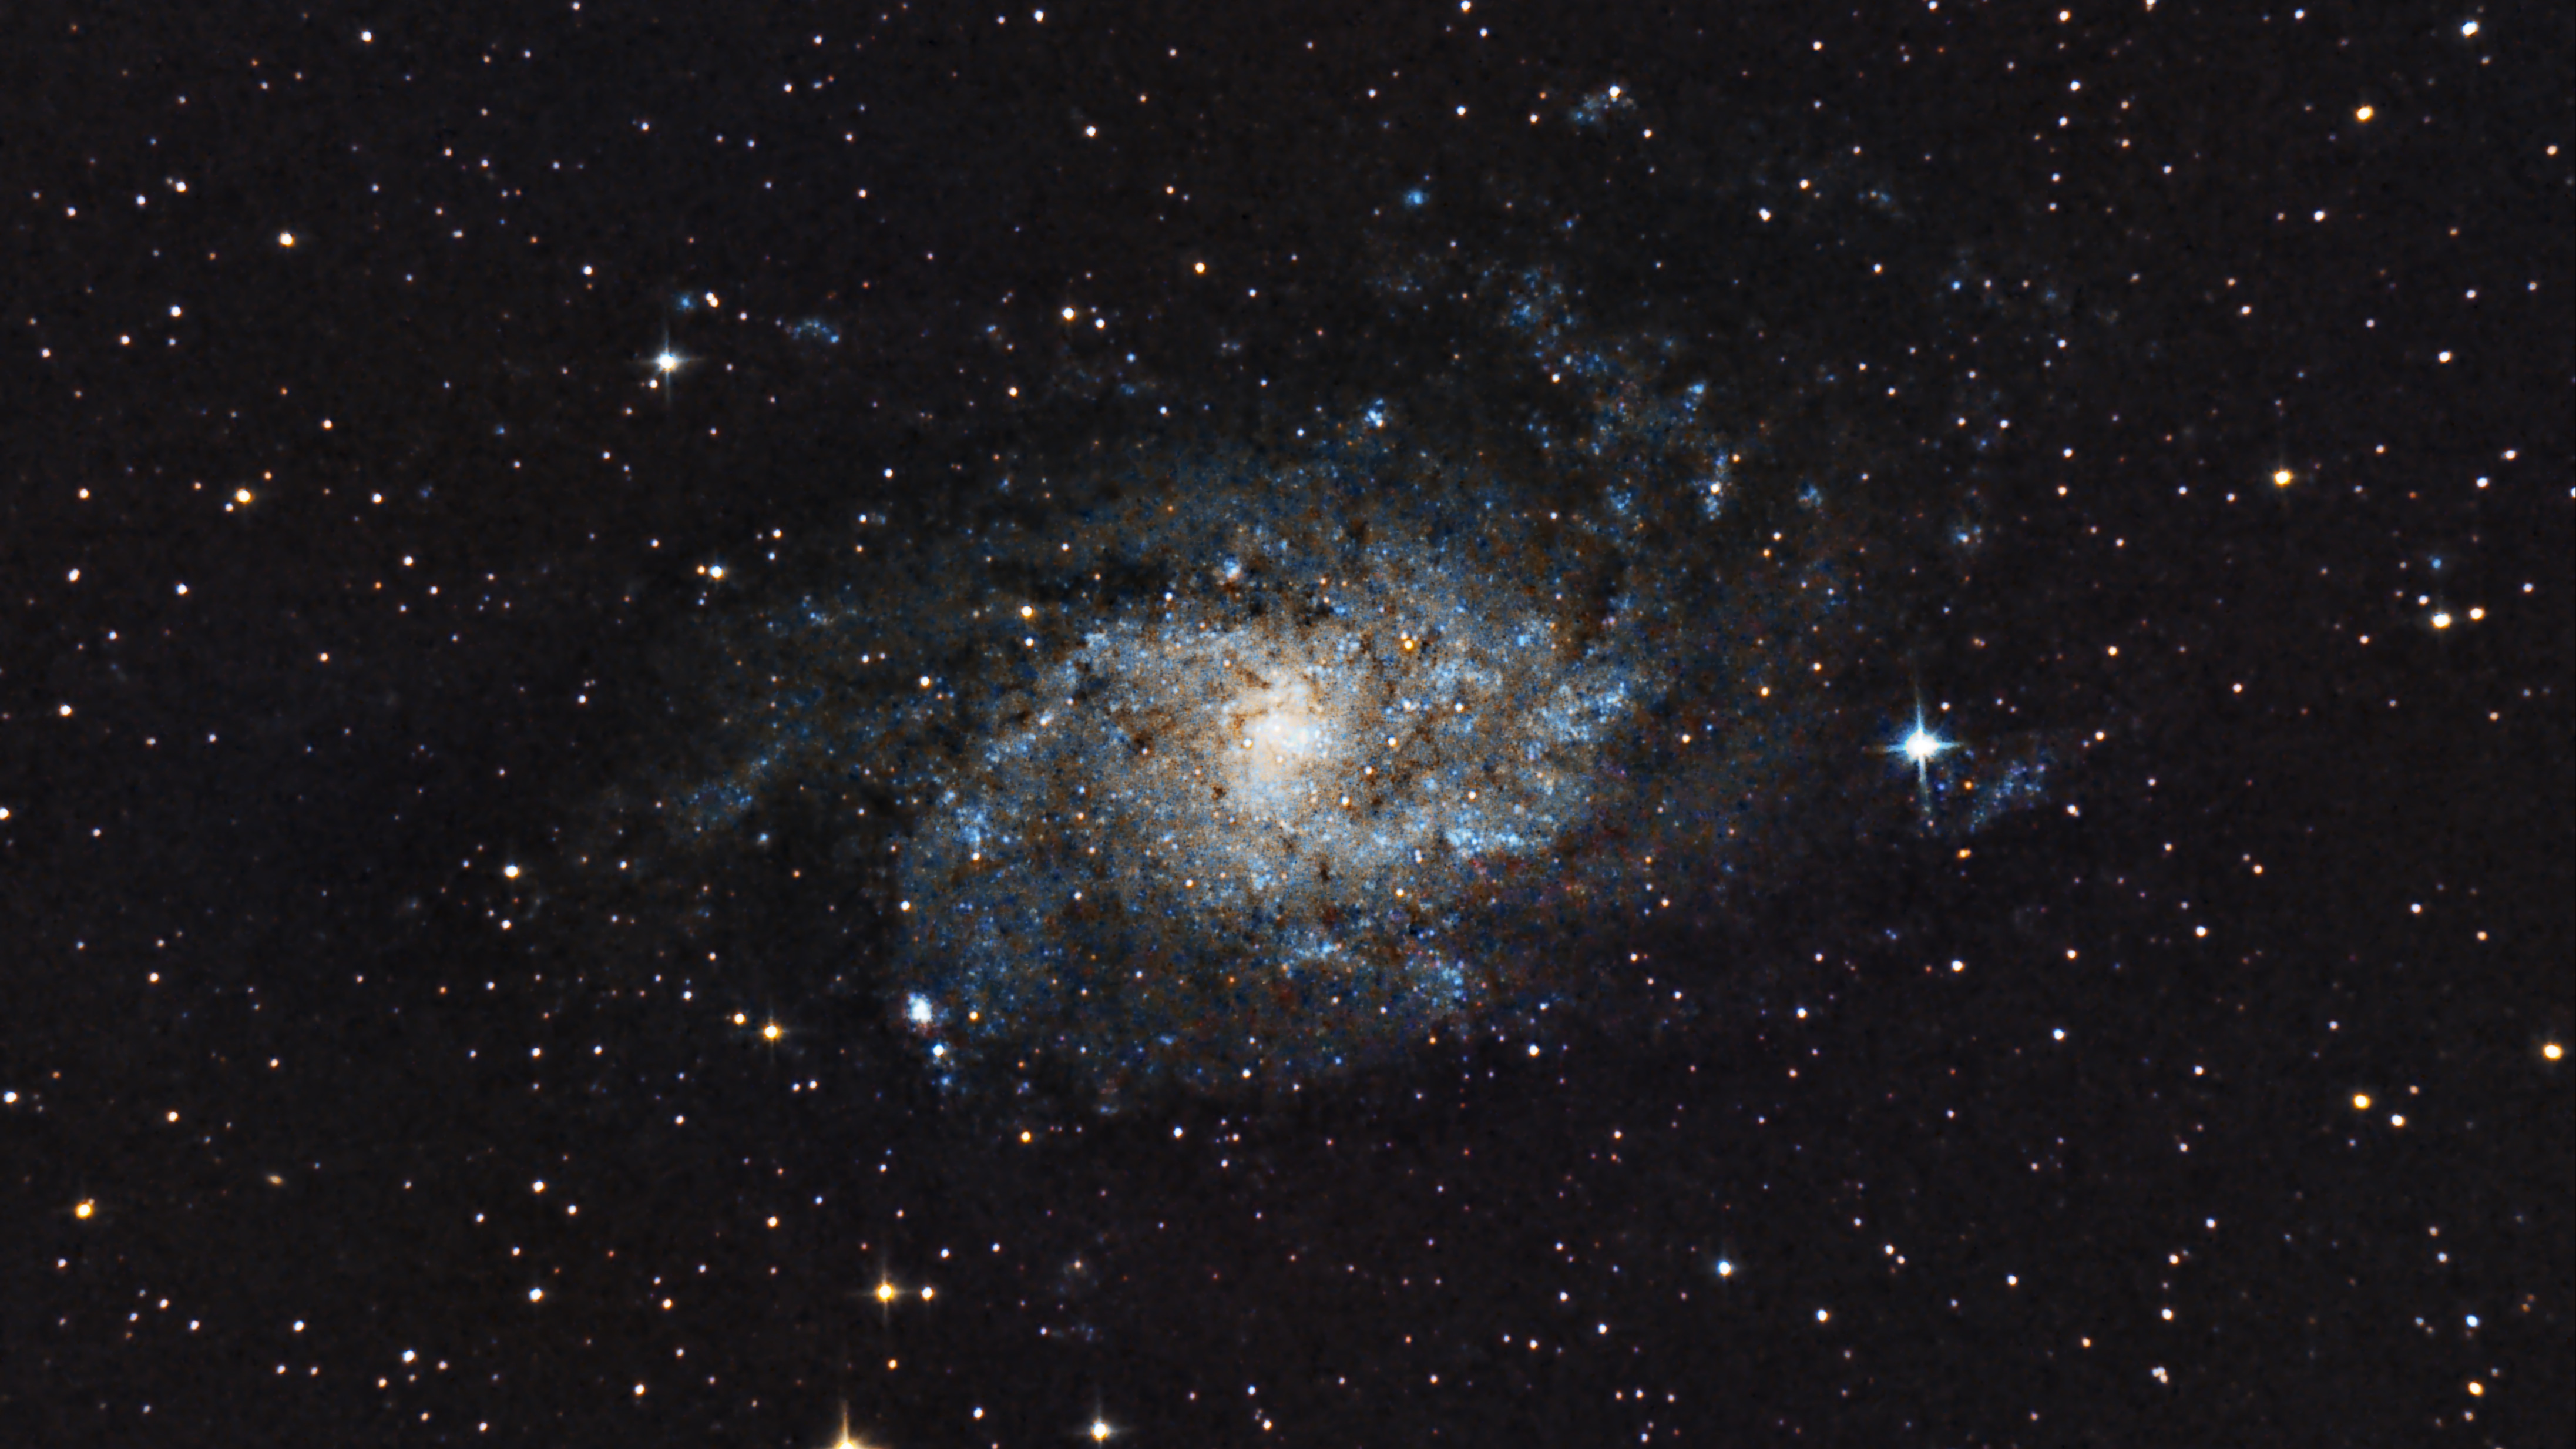
Soon after I also tried my first proper DSO: a few frames of a very noisy M33 Triangulum Galaxy
I made a few adjustments here and there, most notably the increase of my original 3:1 gear ratio to a 4:1 ratio using:
This new arrangement increased potential tracking/pointing accuracy as well as available torque to the system while reducing max slew speed proportionally. The slews are still fast enough for imaging and the better torque is able to swing the DEC axis around a lot more effectively which suffers from stiction due to the lack of proper bearings anywhere in the DEC axis.
The difference isn't staggering and honestly I'm pushing the EQ5 too hard with the weight on it right now, but a smaller refractor would be better managed by it.
Future Prospects
It took a little time to 'dial in' all the specifics of the mount, I was faced with an incredibly bleak late Autumn/Winter 2019 which cut short my experimentation period with OnStep and slowed progress down to a few sessions spread over months.
Once the new year came around the clouds started improving and I managed to reach a point in March 2020 where everything started to work well night after night. This included finding good settings that worked well with the mount in PHD2, adjusting backlash and belt fittings on the mount itself as well as fine tuning balance and overall procedures for a night of imaging.
The greatest enemy of the EQ5 is weight however and the payload I have on mine right now is right at the edge of what it can manage. I seem to average around 1" RMS error which is fine for my current imaging scale, but as I look towards developing the hobby further I find myself considering bigger mounts, a better camera and other quality of life improvements.
In the future I think I will look at moving a compact, lightweight and shorter focal length refractor onto the OnStep EQ5 which it will more readily handle as it becomes a dedicated portable widefield imaging rig.
Conclusion
This project taught me more about electronics and the mechanics of equatorial mounts than I could have hoped to know had I bought straight off the shelf and I am incredibly gratefule to everyone involved with OnStep, with special mention to Howard Dutton for creating the project in the first place and making it available to all.
I hope this offers some insights into my experience and gives a few others inspiration or help in their own EQ5 mount conversions.
As for the results, check out my Astrobin profile as well as my other blog posts on this site for some in depth looks at the other components of my setup and the DIY projects I completeld to get me to the imaging rig I have today.
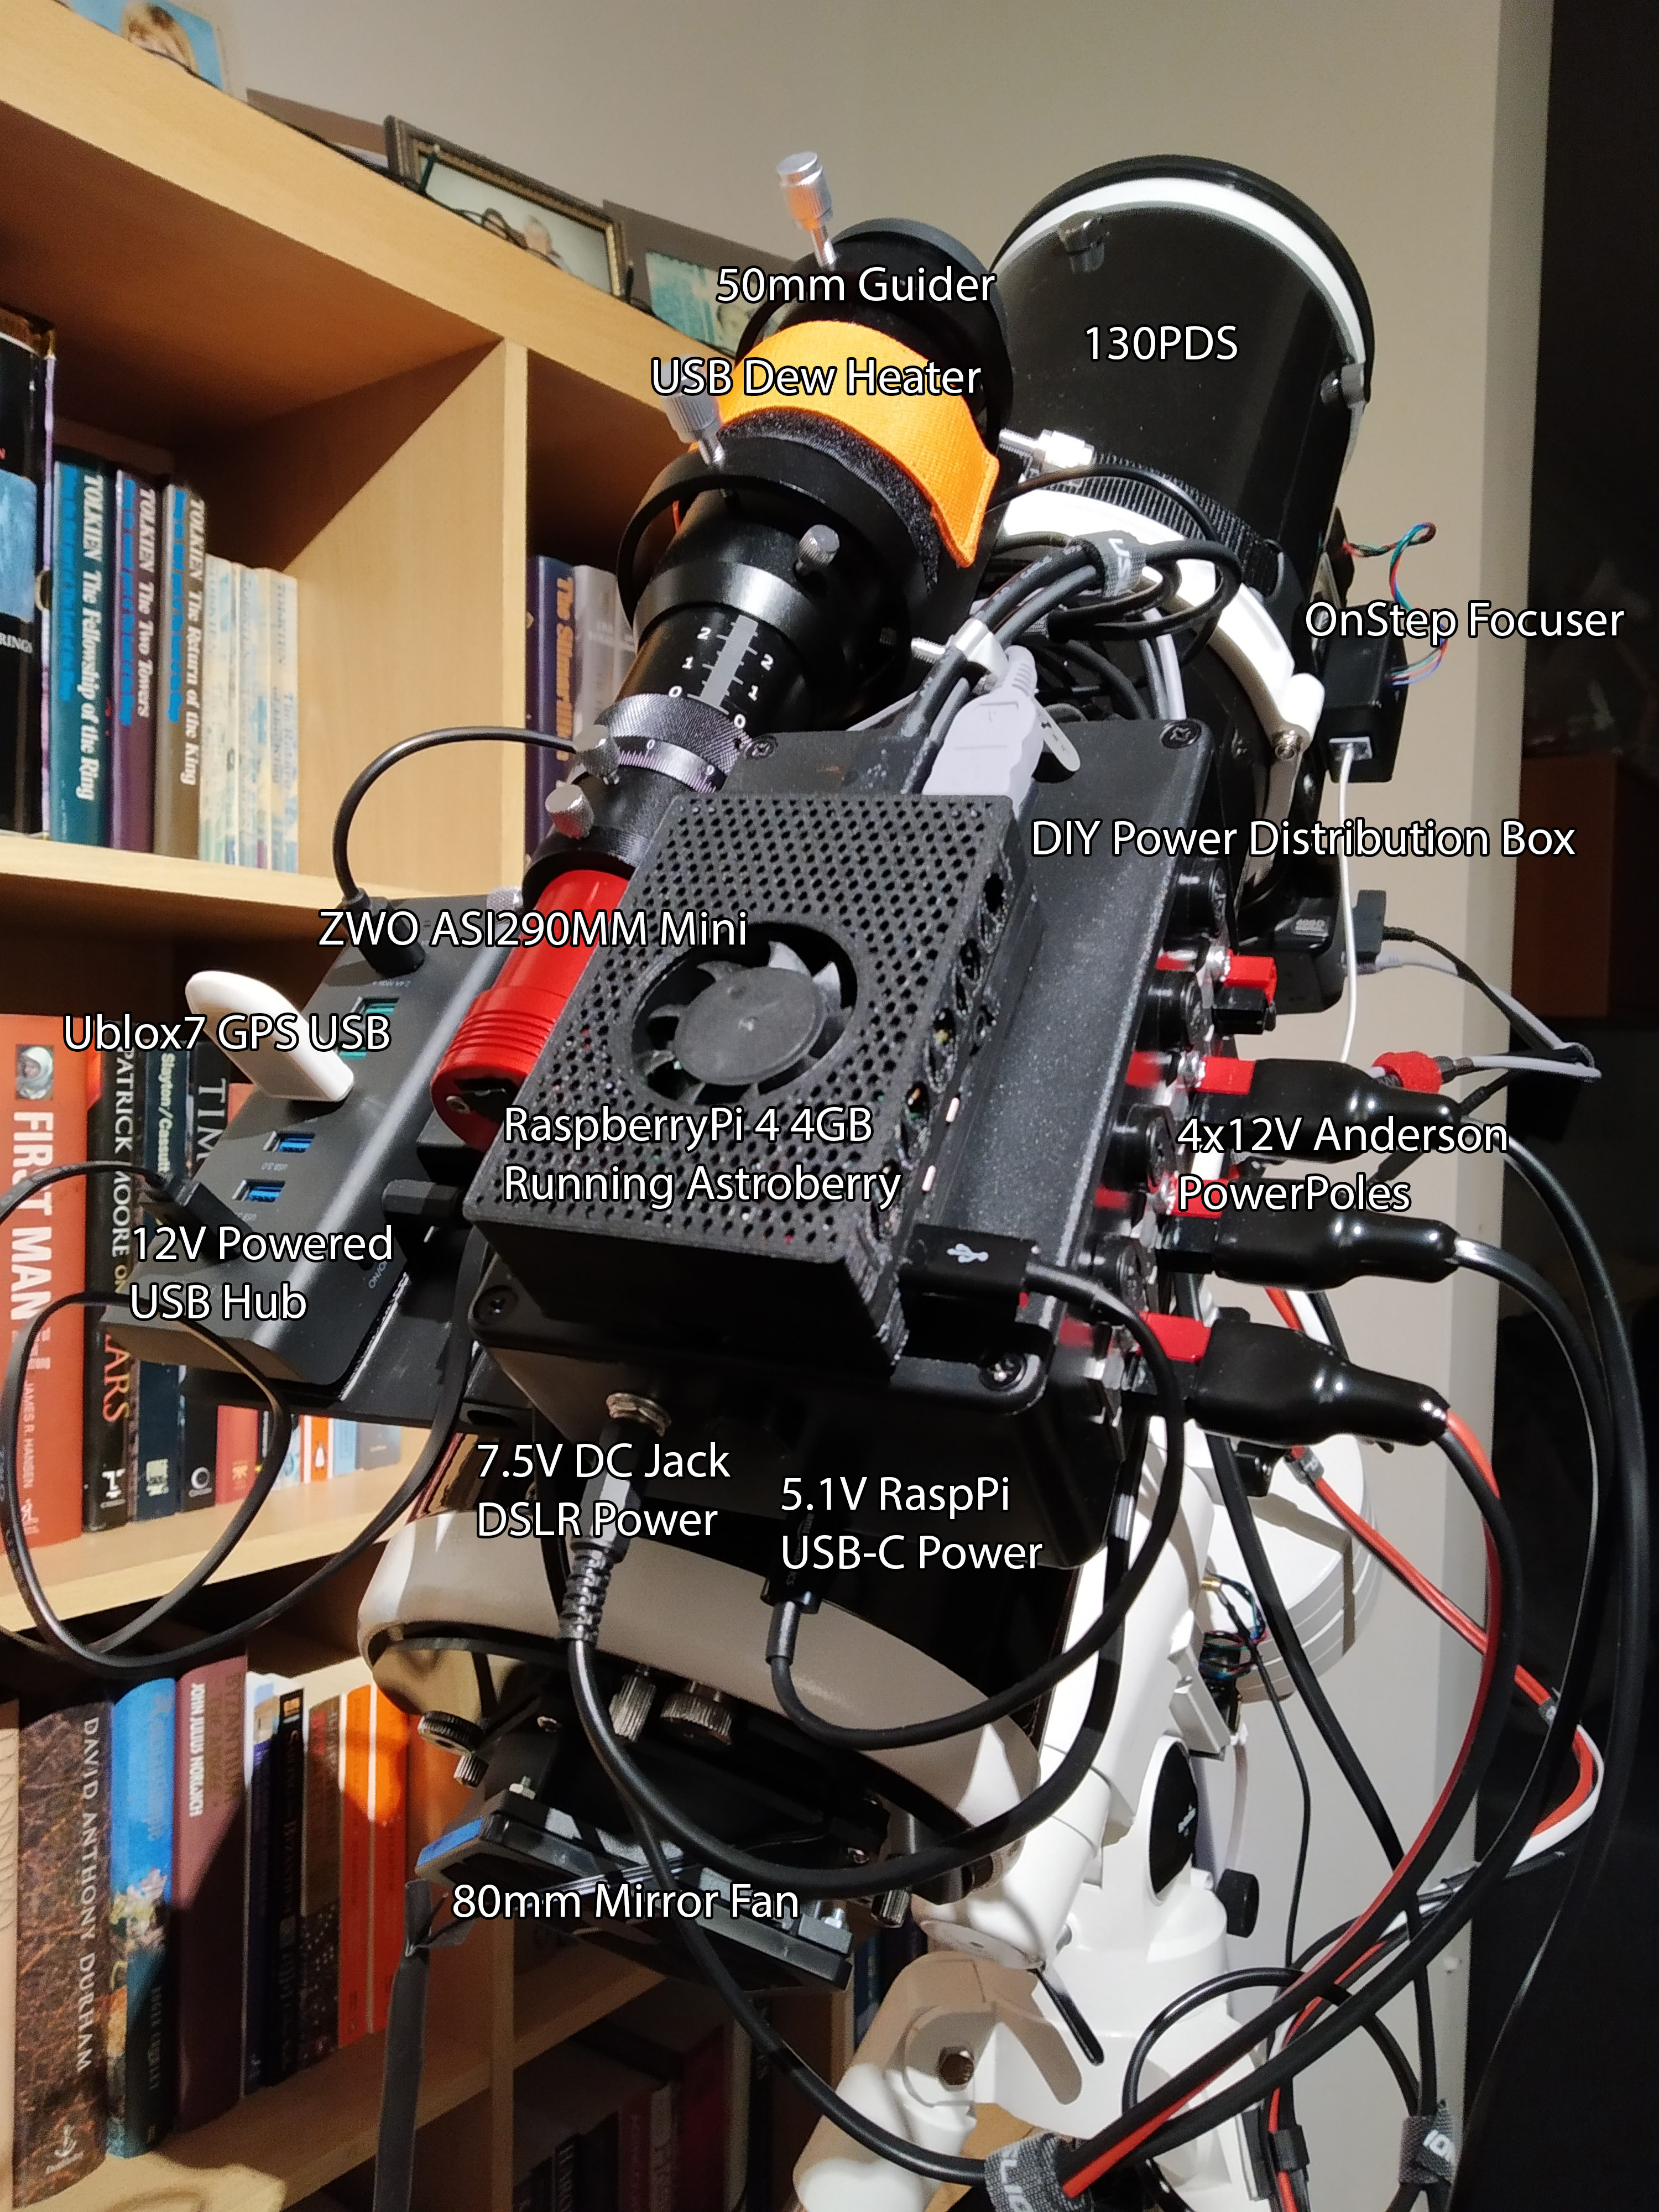
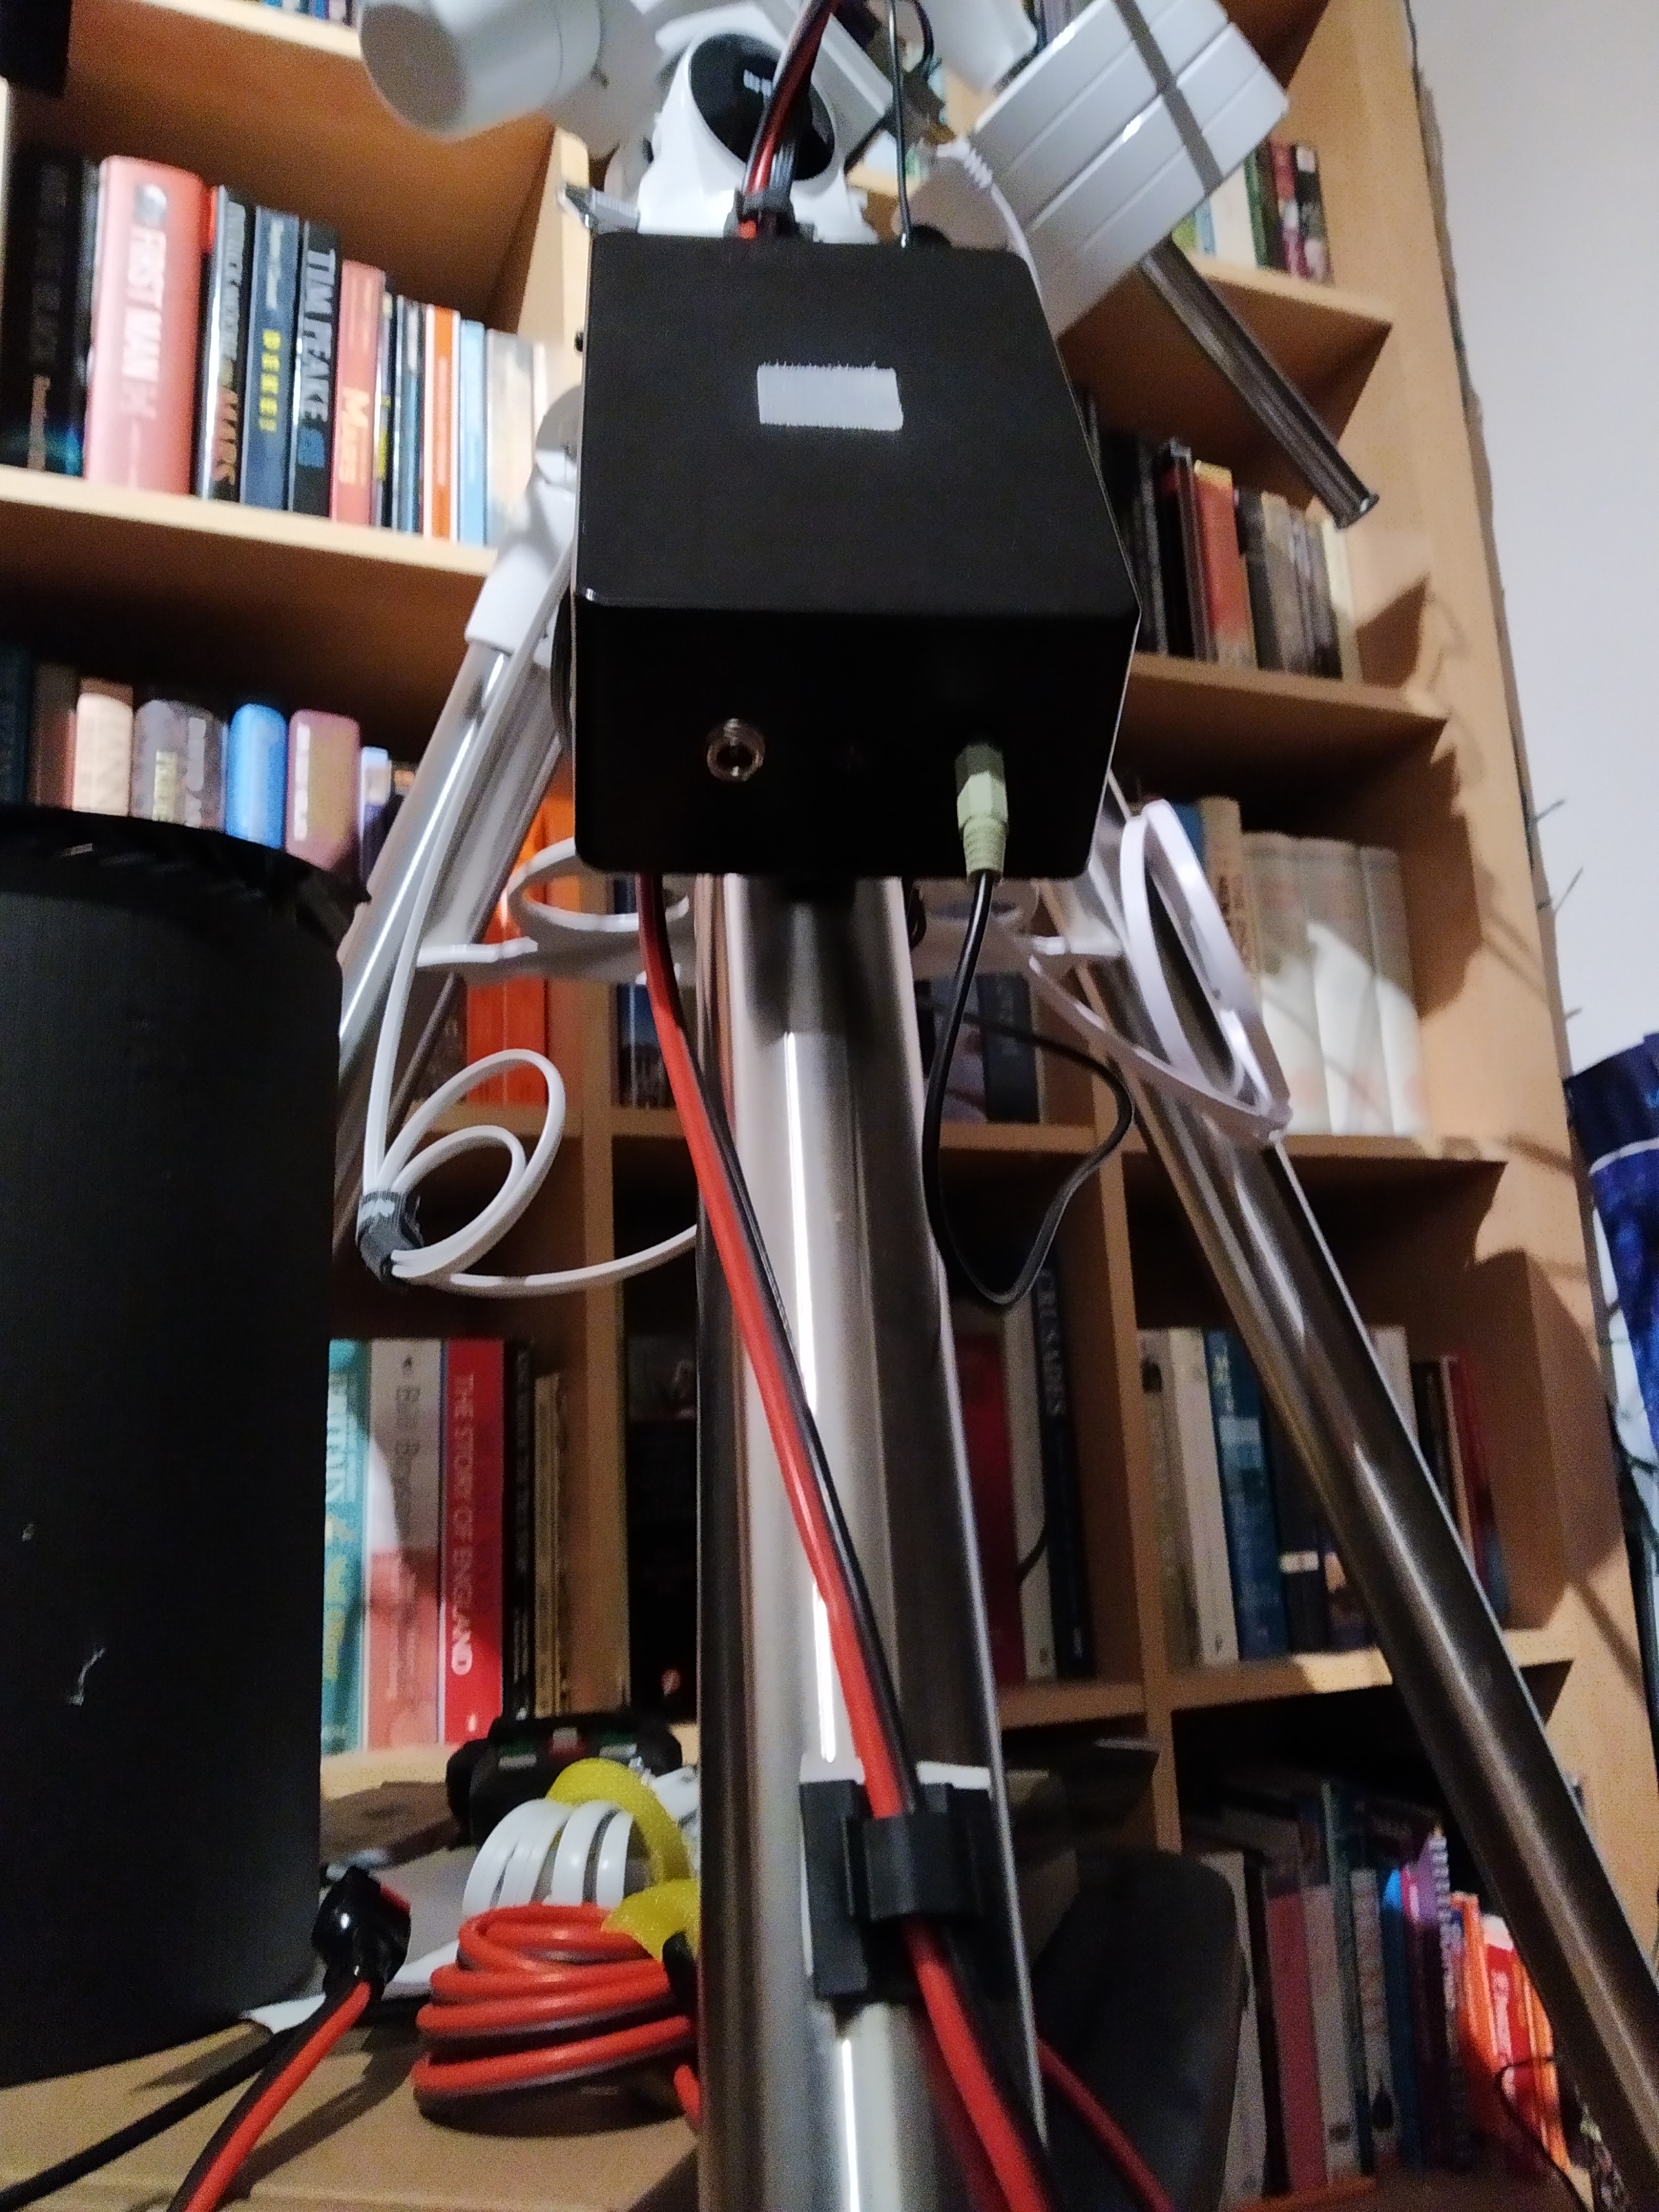
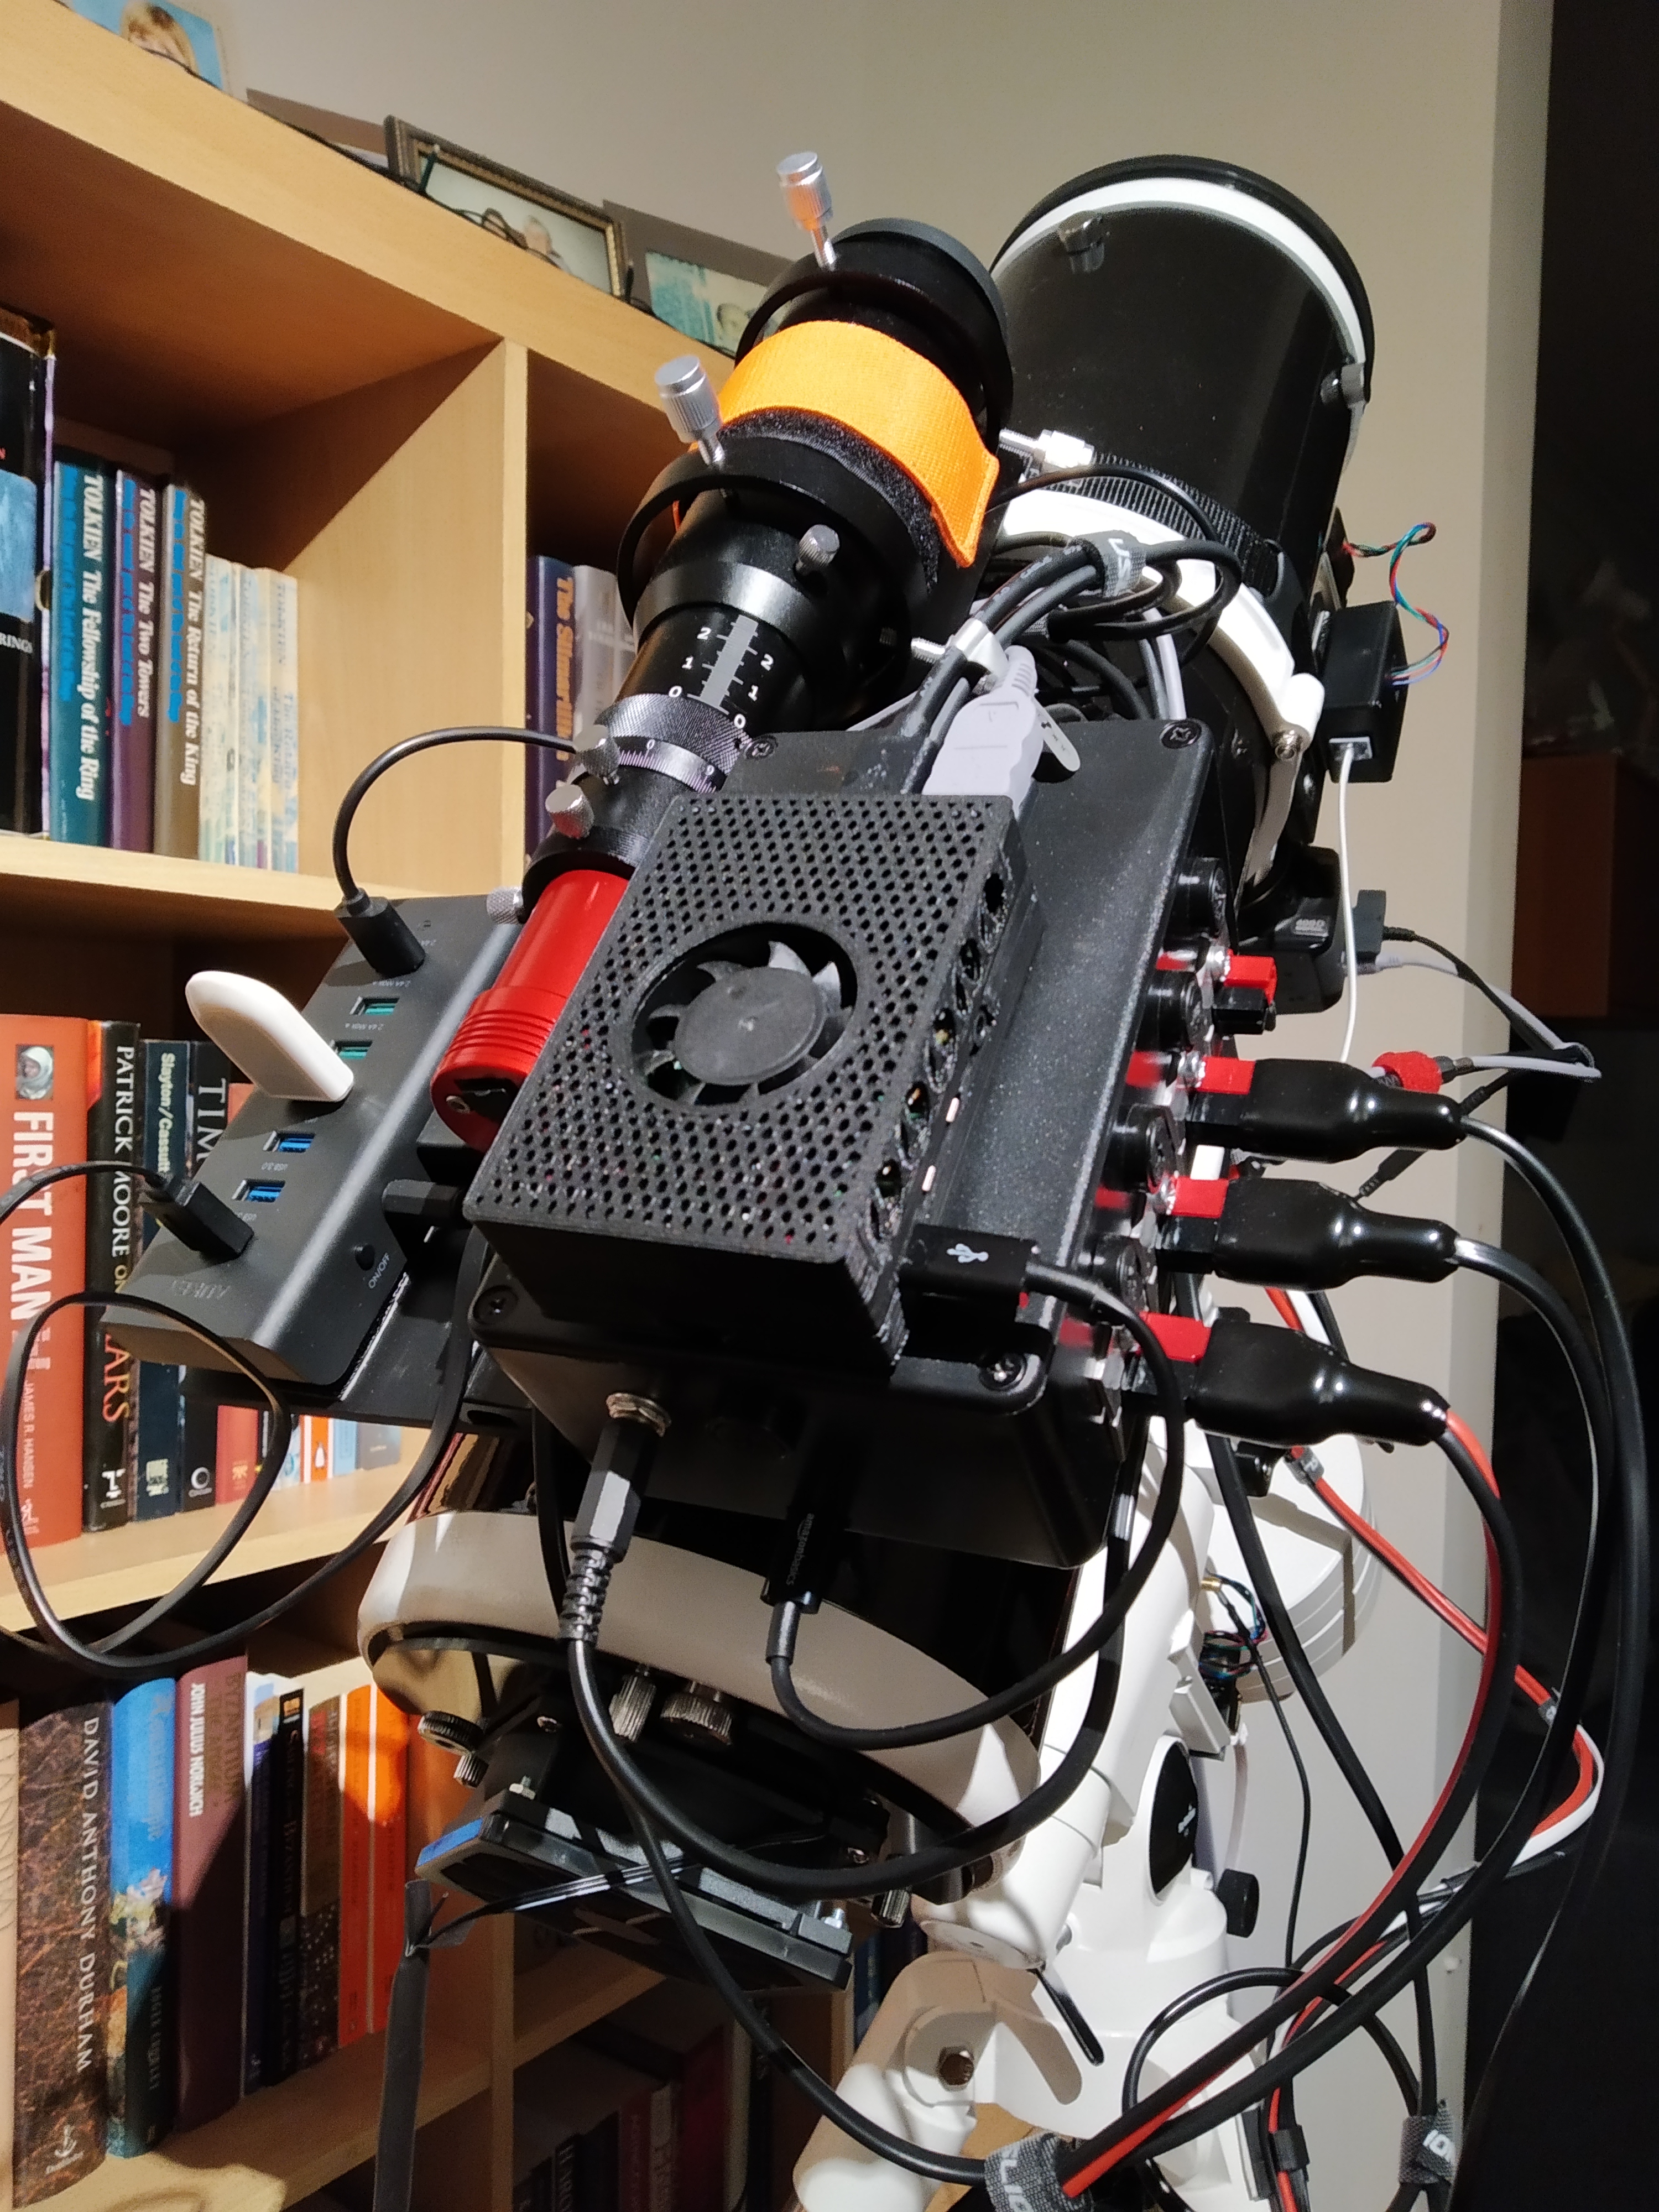
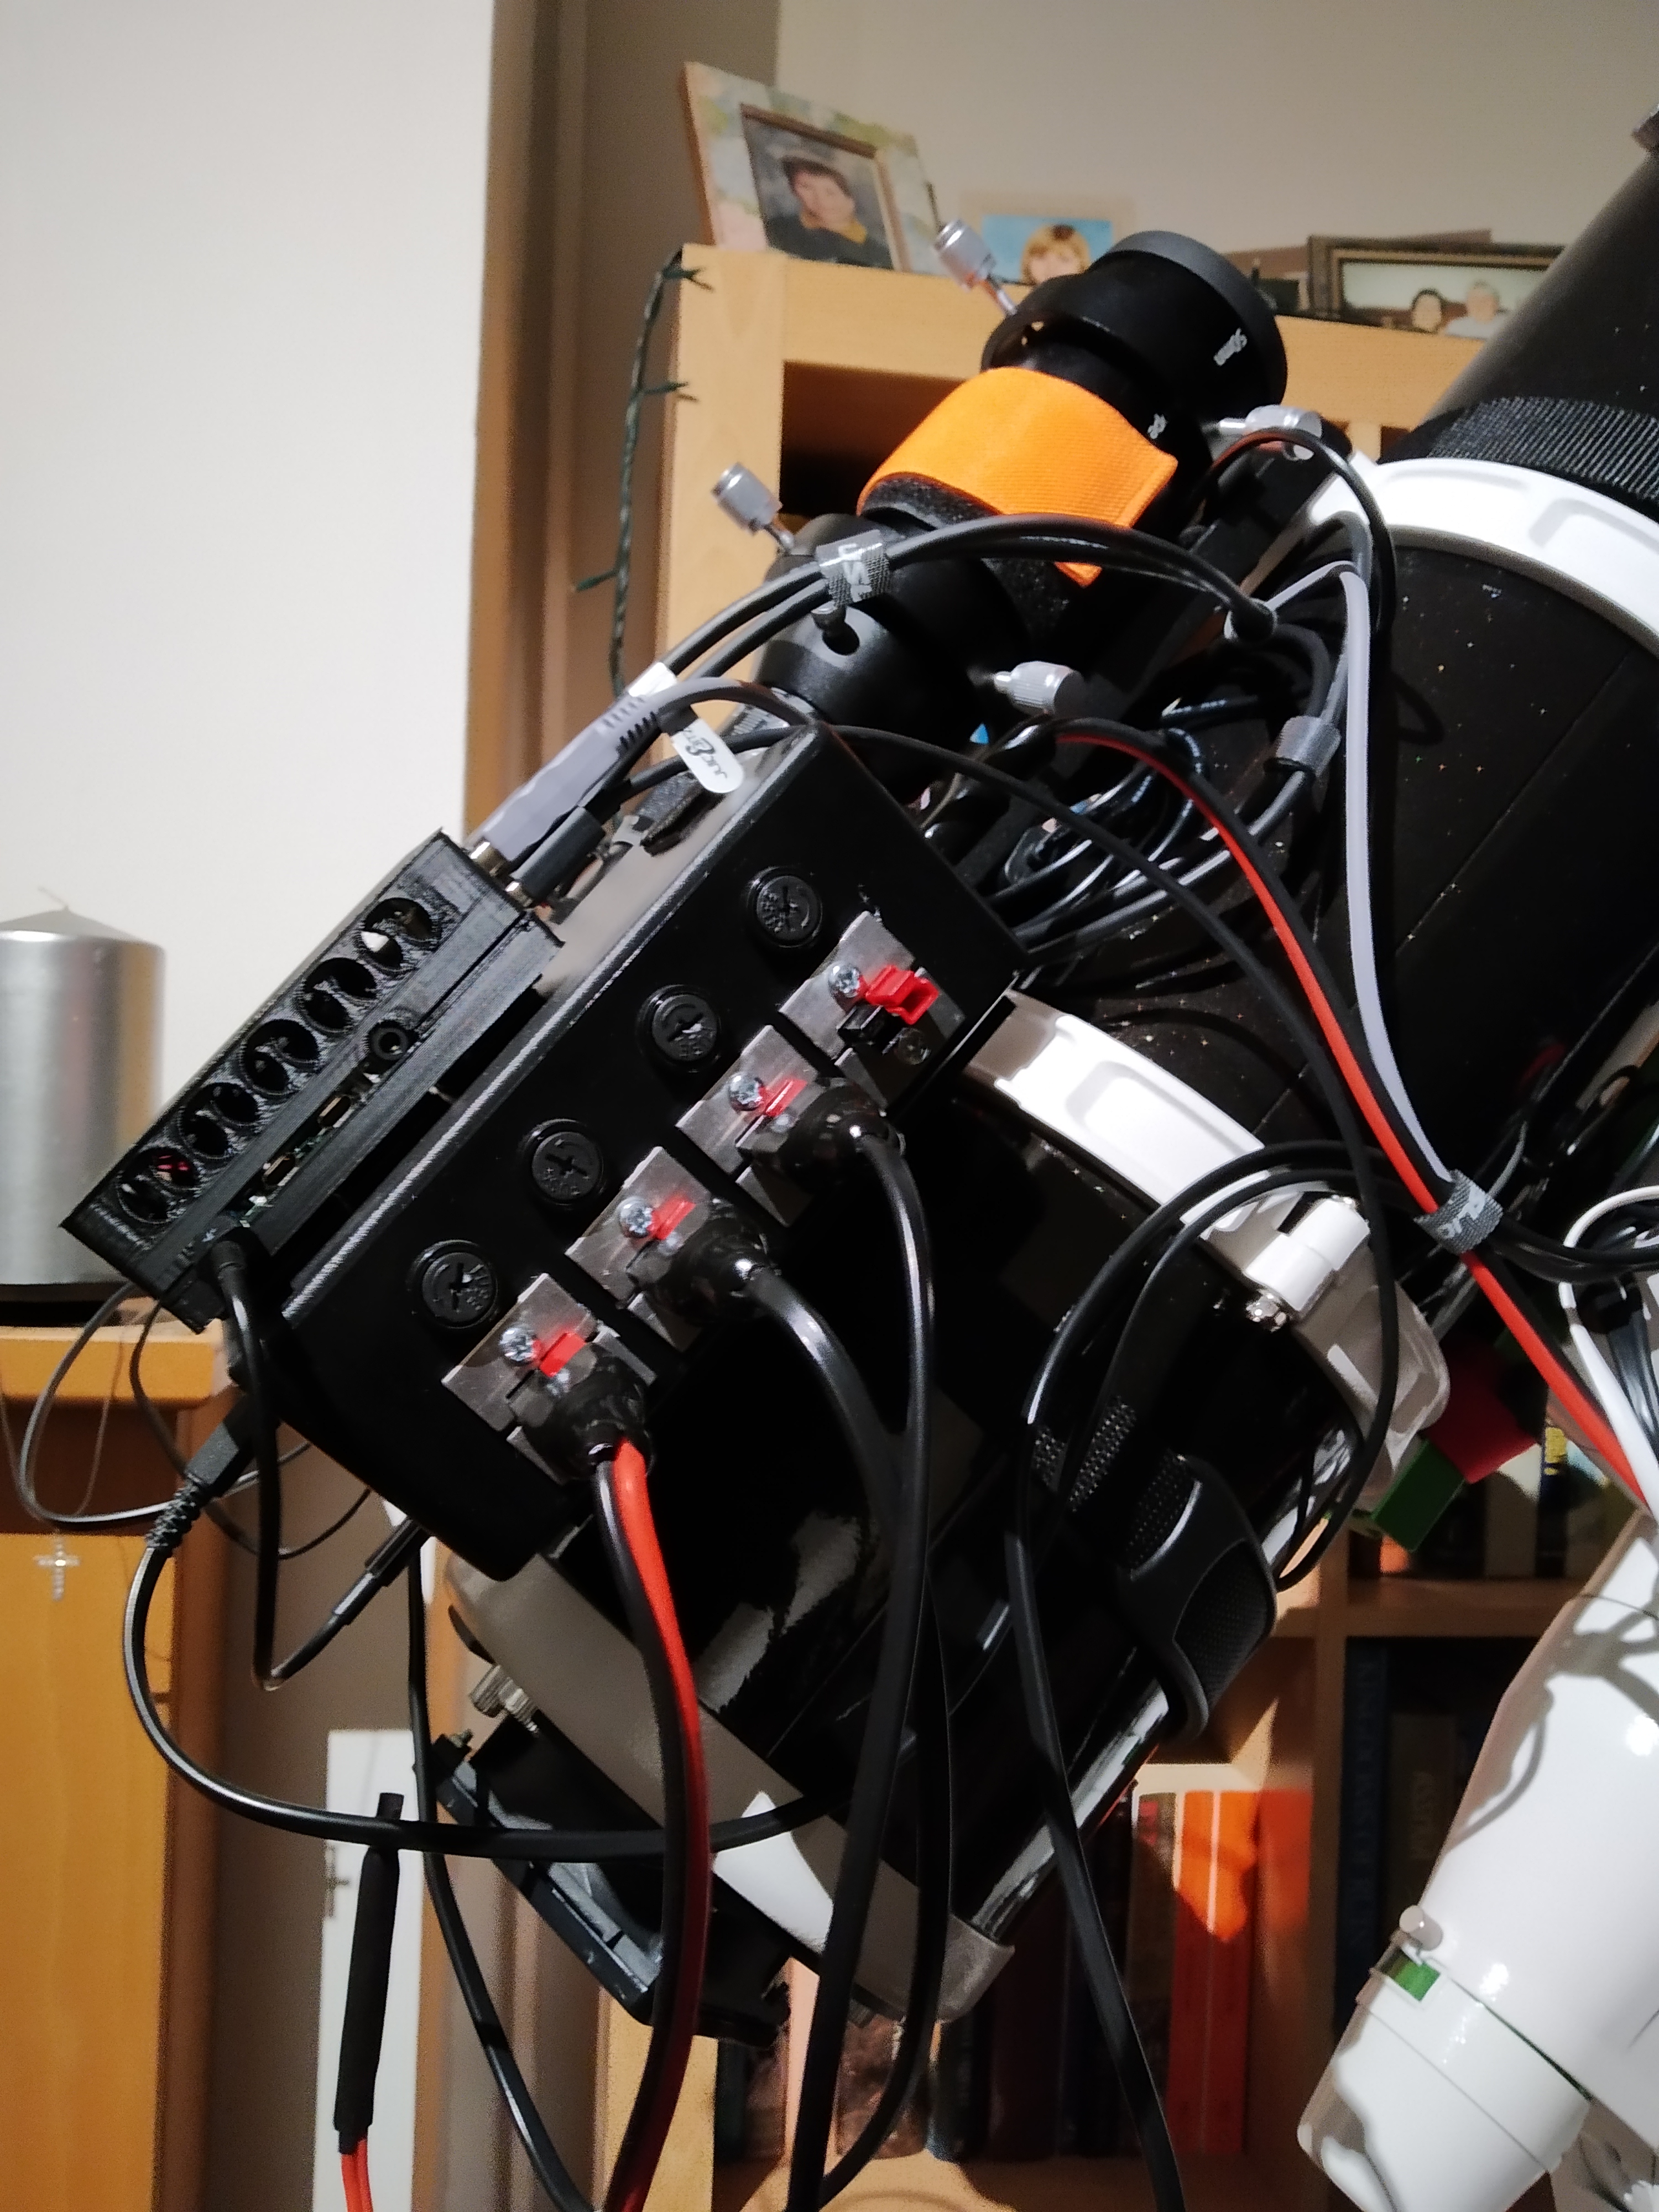
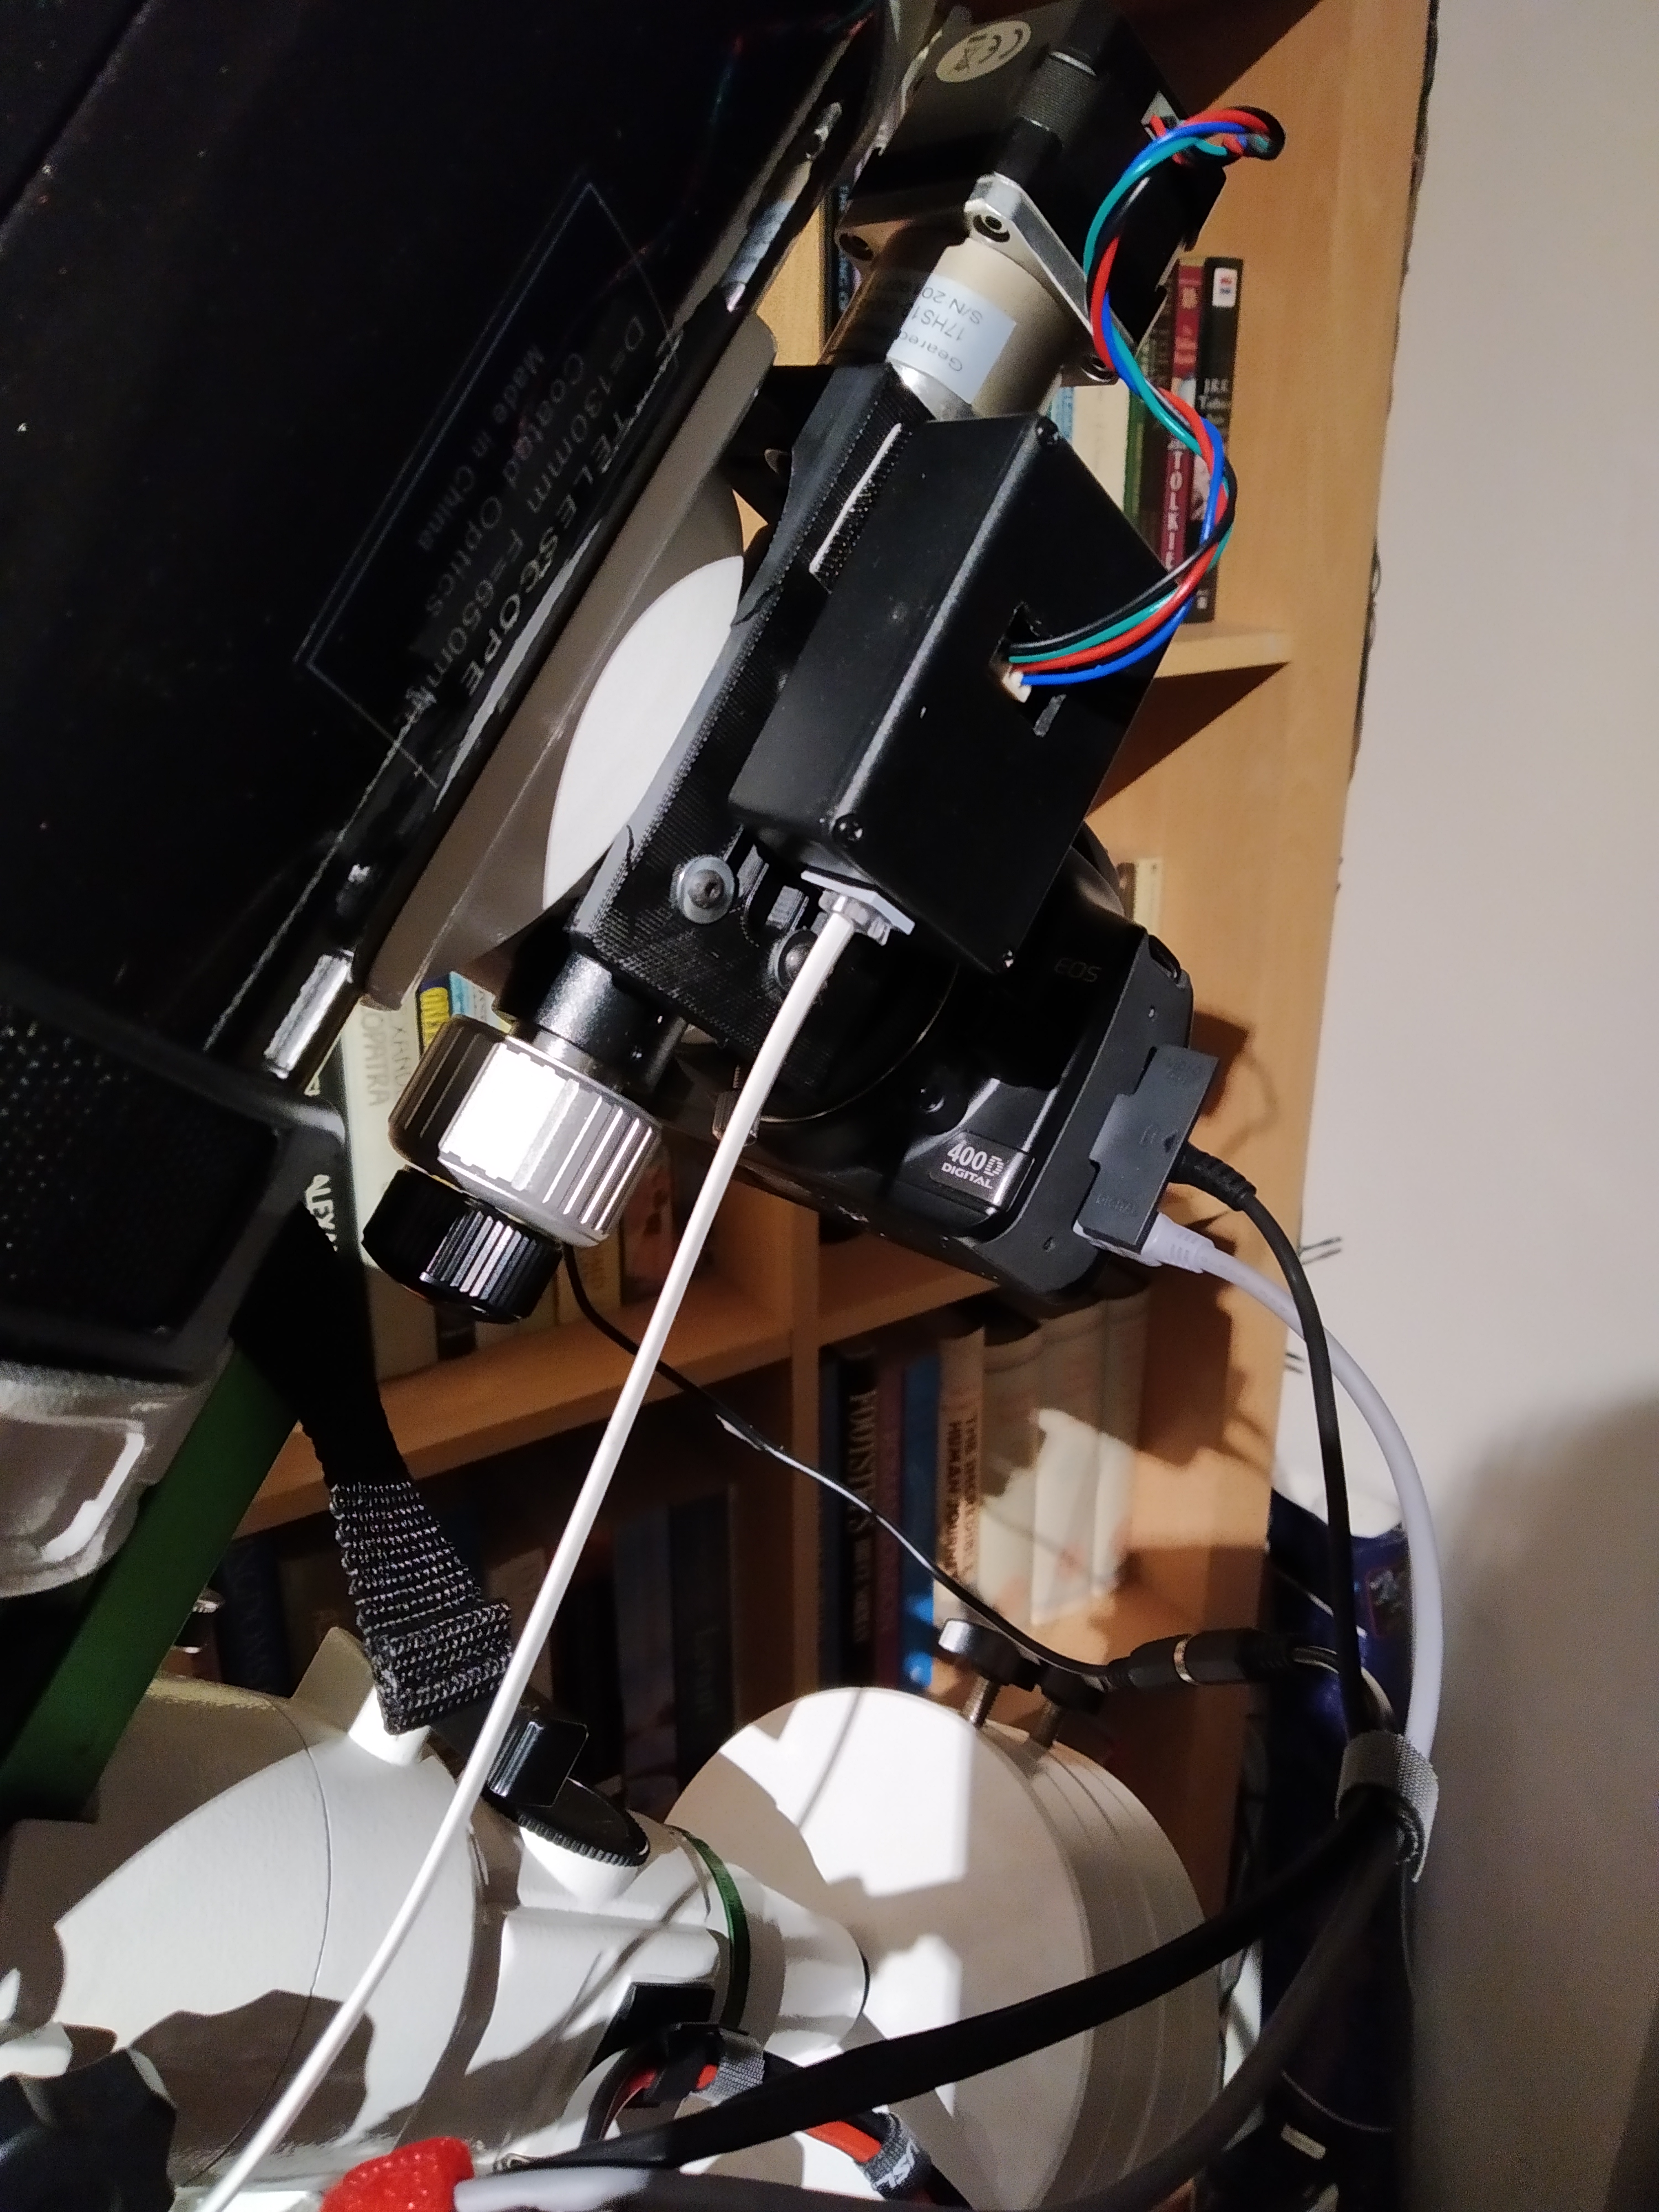
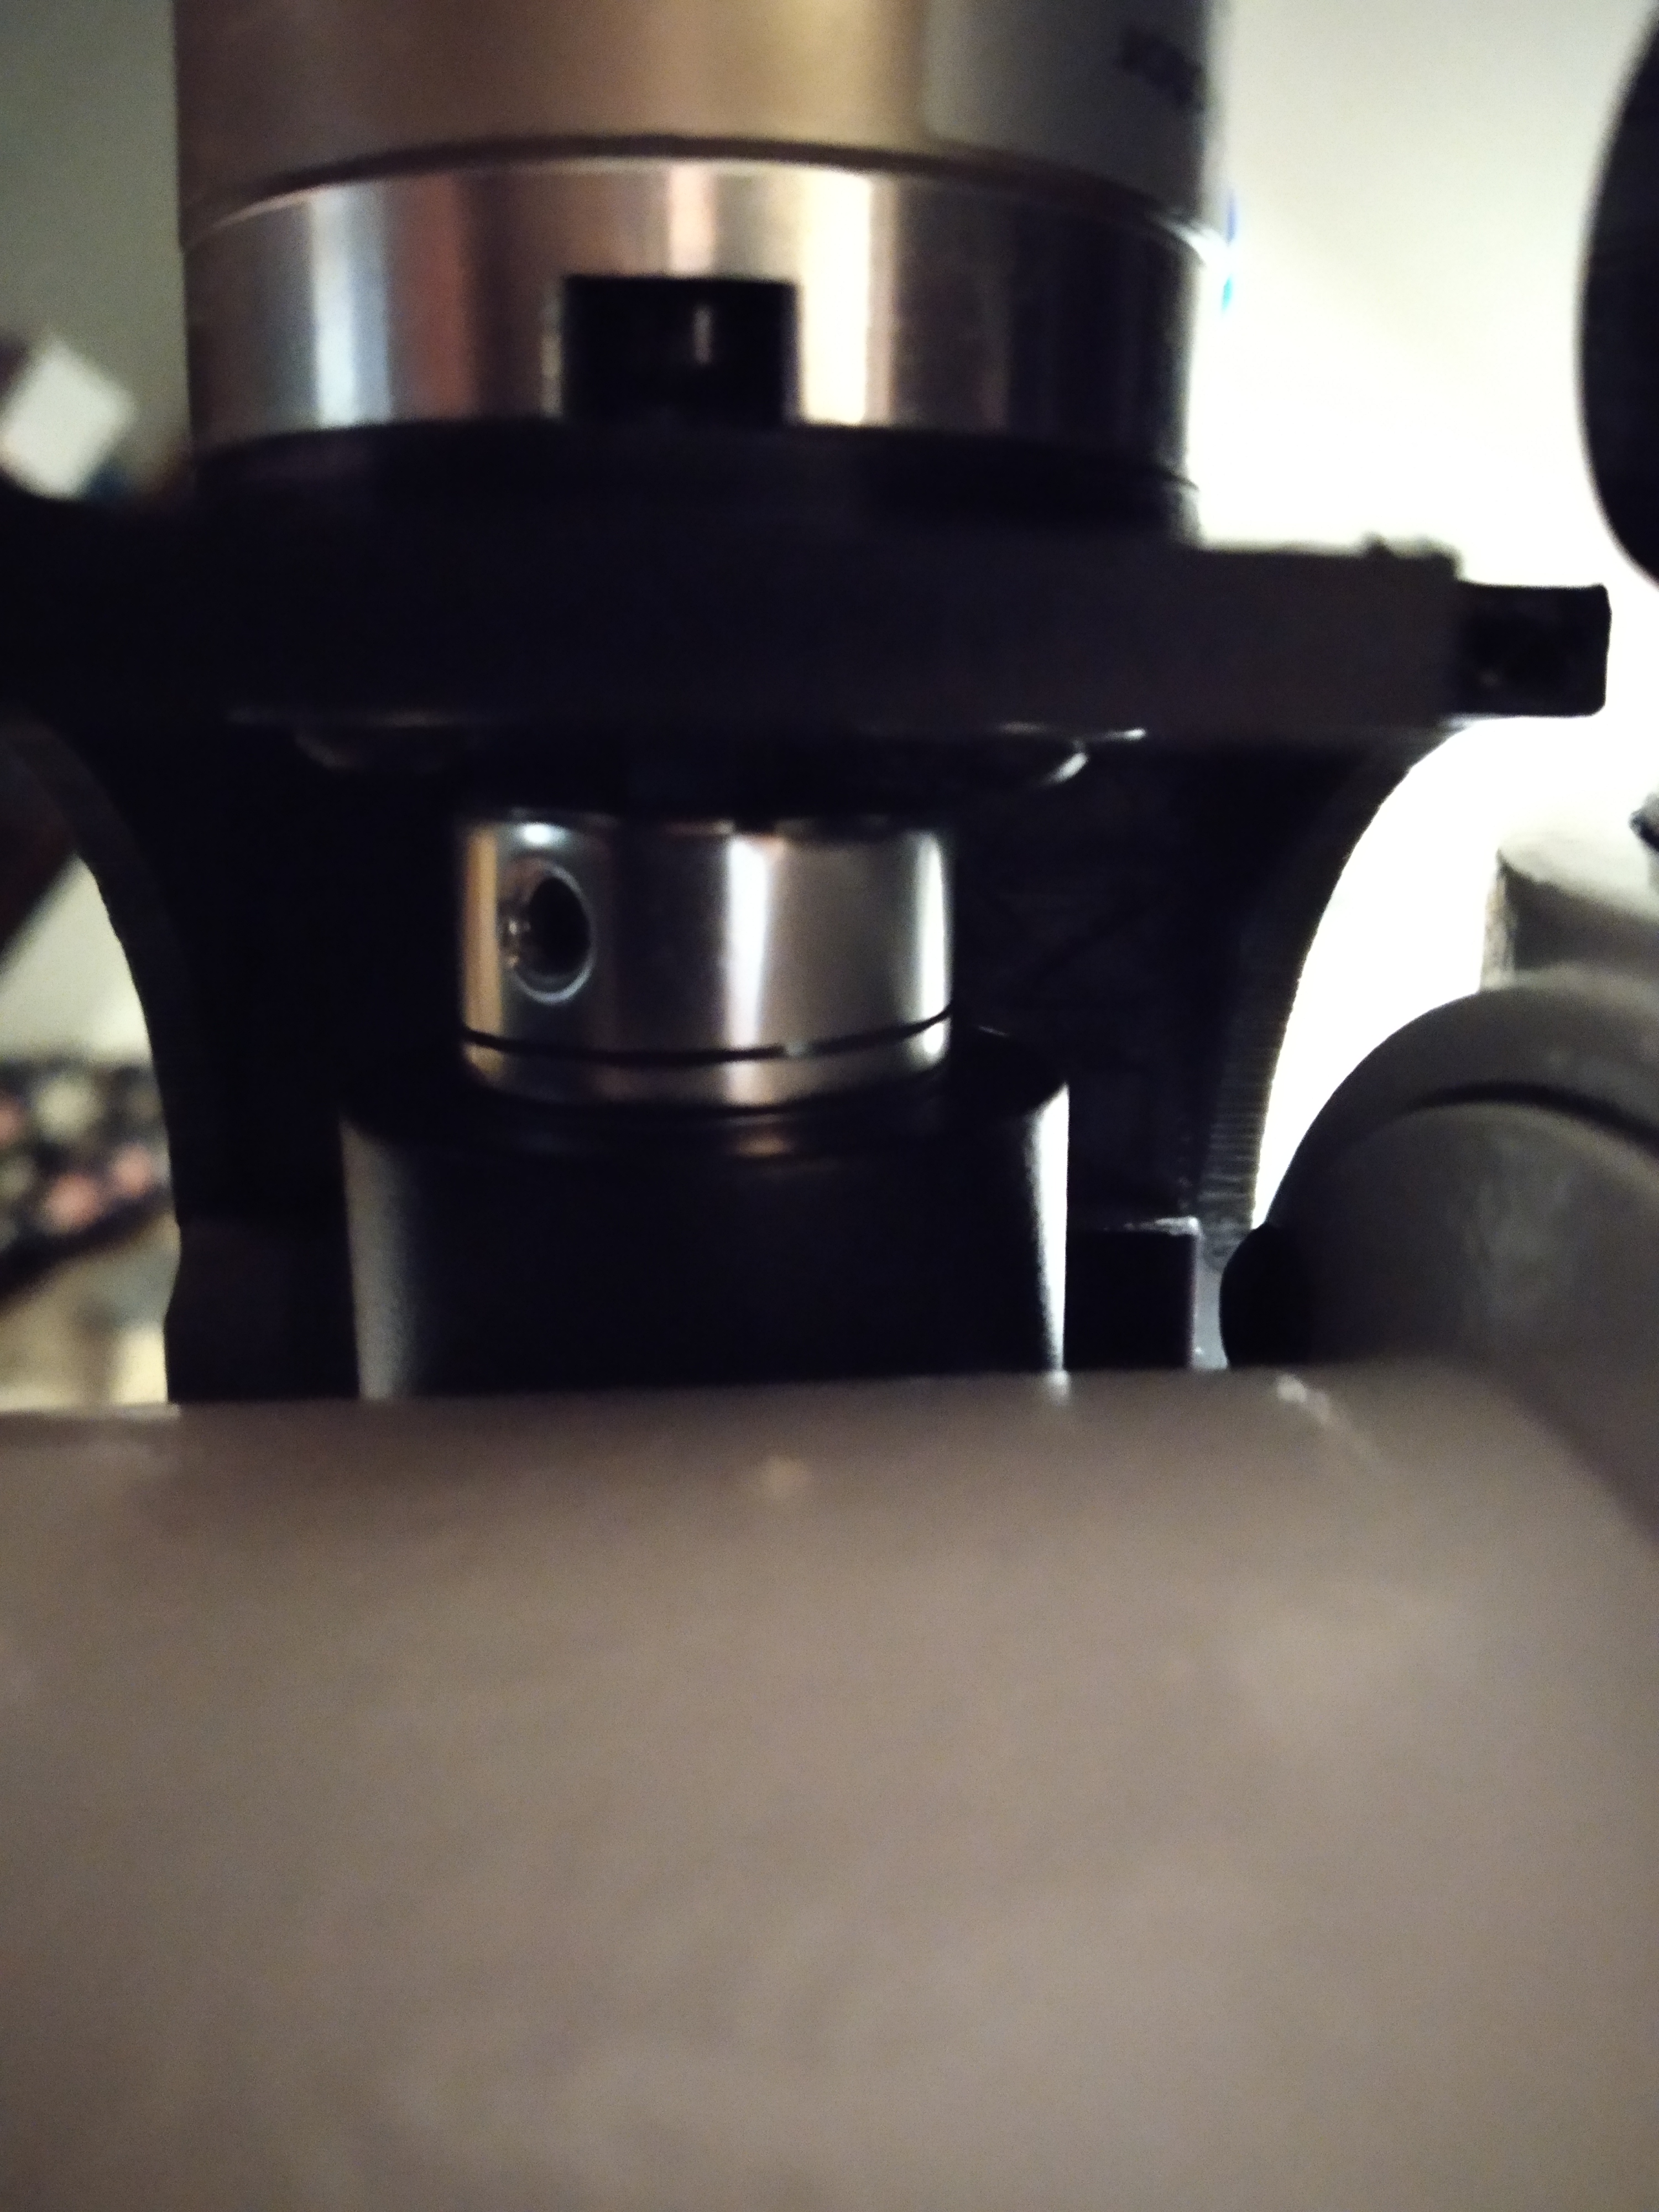
Finally I offer a few more images of my mount for reference.