Pre-Processing with Astro Pixel Processor
19th May, 2020
ImagingProcessingStacking Options
There are a number of well established stacking and pre-processing programs that remain very popular in amateur astrophotography, namely Deep Sky Stacker (DSS) which is a freeware program and PixInsight, a hugely comprehensive full suite and the gold standard for astrophotgraphy processing.
Other options exist as well such as the freeware Siril and realtively recently Astro Pixel Processor which was released in 2017 by Aries Productions.
Astro Pixel Processor
After using Deep Sky Stacker as my default stacking program for a while I started to hear good things about the abilities of a relatively new piece of stacking and pre-processing software on various astronomy forums, especially the support for modern techniques as well as second to none performance in producing image mosaics.
After trialing the software I was very impressed with the ease of use, intuitive controls, excellent performance able to utilise the full 12 cores and 32GB RAM of my PC and graphics card accelerated image rendering with OpenGL. Given the reasonable price of ~£65 I was convinced and made the purchase of a one year 'renter license'. A fully unlimited 'owners license' is ~£160 for reference, or roughly two and a bit of years worth of usage with a renter license.
The main strengths of the program are in pre-processing your astrophotography images with excellent defaults for quickly producing stacked Bias, Dark, Dark Flat, Flat and Bad Pixel Map images. In addition fully configurable star registration, lens correction routines, background neutralisation and local normalisation are all handled excellently by the program.
Additional processing options are also present in the program including an impressive background extraction tool which seems to work very well with the minimum of hassle, as well as background neutralisation and a surprisingly capable colour calibration tool based on the expected behaviour of Black Body & Extinction model of star colour. These could feasibly produce a partially finished image without noise reduction in very short order and a lot can be read about these tools on the official website
A Short Workflow
What follows next is a relatively short description of my usual workflow for a DSLR image of a DSO target with Bias, Flat, Dark and Dark Flat frames, in the example is NGC 4565 - The Needle Galaxy.
Preparing Master Files
As with any stacking software the first stage of processing is the preparation of master files and with Astro Pixel Processor (APP) this is no different.
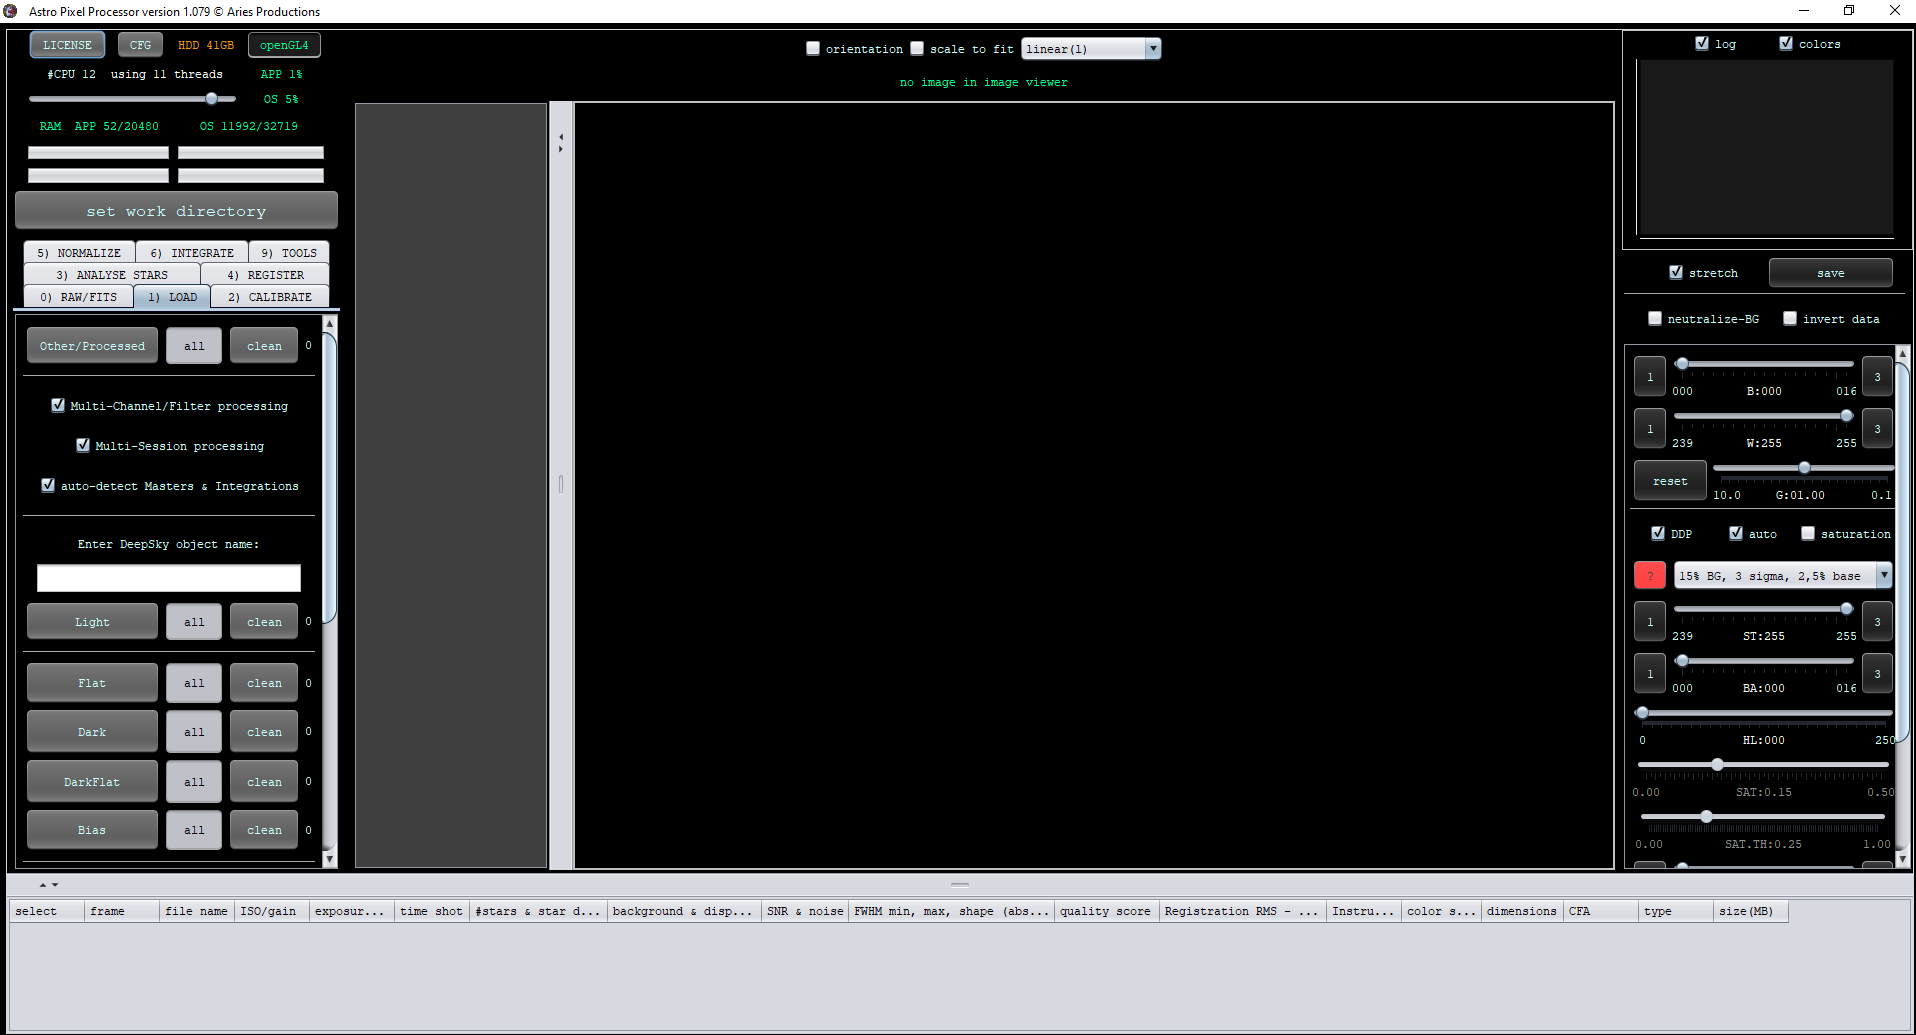
The first step that is always taken with APP is the setup of the 'Working Directory' where the program will store all processed and intermediate file as well as use for creating the final stacked image. Depending on the size of the individual images from your camera the storage space required is usually in the order of several tens of GB to hundreds of GB for larger mosaic. The preferred working directory is on a SATA or NVME SSD drive which maximises read and write speeds. My working directory uses the incredibly fast Adata XPG SX8200 1TB NVME SSD
Next is simply a matter of clicking entering the object name, selecting the appropraite options for multi-session (images taken on different nights with different flats/darks etc) and multi-channel (mono RGB/SHO imaging) and then loading the sets of iages into the appropriate sections.
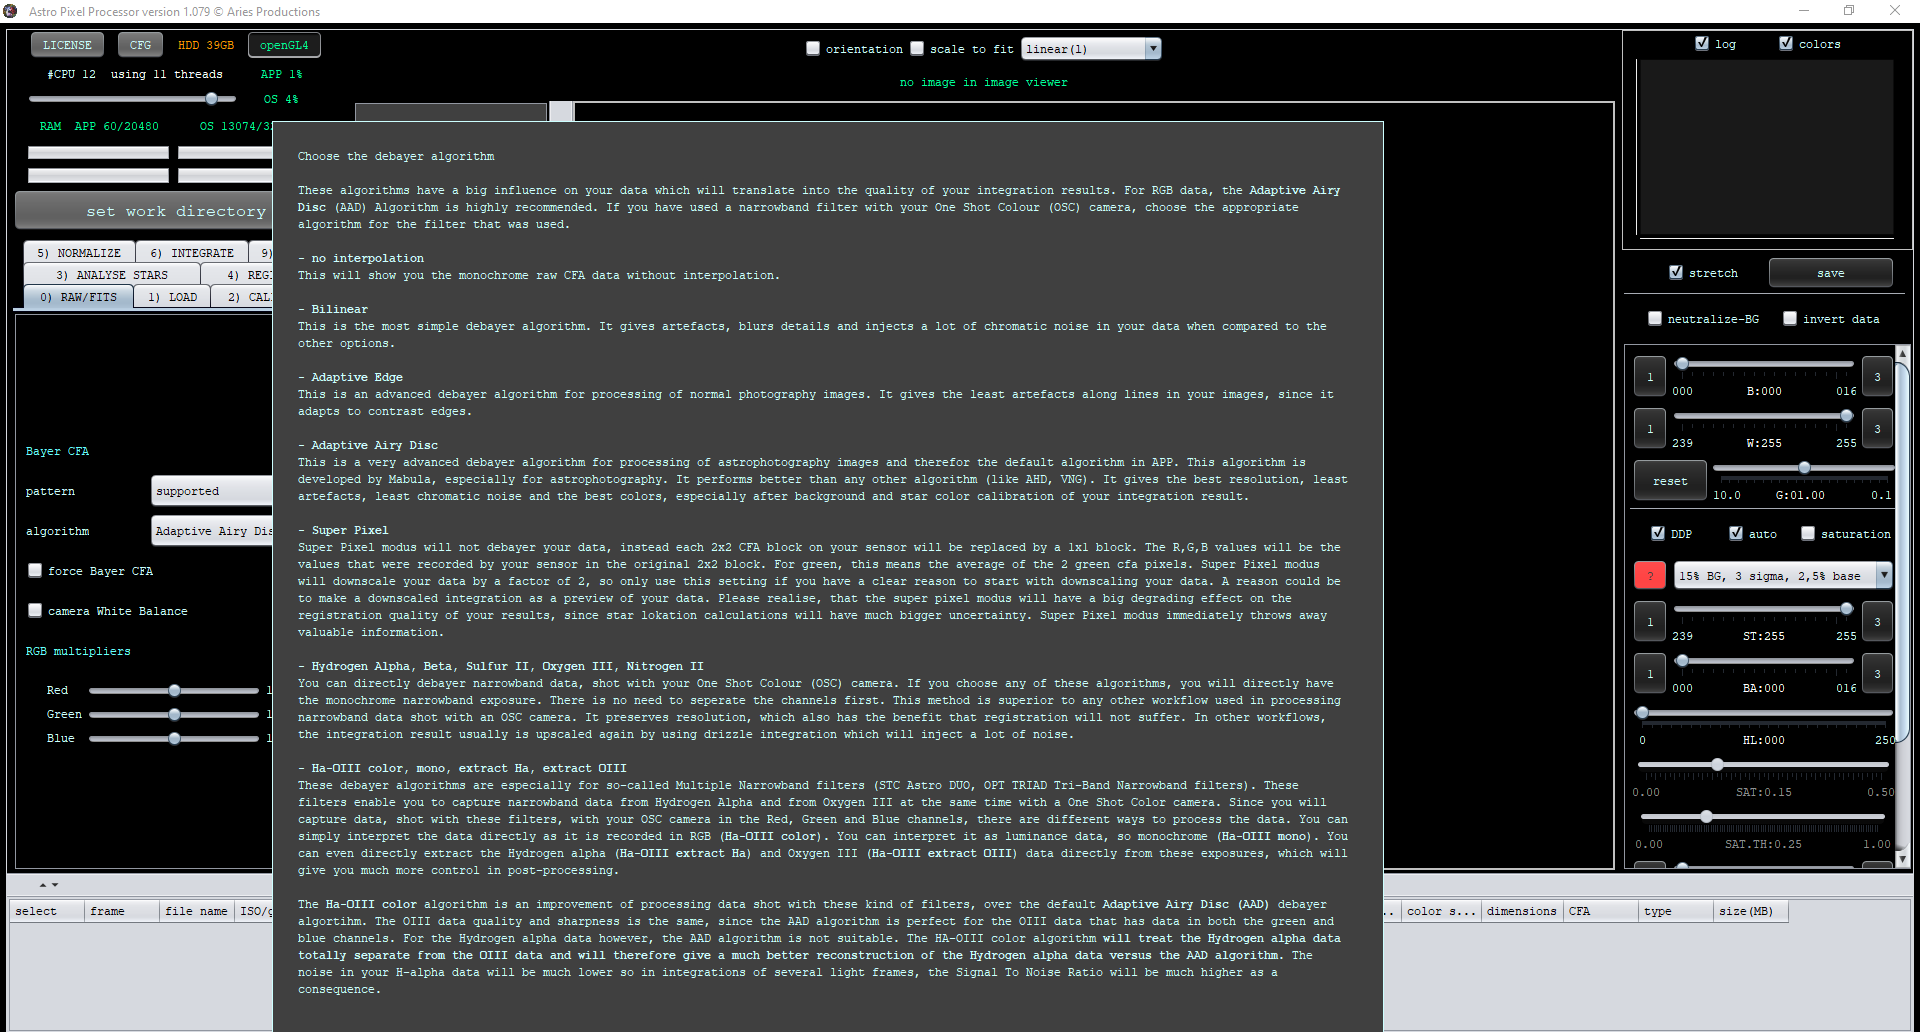
Before proceeding any further if One Shot Colour/DSLR images are being using the tab 0) RAW/FITS should be double checked to ensure the Bayer CFA settings are as desired. Usually the defaults work flawlessly here and 'Adaptive Airy Disc' is a very modern and effective debayering algorithm explicitly designed for astro images. ZWO did an analysis of an earlier implentation of this algorithm relating to their ASI One Shot Colour cameras in 2017. There is also a comparison of the algorithm on the APP official site of AAD versus AHD and VNG as well as Bilinear traditional algorithms. Below is also my own comparison of AAD compared to Bayer Drizzle at 1x and 2x resoultions.
Hovering the mouse cursor over the algorithm drop down produces a hugely detailed tooltip.
This applies throughout the program just hover the mouse over an option to see an excellent amount of tooltip documentation for most features and functions.
Next move onto the 2) CALIBRATE tab to bring up the options for creating your master file stacks. These will be set to 'automatic' by default and this generally produces an excellent result in most circumstances. These can be fully customised to suit your preference however as in other programs. Cosmetic correction can also be enabled to detect any remaining hot/cold pixels that the other masters can't remove and the.
Towards the bottom of the calibrate menu are a plethora of checkboxes that allow for:
- Conversion of masters to 32bit files from their native bit depth
- Creation of a Bad Pixel Map to allow for repeatable removal of hot/cold pixels on a sensor by sensor basis. This allows you to re-use previous nights data to create/update your known bad pixels to produce a clean image
- Seperate darks per exposure length ratehr than bundling them together as one
- Create MasterBias/Dark/Flat, used to create the master files in conjunction with the BPM
- Scaling of MasterDark and MasterDarkFlat, analagous to 'Dark Frame Equalisation' in other applications
- Adaptive Pedestal and Amp-glow removal which can be left enabled regardless in most cases but mostly prevent sensors with excessive amp glow from bottoming out and clipping the black point in the created masters
- Align Channels to help correct for Chromatic Aberration to a certain degree in refractors/glass elements in the imaging train
- Split Channels that can split RGB into channels
- Remove light pollution, I have never used this and it is not yet ideally implemented
Once all the settings are correct for the images athand then it's simply a matter of pressing create masters & assign to Lights to get the processing of the master files started. As APP is multi-threaded and can utilise as much RAM as you provide it with this is generally over very quickly.
When it's done you should be left with your finished masters as below (I seem to have lost
Master Bias
Master Dark
Master DarkFlat
Master Flat
Star Analysis & Registration
APP offers some very effective star analysis and registration tools as seen in similar programs. Able to identify and asses image quality using FWHM and star shapes to an excellent degree allowing for an informed selection and scoring of your individual light frames by any number of metrics so you can only choose the best for your final stack.
In my examples below the images were taken without a coma corrector on my 130PDS Newtonian, so overall star FWHM and shape is degraded at the edges of the frames and thus scores a lot lower than the center of the image represents
With initial analysis done you can either proceeed direct to 4) REGISTER or remove some of the worst images per the intitial star analysis statistics. Options for registration include the chnaging of the pattern recognition method, the registration mode for normal or mosaic images as well as the registration model to use and whether distortion correction is needed. Usually the default settings work great for normal image stacks with the setting for mode changed to mosaic if working on a mosaic project.
You can see in my example image above the star FWHM and Registration RMS compared to the reference frame is now populated and gives a good idea of how far each frame deviates from the chosen reference frame. High RMS values usually indicate a problem with a particular image such as a focus issue and need investigation.
Normalisation
Much like the equivalent 'Local Normalisation' feature in PixInsight this feature allows for the effective blending of different frames to closer match each other. A good explanation can be found on the official APP site.
Again leaving the settings at default seems to work well for me but you may wish to experiment with the neutralise background setting as it can apparently suppress nebulosity in an image to some degree. This can always be done later in processing so leaving it off is something up to personal preference.
You'll notice in the above image that after Normalisation a whole host of statistics about each image is produced: background & dispersion which can serve to compare the overall background levels per channel of each light frame, and SNR & noise which is also calculated per channel. These can allow you to further refine which iamges are worth integrating into the final stack or discarding.
Integration
Time to produce the actual stacked image! There are a huge range of typical options here as found in other programs as well as a few unique to APP.
Once again default work well in a lot of cases but each option has a comprehensive tooltip to ehlp you see what each setting does, providing a very flexible amount of control over the final stacking process including Drizzle, LNC and how the images are weighted.
Image Processing
From here it's just a matter of taking the final integrated image which will be placed in the Working Directory and moving into the processing tool of your choice.
There are a few fairly effective processing options within APP as well under the final 9) TOOLS tab. These include effective cropping and manipulation tools, vignetting correction, light pollution removal which works very well as well as a very effective colour calibration tool that's worth a try.
These are largely down to personal taste and a few good tutorials are covered on the official APP site once again.
Full Tutorial
A full range of useful tutorials of different data types are available on the APP website and are well worth a read/watch.
This full tutorial of NGC 292 is particularly helpful and well worth a read.
I think APP is an excellent alternative to other stacking programs out there, and one of the best for mosaics as well as leveraging modern hardware and algorithms/approached to the calibration and integration of your image stacks.
Give the free trial a try for yourself!


